
In this post, we’re going to be covering how to turn images into links on WordPress (clickable image links).
These can be used for things like:
- Creating clickable image galleries / portfolios.
- Linking product images to product pages.
- Adding banner ads to our website.
(and much more)
How to Turn Images into Links on WordPress
If you prefer written instructions, you can find them below.

📓 Video Transcript – Click to Open/Close
Create Image Links on WordPress – Video Transcript
Hi guys, it’s Martie here from ysl.srb.temporary.site/website_c366d4a5.
And in this video, we’re going to be covering how to turn images into clickable links on WordPress.
Add the Image
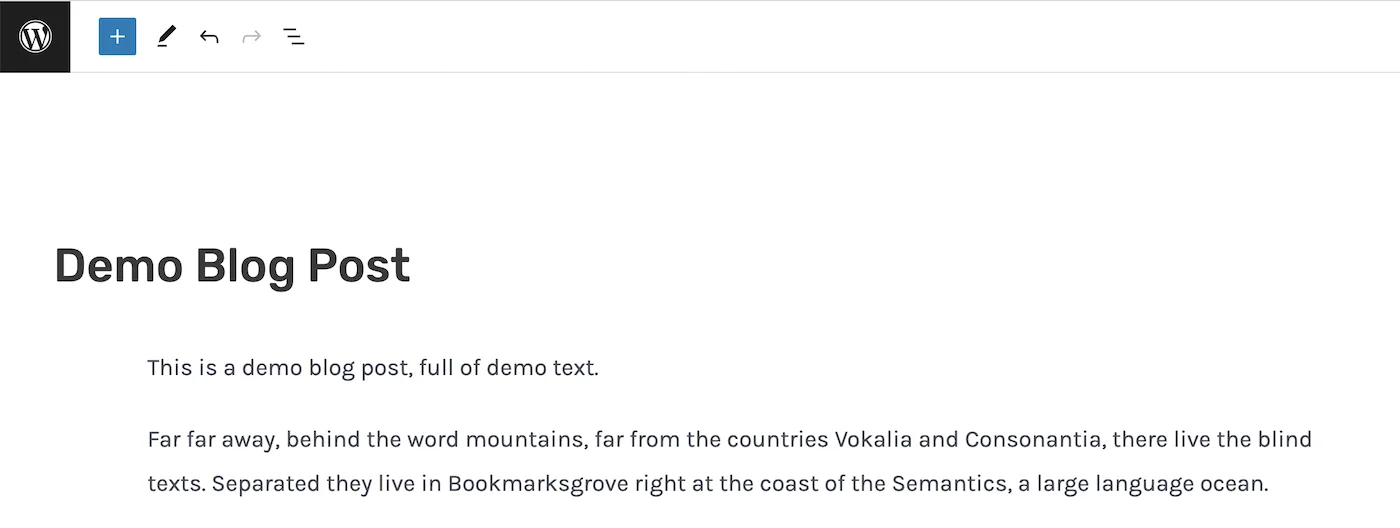
So, to get started, we just need to open up the editor for a page or post.
And then, we’re going to add our image.
To do this, we need to take a new line wherever we’re wanting our image to appear.
Then, click the plus symbol (+) to the right.
And click on “Image” to add the image block.
Now, we can either upload a new image or click on “Media Library” to use an image we’ve already got.
Turn Images into Links
Then, once we’ve added our image, we just need to click on it and then click this little chain link icon that appears above it.
Now, we can either type or paste the URL we’re wanting to link to into this box.
And then hit return on our keyboard to add it.
Open Image Links in New Tab
Now, if we’re linking to another website or a page we want to open in a new tab.
We need to click on the image again and click the chain link icon above it.
Then we’re going to click the down-pointing arrow to the right.
And then turn on the switch beside where it says “Open in a new tab”.
Save Changes
Now, we just need to click “Update” in the top right to save our changes.
And now, when we visit the page and click on the image, it’ll link to whatever URL we used.
And as we can see, mine has opened in a new tab as I turned on that switch.
But if you left it switched off, yours will open in the same tab.
Outro
So, that’s us now at the end and that was how to turn images into clickable links on WordPress.
I hope you found this video helpful, and if you did, please give it a like here on YouTube to show your support and consider subscribing to the channel for more WordPress tutorials in the future.
Once again, my name’s Martie from ysl.srb.temporary.site/website_c366d4a5, and thank you very much for watching my video.
[End of Transcript]
🔗 Related Links:
- How to Add Text Links on WordPress
- How to Add Anchor Links in WordPress
- Subscribe on YouTube (opens in new tab)
How to Turn Images into Links on WordPress
The written steps for creating image links in WordPress.
So, first we need to open up the WordPress editor for the page or post we want to add our image link to.
Then, we’re going to add the image we want to use for our link.
(if we haven’t already)
To do this, we just need to:
- Take a new line, where we want the image to appear.
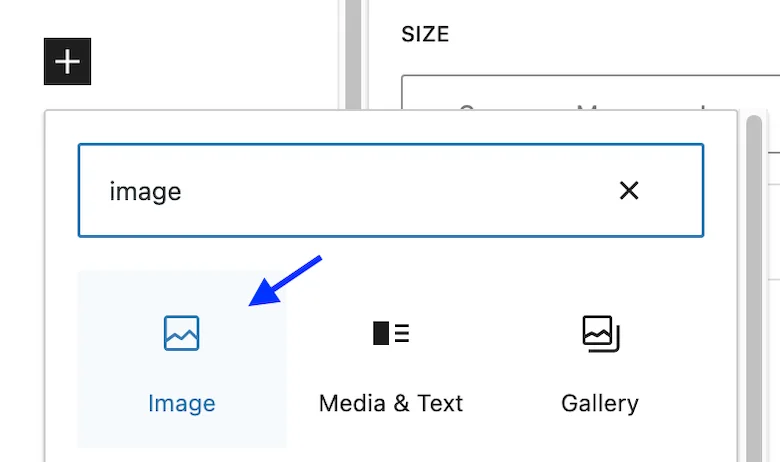
- Click the plus symbol (+) to the right, to add a new block.
- Type the word “image” into the search bar.
- Click on the Image block to add it.
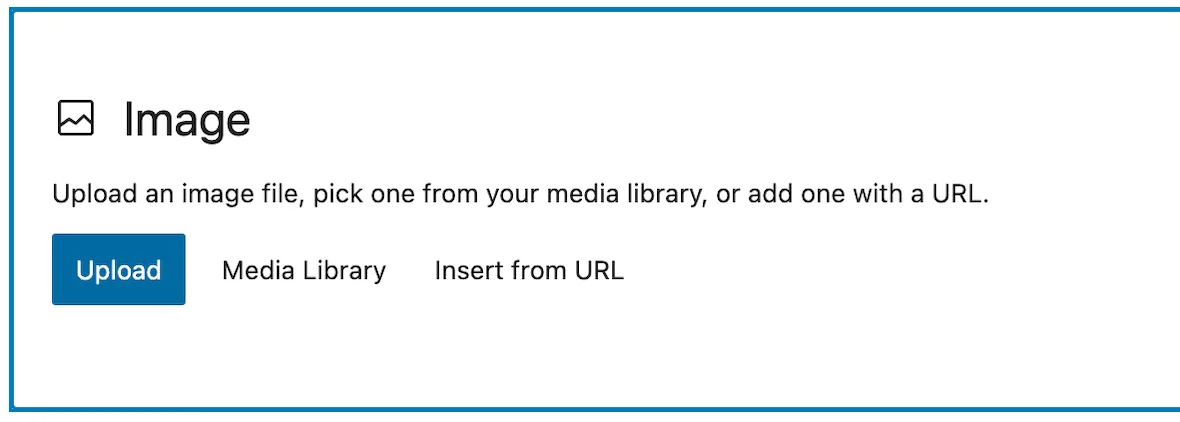
Now, we can either click Upload to upload a new image.
Or, Media Library to select one we’ve already uploaded.
Linking the Image
Once we’ve added our image, we can turn it into a clickable link.
To do this, we just need to click on the image to select it.
Then, click the chain link icon that appears above it.
This will open a popup box.
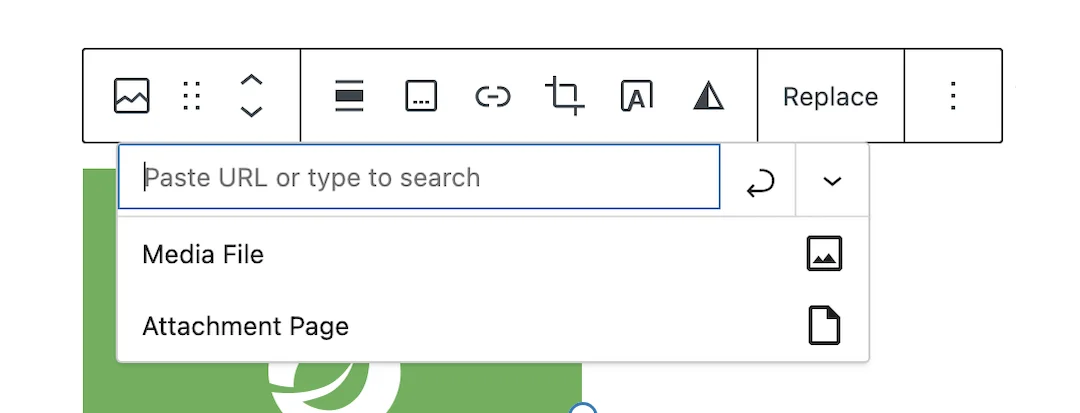
If we’re linking to a page or post on our own website, we can just start typing the page name into this box.
Then, when it shows up in the list, we just need to click on it.
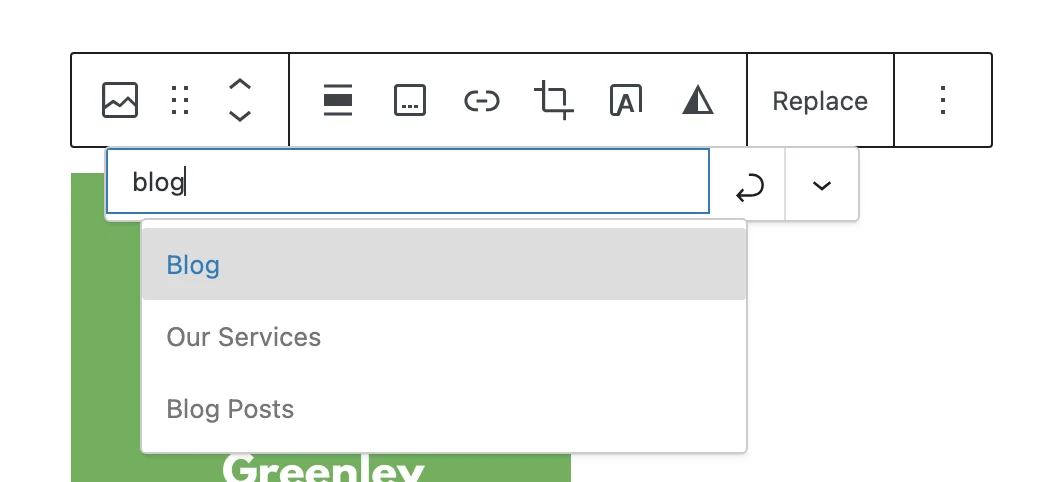
(this will add the URL for that page into the box)
Or, if we want to link to a different website/URL.
We can simply paste the URL into this box instead.
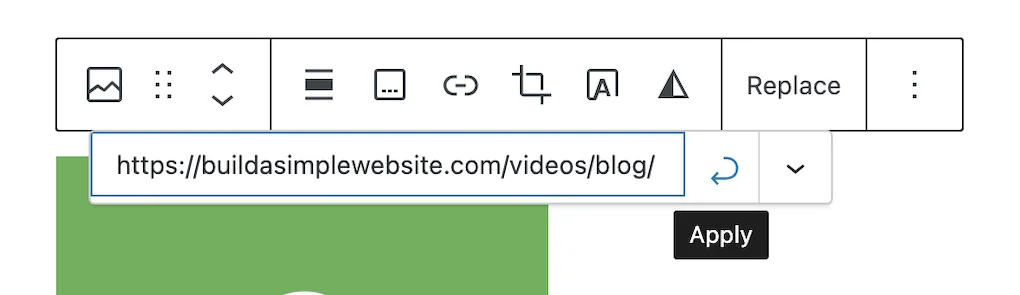
And then click the enter icon to the right, to add the link.
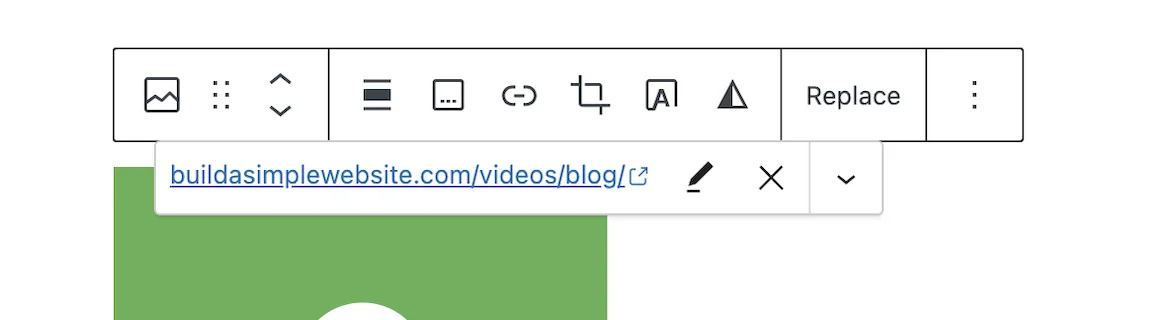
At this point, we should see the URL in blue, which means we have successfully added the link to our image.
How to Open Image Links in New Tab
If we want our image link to open in a new tab when clicked.
We just need to click the down pointing arrow to the right, to open up the link settings.
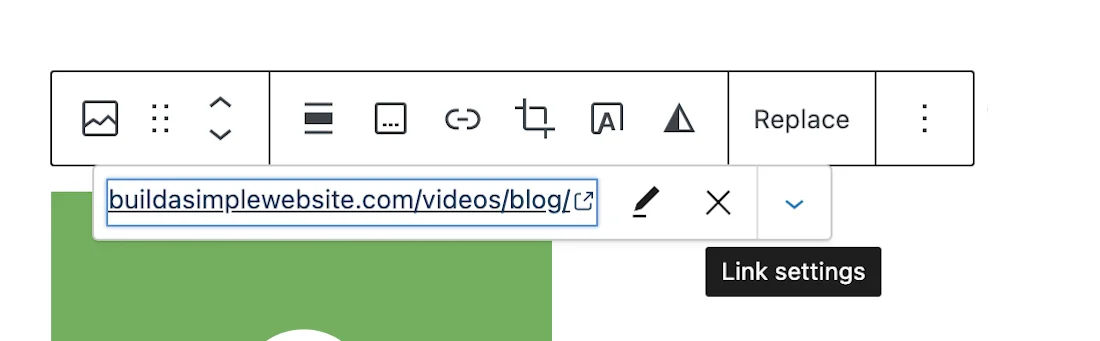
Then, turn on the switch beside “Open in new tab”.
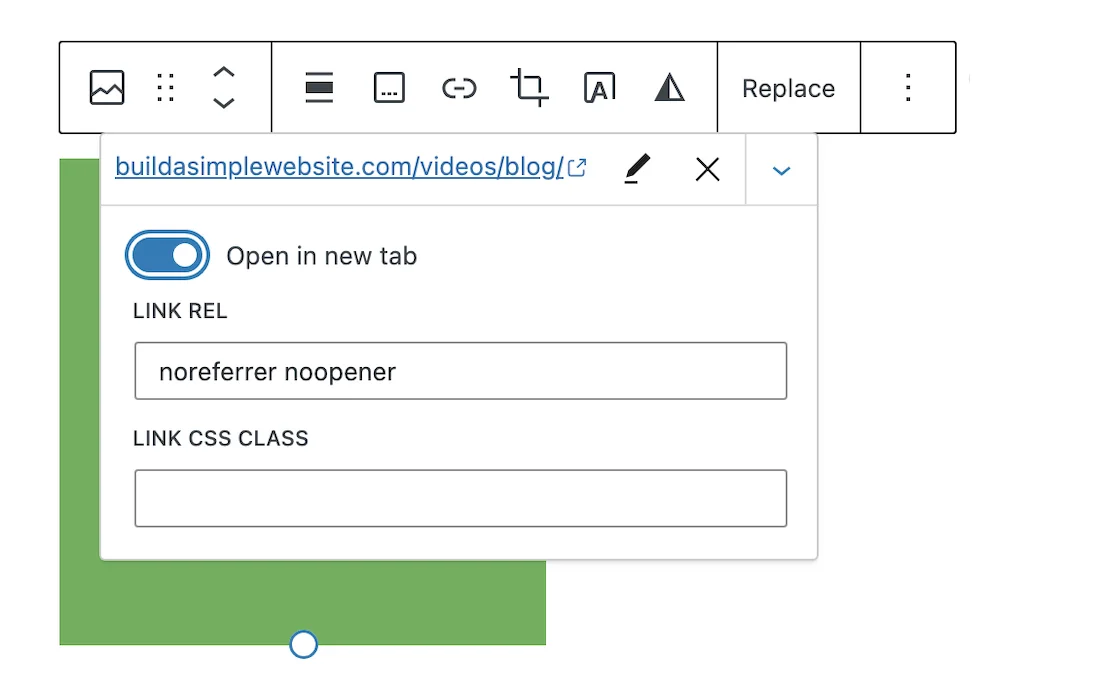
This is recommended if we’re linking to any website or URL, other than our own.
Update Changes
Finally, we just need to click Update in the top right, to save our changes.

And now, when we visit our page.
We can click on the image, and it will link to whatever URL we entered.
(and in a new tab, if we turned on that switch)

So, that’s us now at the end, and that was how to turn images into links on WordPress.
I hope you found it helpful.
If you did, please consider joining my email newsletter.
This way you can stay up to date when I release new content.
Until next time,
Martie.
P.S.
Here are a few more related posts to check out: