
I’m going to show you how to get started with WordPress, step by step, in a way that anyone should be able to follow.
I’ve personally, been using WordPress for over 10 years.
And I decided to create this WordPress guide for complete beginners, to show you everything you’ll need to know to get started.
You don’t need to have any previous web design experience.
And the whole process is only going to take us around 20-30 mins to complete.
By the end:
- You will have WordPress installed on your own domain name and hosting.
- You will know how to create new pages (with text, headings and images).
- You will know how to make simple edits to your WordPress website.
So, if you’re ready?
This is how to GET STARTED with WordPress in 2024.
Here’s a list of everything covered:
- Why use WordPress?
- An Introduction to Domains and Hosting
- Registering a Domain Name and Hosting
- Installing WordPress
- The WordPress Dashboard (Quick Overview)
- Logging into WordPress
- Deleting Demo Plugins
- Choosing and Installing a Theme
- Customizing our Theme
- Creating Pages (Text, Headings & Images)
- Setting a Custom Home Page
Why use WordPress?
Just before we get started.
You might be wondering why I recommend using WordPress.
(over its competitors, like Wix or Squarespace)
Well, here are 5 solid reasons:
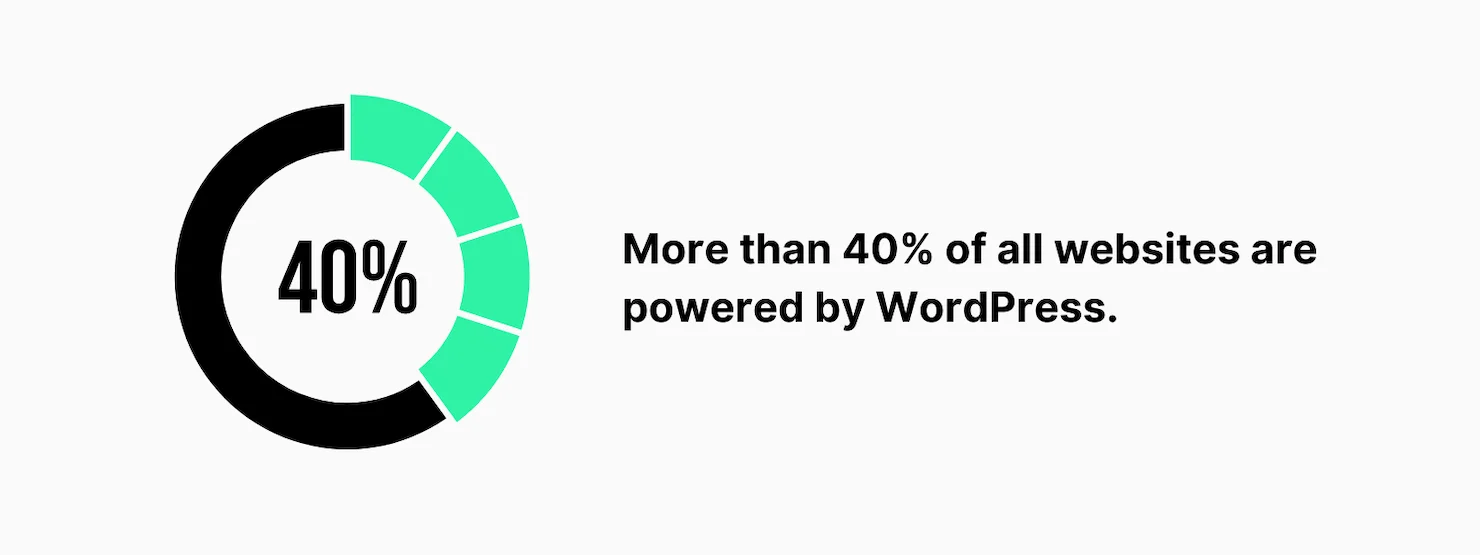
#1. It’s Very Popular
WordPress actually powers over 40% of ALL websites online.
(43.3% to be precise)
In fact, 42.8% of the top 10 million websites use WordPress.
Including Sony Music, TechCrunch, Wired, New York Post, and Time Magazine.
Some celebrities also use WordPress for their official websites.
Like Usain Bolt, Snoop Dogg, Katy Perry, Jay-Z, and The Rolling Stones.
#2. It’s 100% Free
WordPress.org is open-source software.
Meaning it’s completely free for us to download and use for our projects.
We do need a domain name and web hosting (covered below).
But, WordPress itself is free and always will be.
Worth Noting:
Places like Wix do have “free plans”.
But, these come with certain limitations.
(no custom domain, ads on your website, etc)
WordPress on the other hand is 100% free, with zero limitations.
#3. It’s Built for Success
WordPress is coded and maintained by some of the best minds in software development.
Who are constantly working on, and improving the platform.
This includes:
- Improving website speed
- Enhancing security features
- Optimizing for search engines (S.E.O)
And because of this.
WordPress is always getting better.
#4. It Looks Awesome
One reason that so many people use WordPress, is because it looks amazing.
And this goes for any kind of website you might want to build with it.
(business, entertainment, education, online stores, etc)
WordPress is also fully responsive (mobile-friendly).
Which means, it’s going to look awesome on any device.
(desktop, laptop, tablet, mobile phone, etc)
And with OVER 40% of ALL web traffic coming from mobile users in March 2023.
Having a responsive website is more important than ever.
#5. It’s Easy to Use
WordPress is very user-friendly.
(as you will see throughout the rest of this WordPress guide)
And even more so, since the introduction of the Gutenberg editor in December 2018.
Which made adding content to our pages easier than ever before.

A few more reasons to use WordPress:
- WordPress was initially released on 27th May 2003 (20 years ago).
- We can use WordPress for websites on any topic (no restrictions).
- WordPress is available in over 200 languages.
- There’s an official WordPress support forum where users can get help for free.
- The WordPress.org website receives over 2 million unique visitors per month.
- WordPress release regular updates to improve security (and functionality).
So, as you can see.
WordPress is undoubtedly a great choice for building a website.
An Introduction to Domains and Hosting
Before we can get started with WordPress.
We first need to register a domain name and set up web hosting.
(to install WordPress on to)
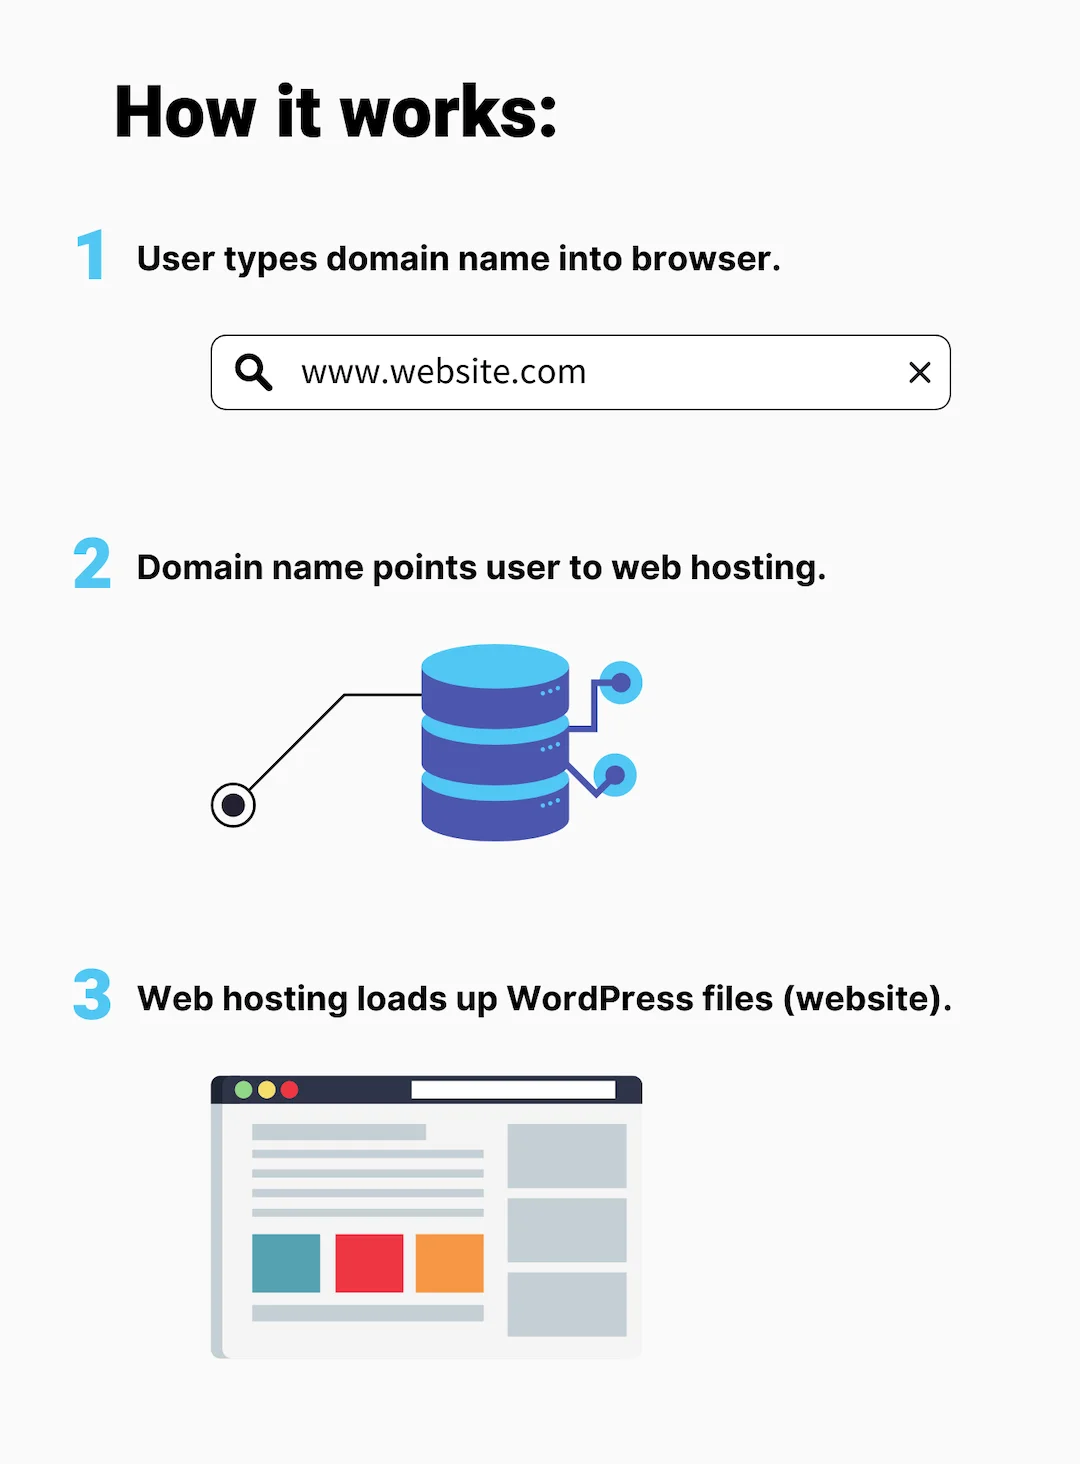
What’s a Domain Name?
Domain names are what we type into our internet browser to visit a specific website. For example, google.com or amazon.com.
What is Web Hosting?
Web hosting is where our website’s files are stored online.
This allows visitors to access our website 24 hours a day, even when our own computer is switched off.
Worth noting:
A domain name and hosting are required to make any kind of website.
(not just websites using WordPress)
Places like Wix and Squarespace charge a “monthly service fee”.
But, really this is just to cover the domain name and hosting.
Where to Get Them
There are tons of different places to get domain names and hosting online.
Popular Domain Name Registrars:
Popular Web Hosting Providers:
We can order our domain name and hosting from different places, if we like.
But, it’s much easier to order them both from the same place.
(this way we don’t need to link them together)
I personally use HostGator on this website.
They’re also the hosting platform I have the most experience with.
So, it’s who I’m going to be using in this guide.
(for both, domain name and web hosting)
Why HostGator?
I’ve been using HostGator for almost 10 years at this point.
(for a bunch of different projects)
And I’ve never had a single issue or problem… Not one.
HostGator currently host over 2 million websites.
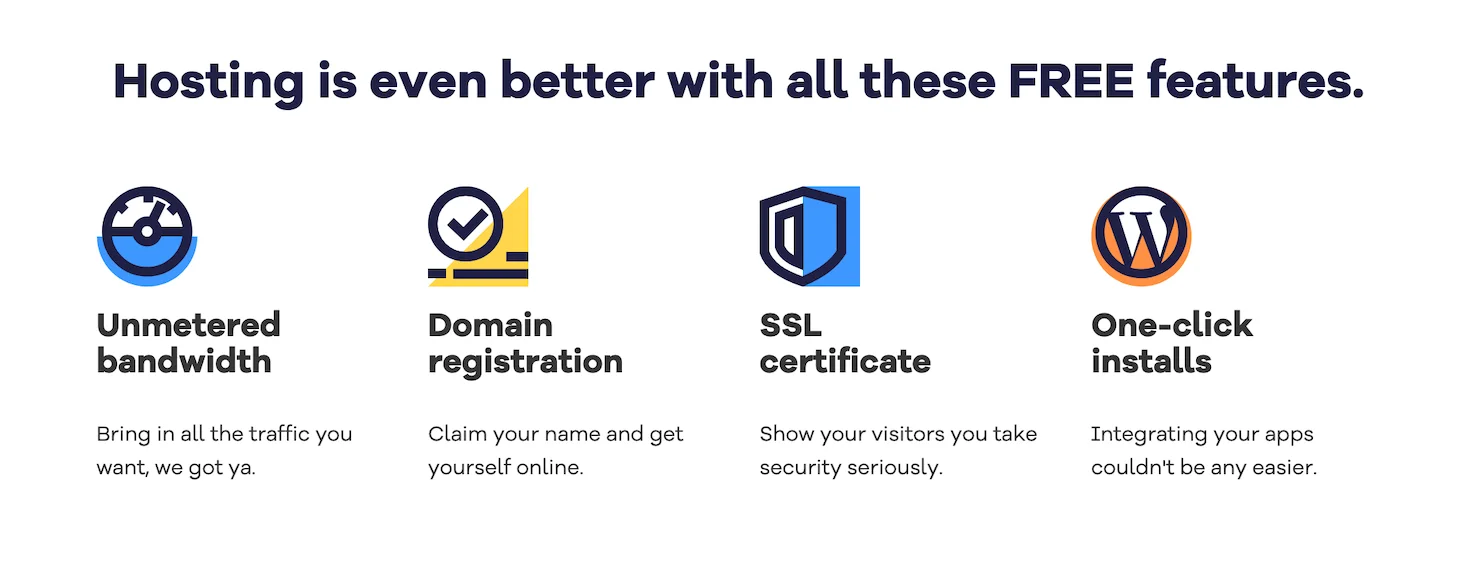
They also offer:
- One-click WordPress installation
- 99.9% server uptime (guaranteed)
- Very reasonable pricing
- Free domain name (usually around $15 per year)
- Free SSL certificate (helps with site security)
- Free custom email addresses (email@yourdomain.com)
- Great customer service, with 24/7 LIVE chat support
- 30-day money-back guarantee (no risk)
Registering a Domain Name and Hosting
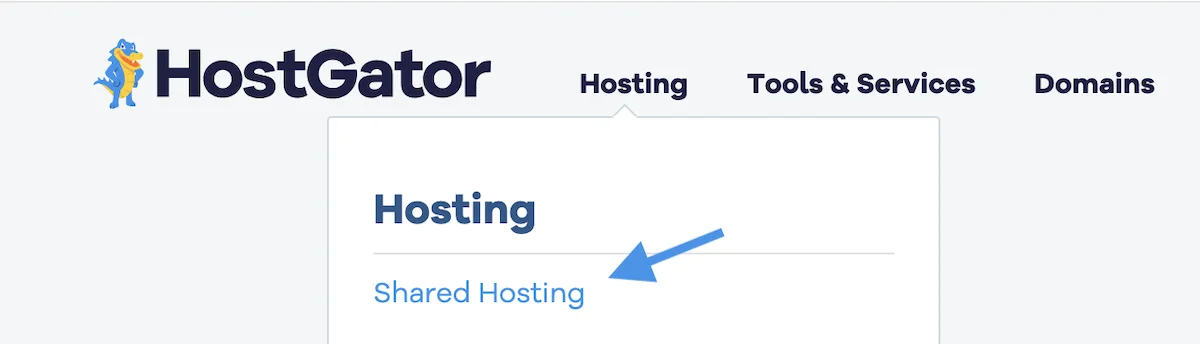
So, to get started, we first need to visit hostgator.com.
Then, we’re going to hover over Hosting at the top.
And click Shared Hosting.
This will show us the 3 hosting plans they offer:
- Hatchling Plan
- Baby Plan
- eCommerce Plan

To be honest, the eCommerce Plan comes with a bunch of added extras, that you’re probably not going to need when just getting started with WordPress.
(Cloudflare CDN, Dedicated IP address, etc)
So, really it’s between the Hatchling Plan and Baby Plan:
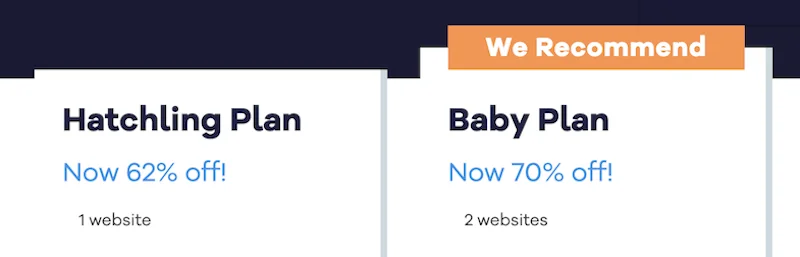
The main difference between these 2 plans, is the amount of websites we can have with each one.
- Hatchling plan = 1 single website
- Baby plan = 2 websites
You can always go for the Hatchling Plan while getting started with WordPress.
Then upgrade to the Baby Plan at some point if you need to.
Once we’ve decided on which hosting plan we want.
We can click Buy now underneath.

That will bring us to the next page.
Where we can register our Domain Name.
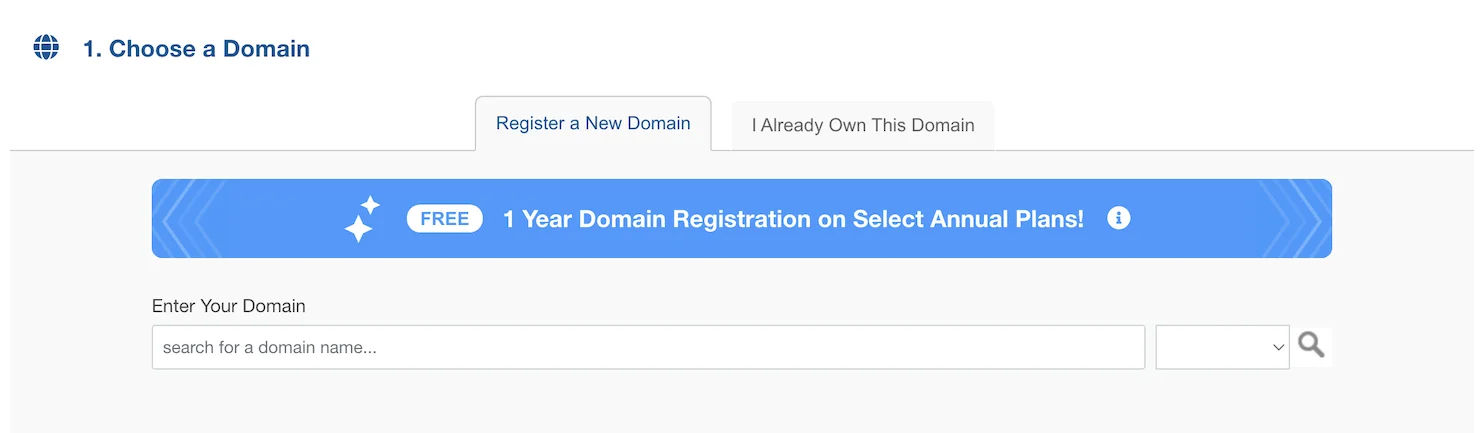
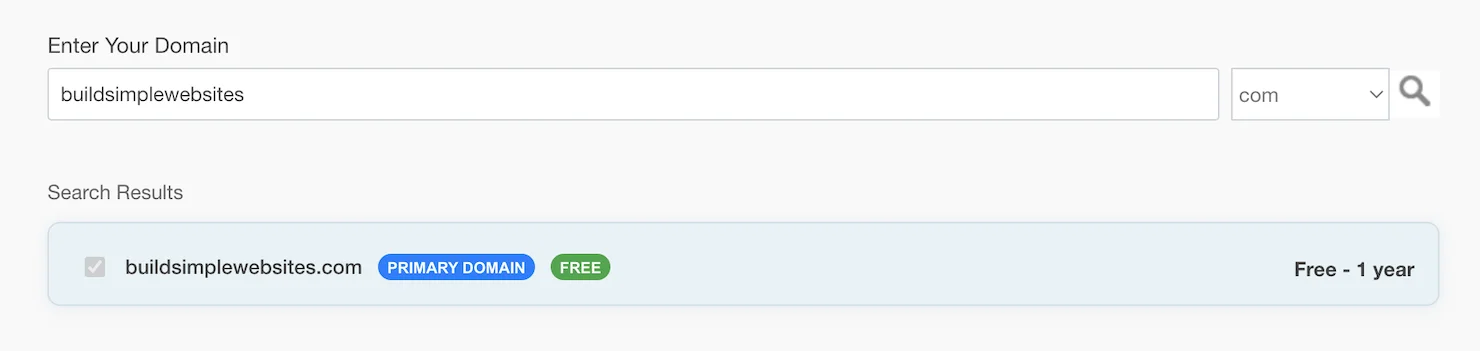
We just need to type the domain name we want to register, into the box labelled Enter Your Domain.
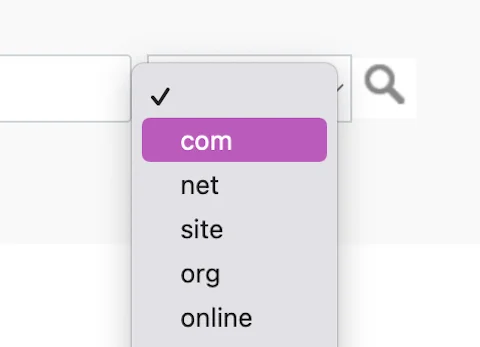
Then, we can choose our domain extension on the right.
As long as the domain name is available, it will say: Primary Domain – Free.
If it says the domain name is Unavailable.
We will need to choose something else.

Here are a few tips for choosing a decent domain name:
#1. Keep it short
You want it to be catchy and memorable (3-4 words max).
#2. Go for .com when possible
It’s the easiest to remember (unless it’s a local website).
#3. Stay away from hyphens
People forget to type them and visit your competitor instead!
#4. Double-check spelling
There’s nothing worse than registering a misspelled domain.
Struggling to come up with a domain name?
Check out this free domain name generator
Then, once we’ve entered our domain name.
(and we know it’s available)

We can scroll down, to where it says Domain Privacy Protection.
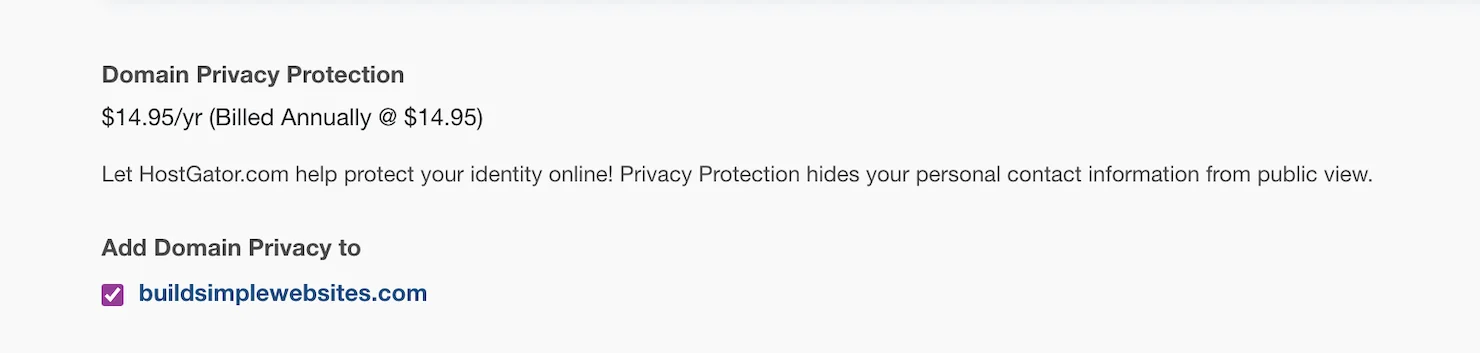
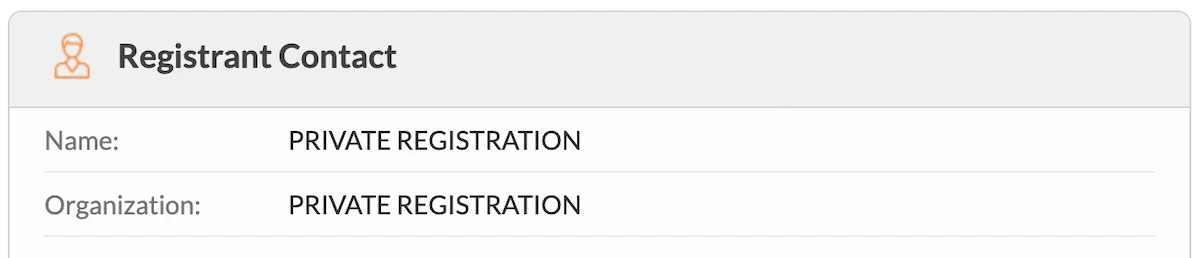
This will keep any personal details associated with our domain name private.
Otherwise, they will be displayed on a public registrar.
To be honest, I normally just uncheck this box myself for most websites I create, and haven’t had any problems to date.
But, if you’re trying to keep your website anonymous, you can leave the box checked.
Then, under this (on the right), we can choose a Billing Cycle.

If we go for 12 months or more, we get an amazing discount.
Plus, we also get a free domain name as well.

Obviously, this will depend on your budget.
But, if you can… do it.
(you will save a lot of money in the long run)
Then, once we’ve chosen our billing cycle.
We need to enter our Email Address and create a Password for logging into our new HostGator account.
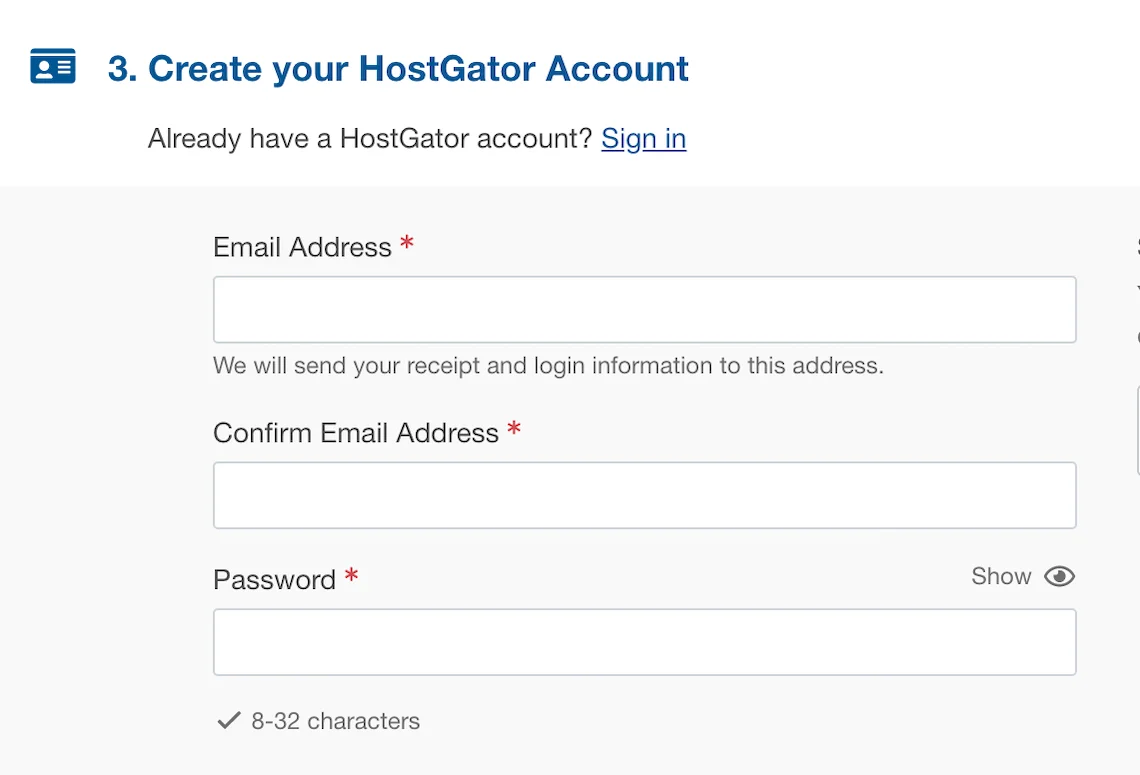
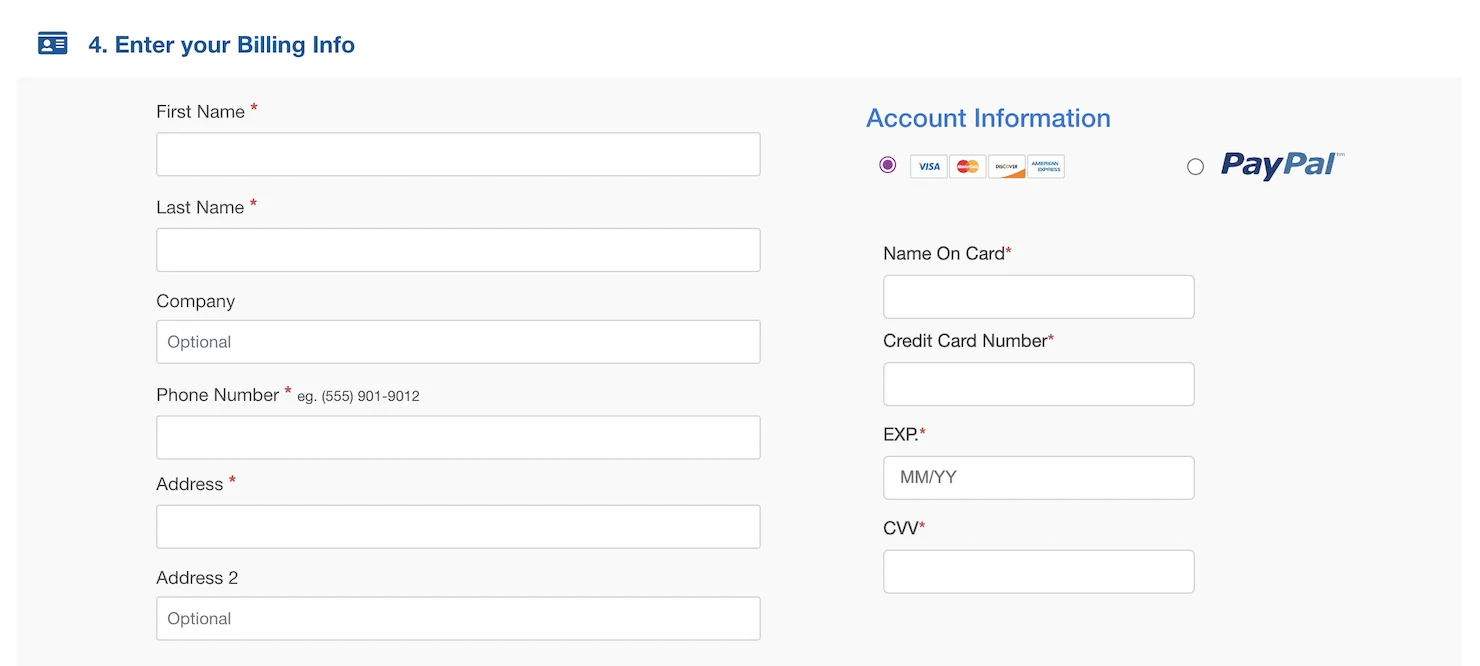
Then, under this, were going to enter our billing information.
(name, billing address, payment details, etc)
Then, we’ll see a section called Add Additional Services.
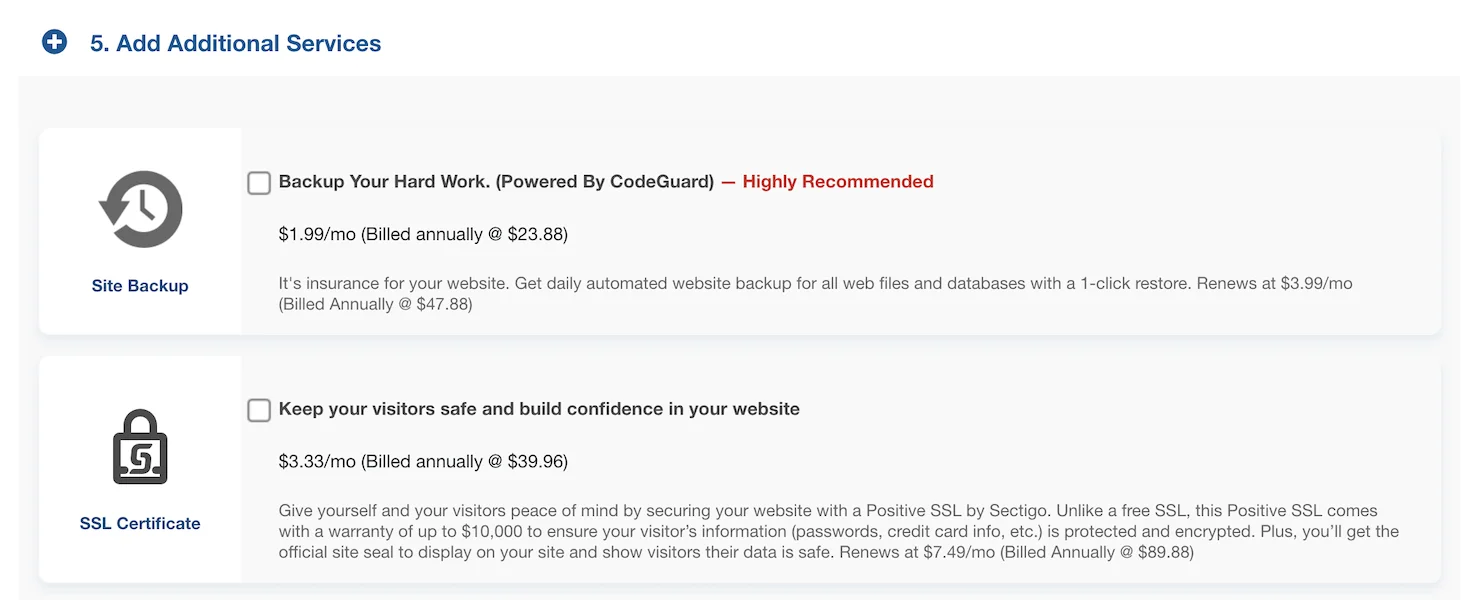
These are premium add-ons that HostGator offer.
(none of them are necessary)
Review Order
Now, we just need to review our order at the bottom.
And make sure everything’s correct.
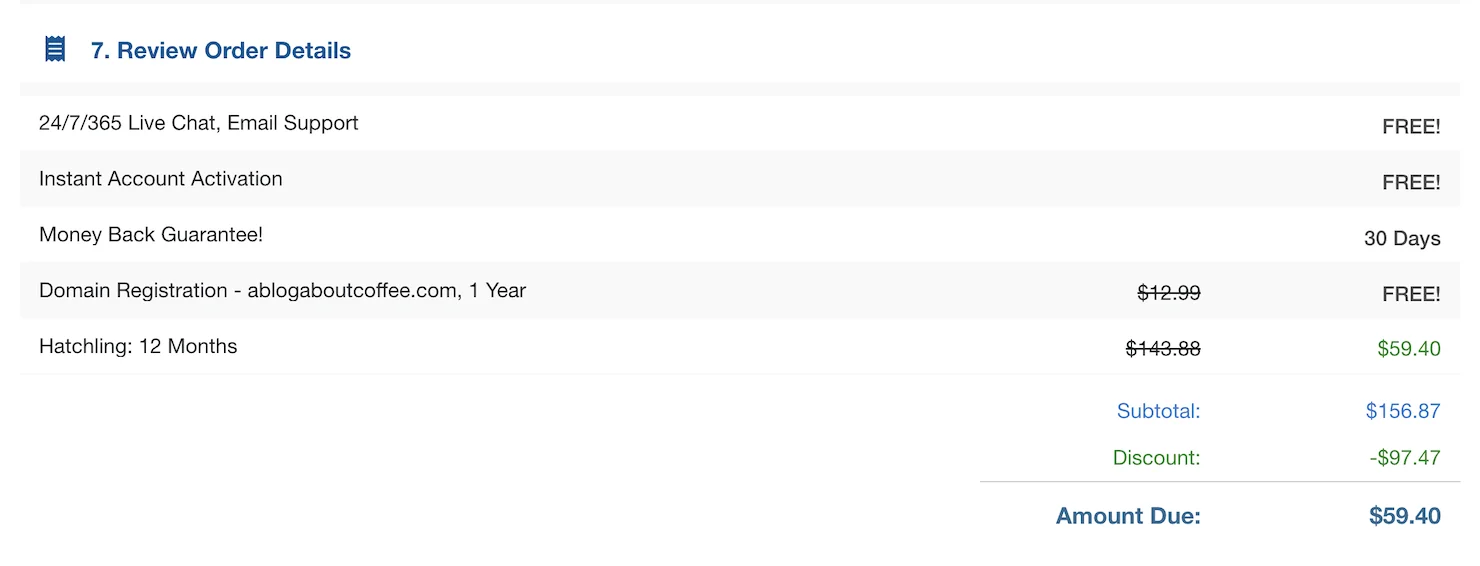
We’ll also see that HostGator offer:
- 24/7 LIVE chat and email support
- 30 day money back guarantee
(there’s really no risk)
Then, once we’re happy with everything here.
We just need to click Checkout Now, at the bottom.

At this point we’ll be brought to a payment page (or PayPal) to pay for our order.
Getting Started with WordPress
How Much Does it Cost?
So, in my example above, we can see that the total price is $59.40.
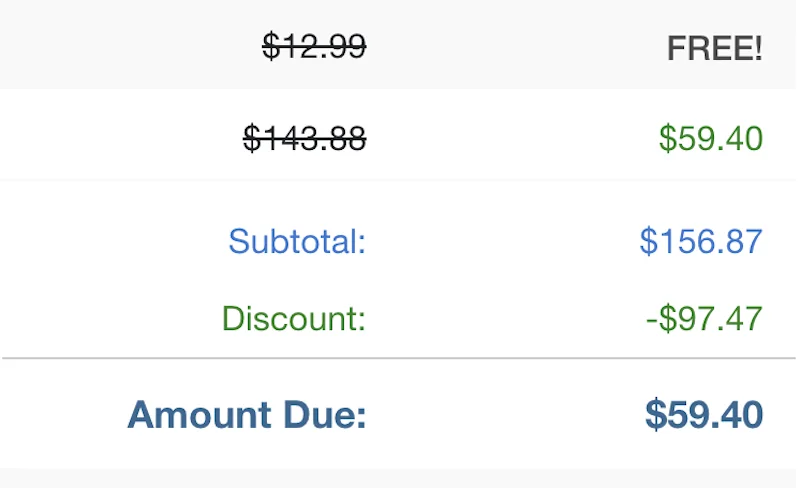
This is for both the domain name and hosting, for a full year.
Which works out at around $4.95 per month.
($1.25 per week)
And I should point out here.
That this is the ONLY cost.
Everything else we’ll be using in this guide is free.
Here’s a table showing the price compared to the competition:
| Platform | Service Cost | Web Hosting | Domain Name | Total Cost (1st Year) |
|---|---|---|---|---|
| WordPress | $0/month | $3.20/month | Free* | $38.38 |
| Wix | $9/month | N/A | Free* | $108 |
| Squarespace | $15/month | N/A | Free* | $180 |
Table notes:
- Domains are free with purchase of 12 months or more.
- I used the cheapest plans for Wix and Squarespace.
- The prices shown are for the first year only (may increase on renewal).
As we can see in the table above.
When it comes to pricing.
WordPress is approximately 69% cheaper than Wix ($132.60).
And 69% cheaper than Squarespace ($132.60).
Which is a pretty huge difference!
Installing WordPress.org
Then, once we’ve registered our domain name and set up web hosting.
We can install WordPress onto them.
Normally, this would involve downloading WordPress.
And then uploading it to our hosting account.
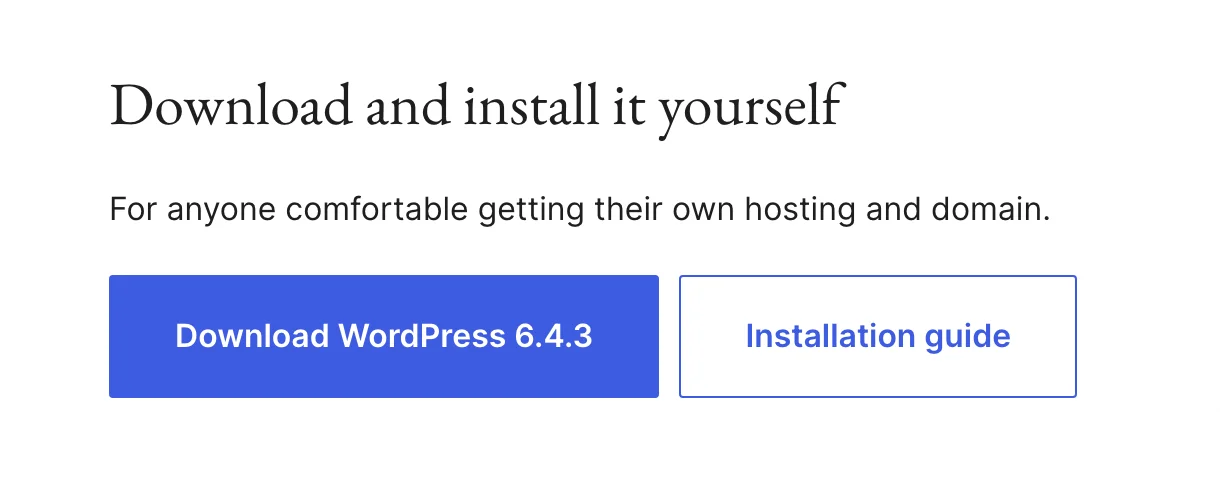
But, with HostGator, we don’t even need to do this.
Because they use a one-click WordPress installer.
Which we can use to install WordPress. (in about 30 seconds)
Without even leaving our hosting account.

So, after paying for our order.
We’ll find ourselves logged into the HostGator Dashboard:
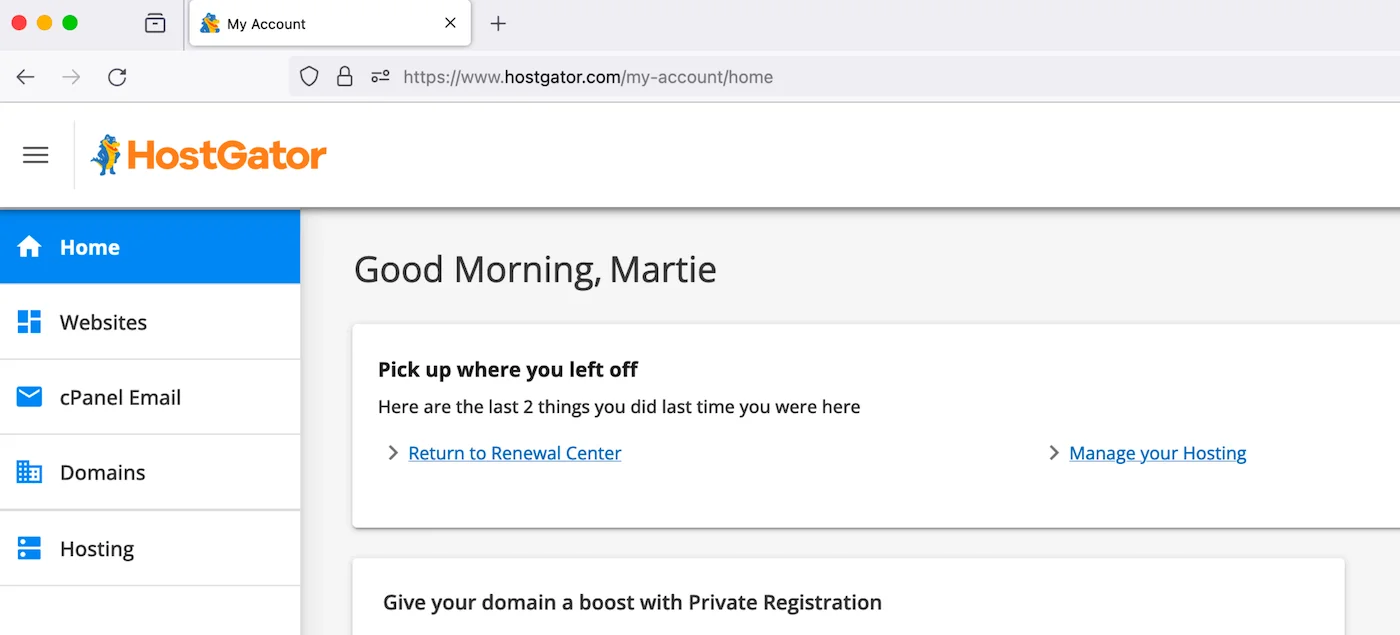
We can always get back here in future, by going to hostgator.com/billing and logging in with the details we used when signing up.
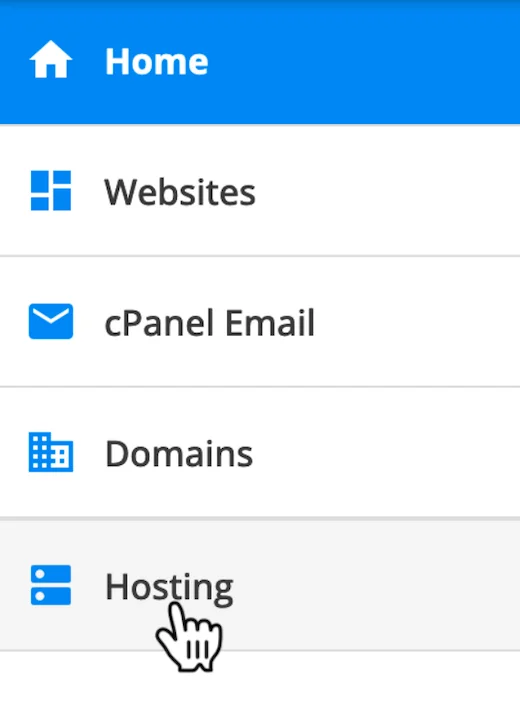
Then, from here.
We’re going to click into Hosting on the left.
And this will show us any websites we already have.
But, as this is a new account, we won’t have any yet.
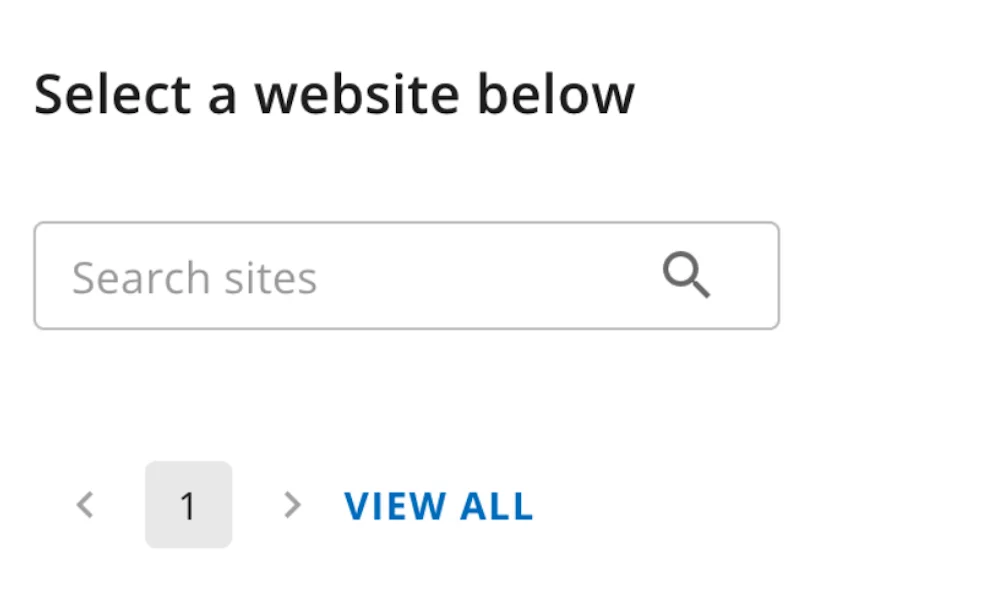
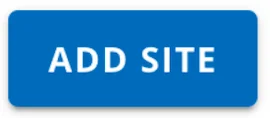
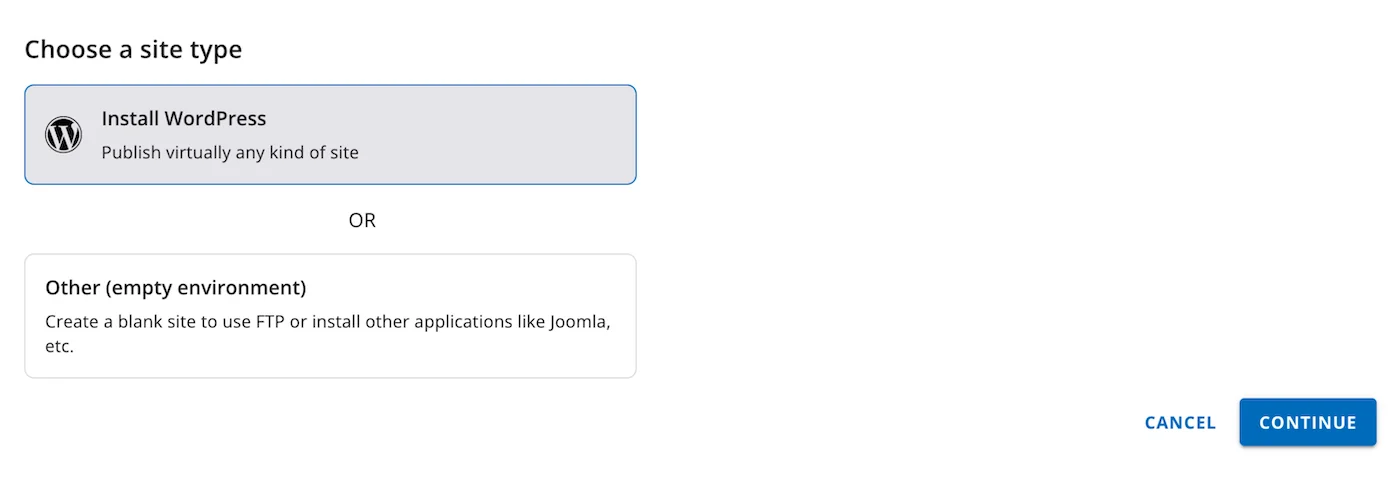
Then, to install WordPress, we need to click ADD SITE on the right.
Then, make sure Install WordPress is selected, at the top.
And click CONTINUE, on the right.
Now, we can enter our Site Title.
And don’t worry about this too much now, as we can always change it again later.
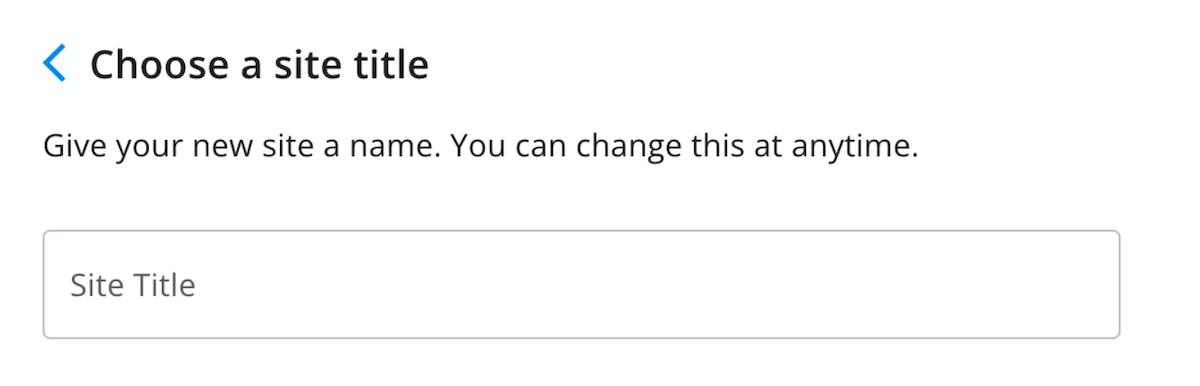
Then, click CONTINUE on the right.

Now, we need to enter the domain name we’re wanting to use for our WordPress site.
Which is going to be the one we just registered.
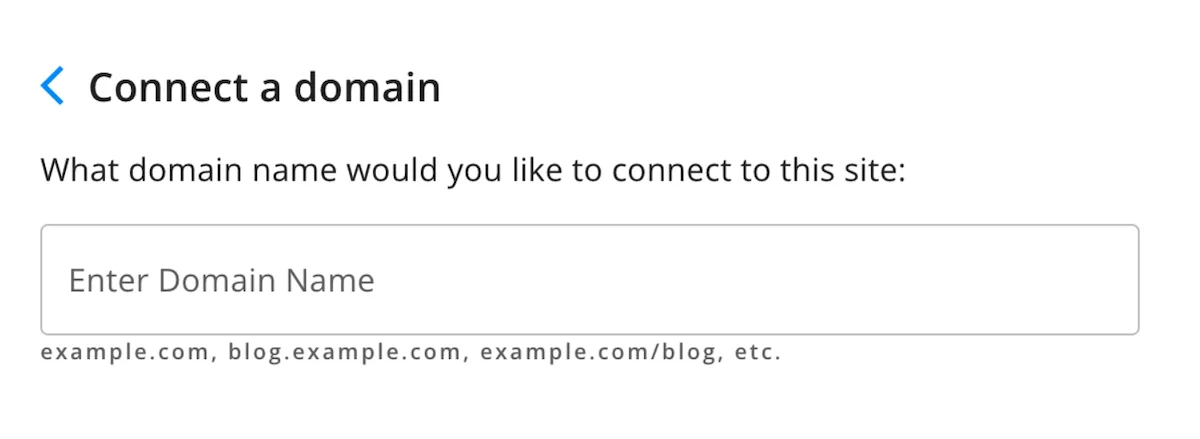
Then, if we click CONTINUE.
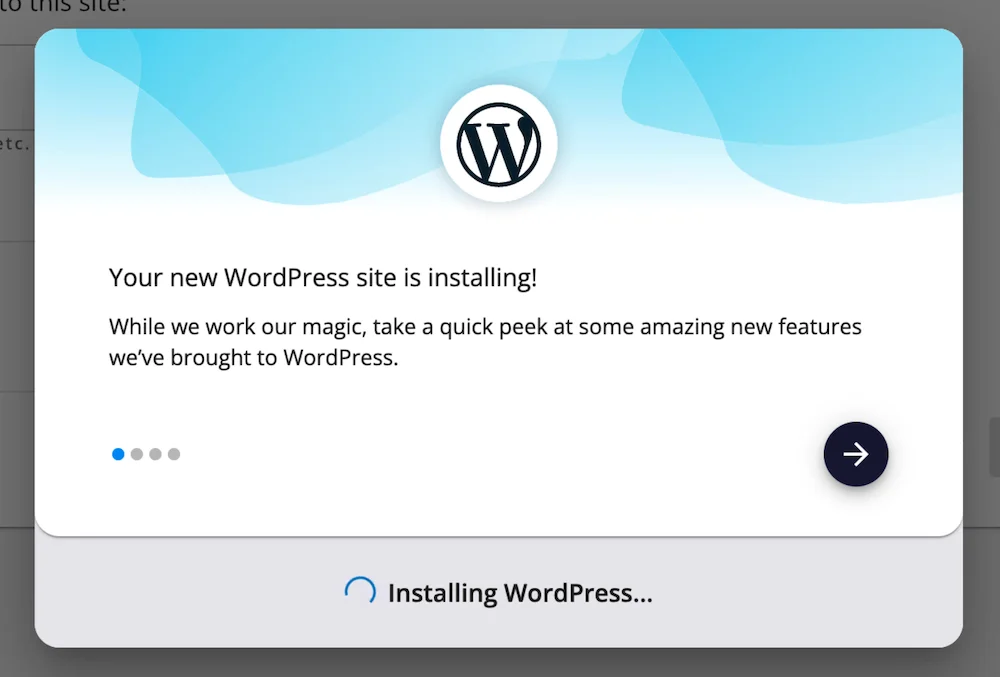
HostGator is going to start installing WordPress for us, right away.
This will usually only take about 30 seconds or so to complete.
But, sometimes it can take a little longer.
Then, once WordPress has been installed, we might get a message that reads:
“This site is using a temporary URL until the domain is pointed at Hostgator. If this is a new domain name, it might take a few hours to finish setting up.”
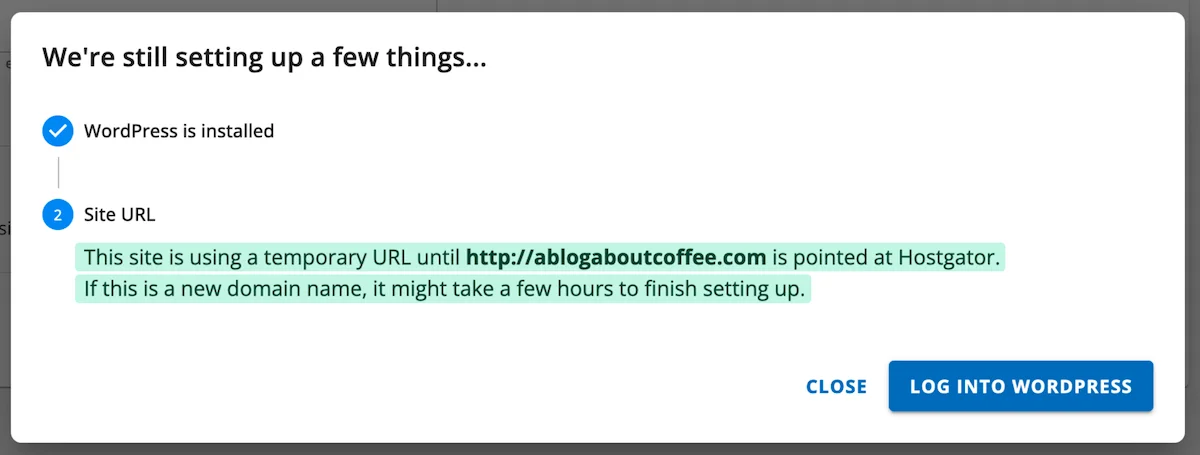
But, once our new domain name is ready, it’ll replace the temporary one right away, without us needing to do anything else.
Now, we just need to click LOG INTO WORDPRESS, on the right.
Which will open up the WordPress Dashboard.
(in a new tab)
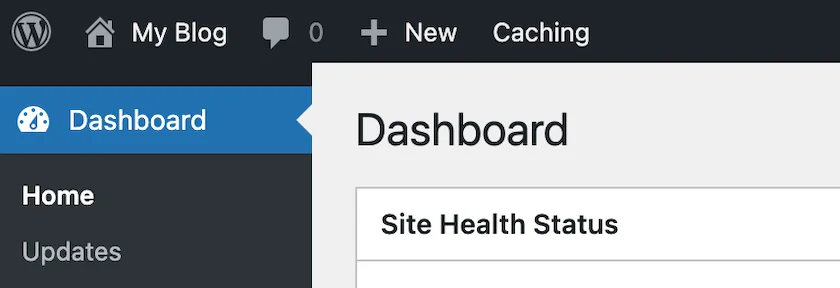
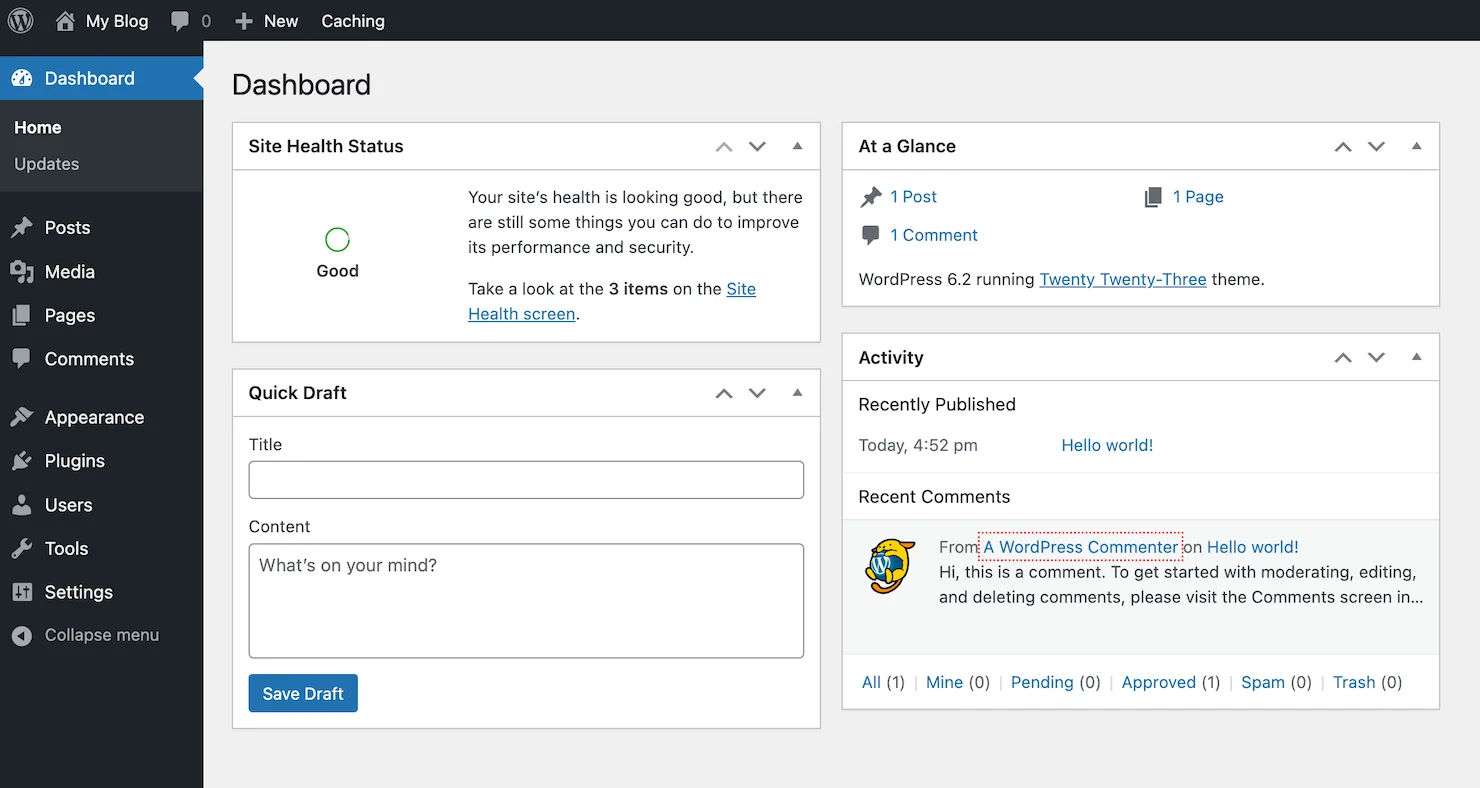
The WordPress Dashboard
The Dashboard is the first page we’ll be brought to, when we log into our WordPress website.
It’s where we can add content and make changes to our website.
We have a few widgets in the middle:
- Site Health Status – our website’s security status.
- At a Glance – how many posts, pages, and comments we have.
- Activity – any recent activity on our website.
(these are just to give us a brief overview of our website)
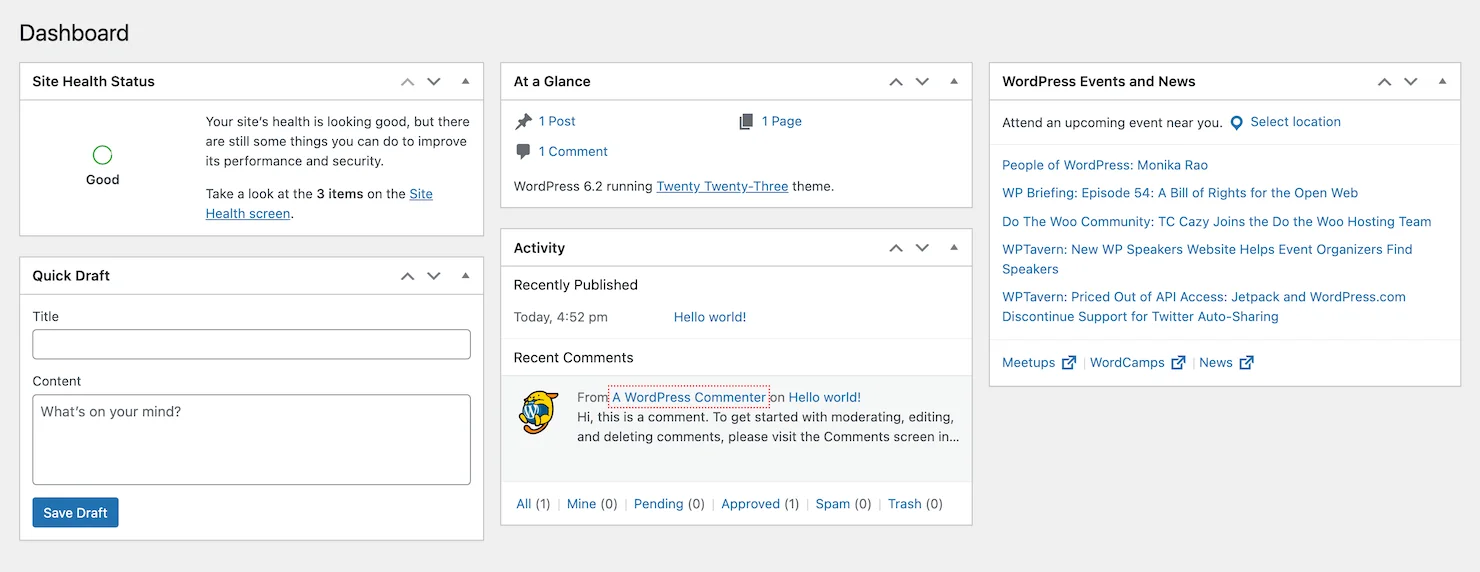
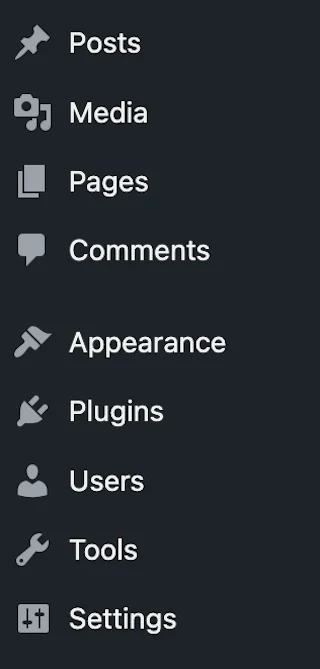
Then, we have our main Dashboard options, running down the left side.
At this point, our website is actually LIVE online.
To visit it, we just need to click our Site Title in the top-left.

Site Title = Whatever we chose when installing WordPress.
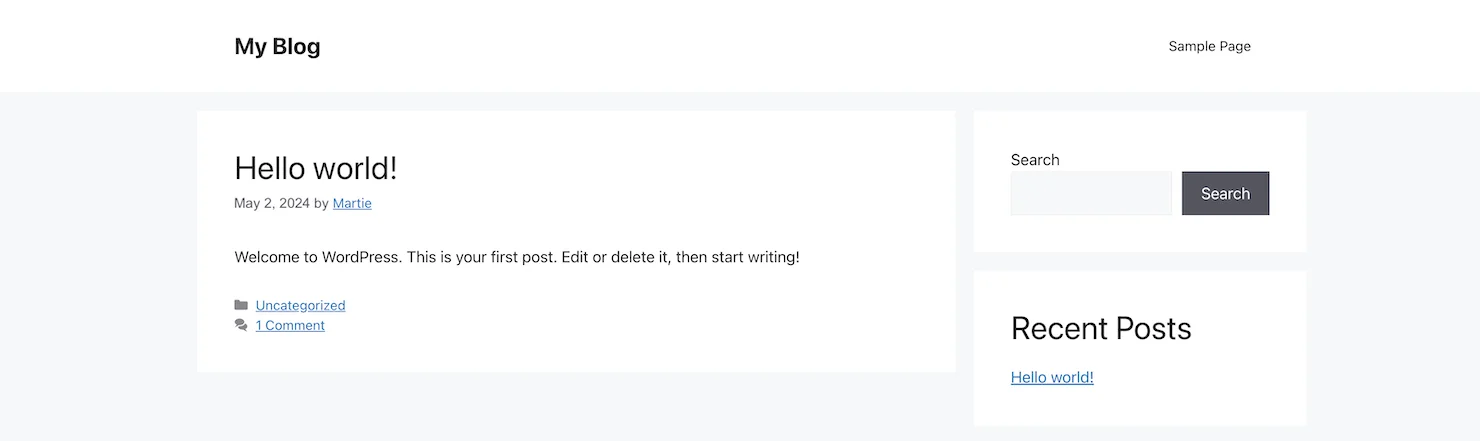
This will show us what WordPress looks like, when we first install it:
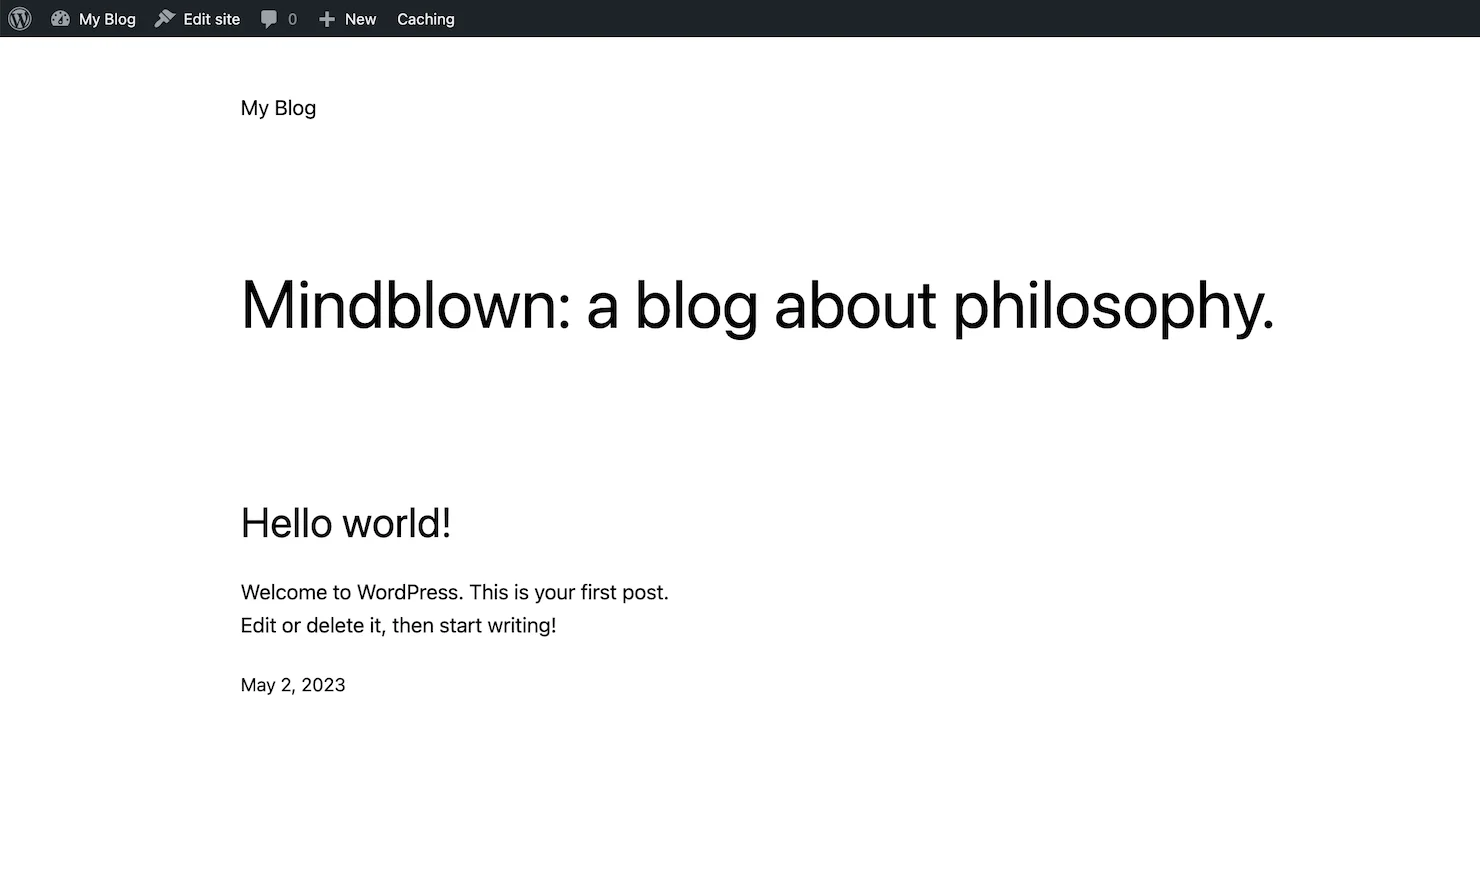
Don’t worry, if yours looks a little different than the image above.
Sometimes they change up the default theme.
(we’ll be changing our theme soon)
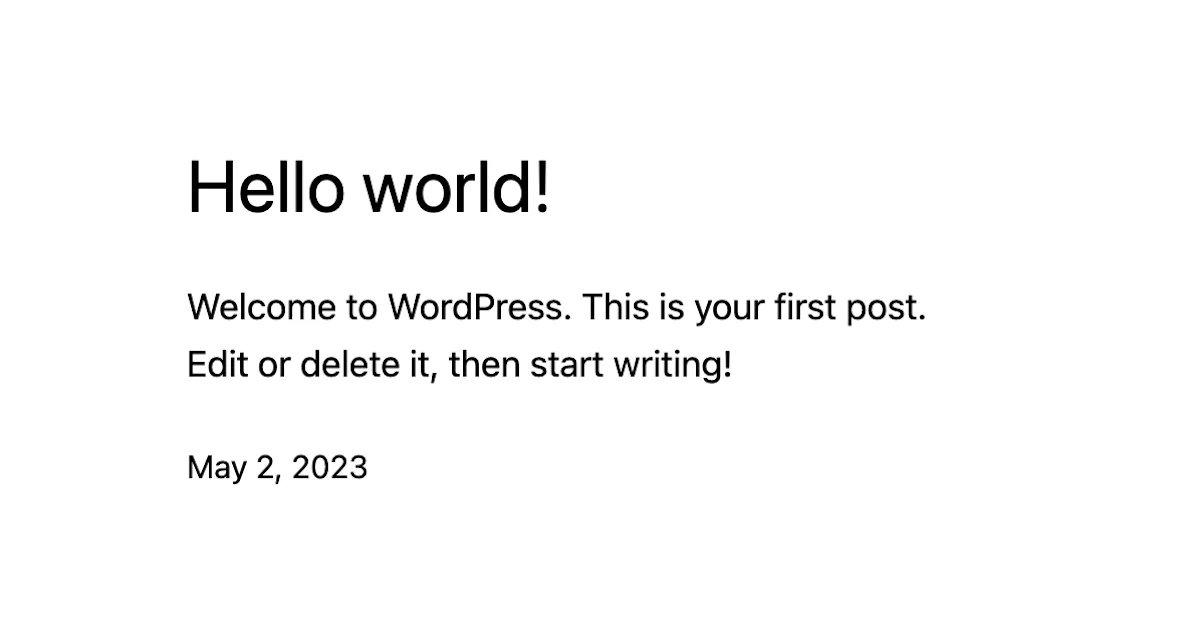
WordPress comes with some demo content.
This includes a blog post called Hello world!
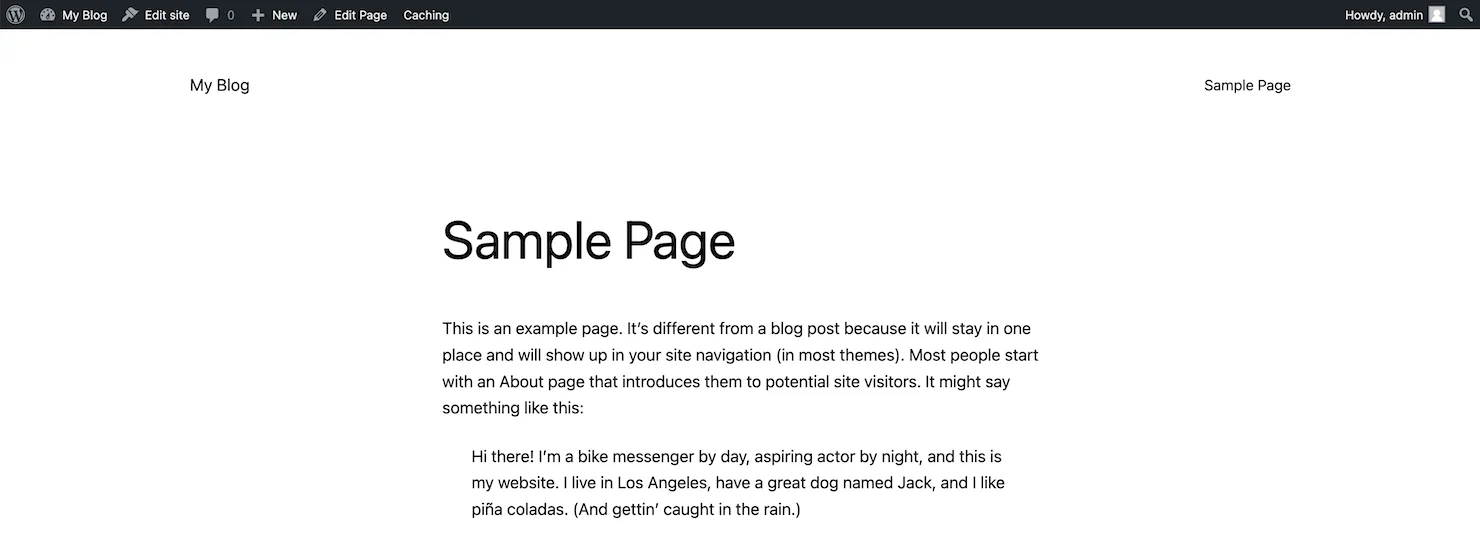
And a Sample Page.
Then, to get back to the Dashboard.
We need to click our Site Title again, in the top left.

It's also worth noting:
The grey bar running along the top of our site, is only visible to us (when logged in). Our visitors will not be able to see it.

Logging into WordPress
When we first install WordPress.
We’ll be logged into the Dashboard automatically.
But, in future.
The steps for logging in will be slightly different.
Next time we want to log in.
We’re going to open up our internet browser.
And type in the domain name for our website.
yourdomain.com

Then, type /wp-admin
After the domain extension.
yourdomain.com/wp-admin

(and visit the page)
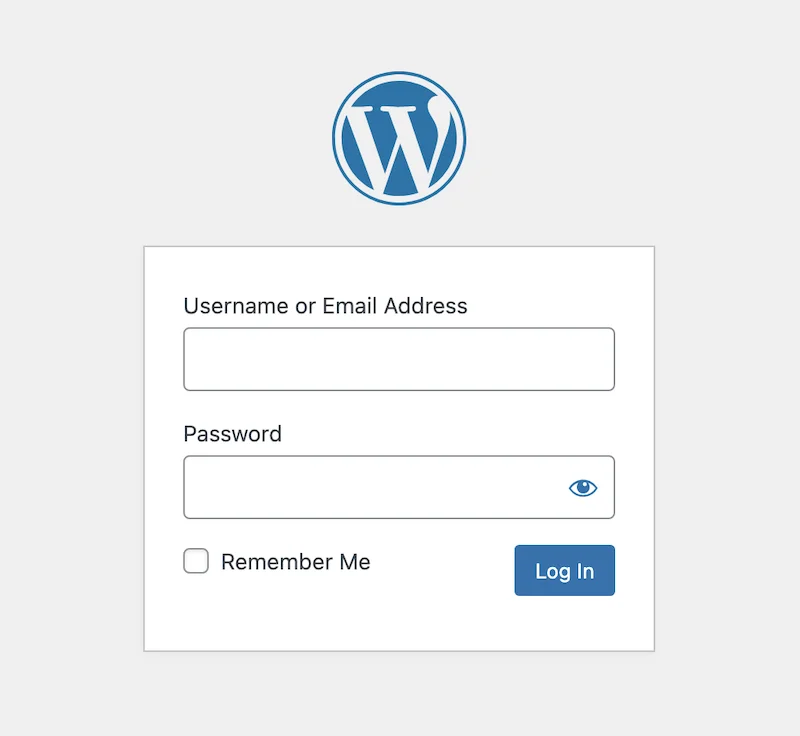
This will bring us to the WordPress login page for our website:
Now, we can enter our Username and Password.
And click Log In.
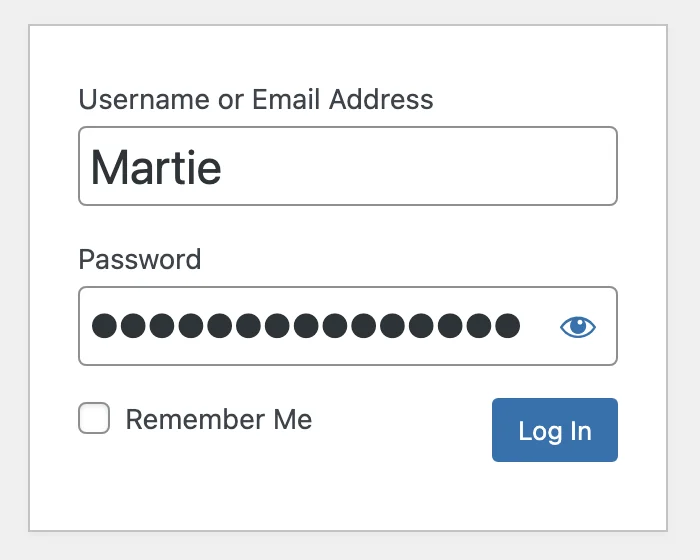
Note: We need to use the Username and Password we set during the installation process. (they will also have been emailed to us)
Delete Demo Plugins
WordPress comes with a few Plugins pre-installed.
Plugins are basically like apps we can install on WordPress, to add extra functionality to our website.
(like contact forms and shopping carts)
We can always install a few plugins, after learning the basics of WordPress.
But, for now, I recommend removing them entirely.
To do this.
We just need to click Plugins in our left dashboard menu.
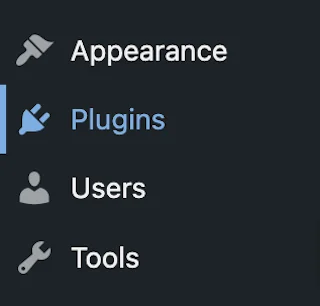
This will show us any Plugins we have installed on our site.
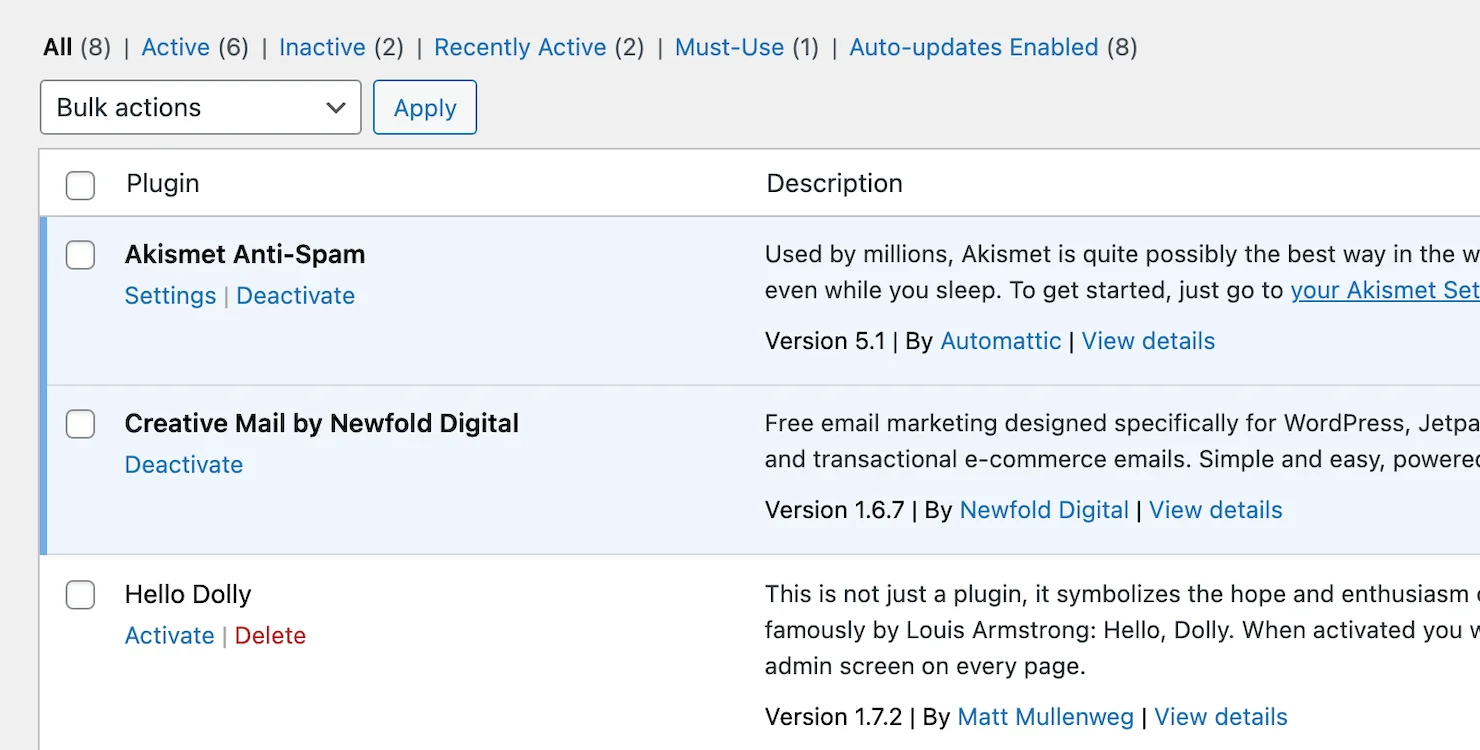
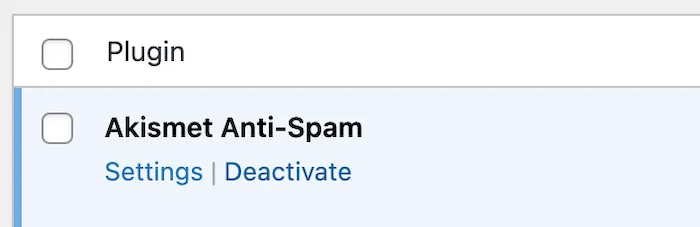
We can deactivate them one at a time, if we like.
By clicking Deactivate, under each one.
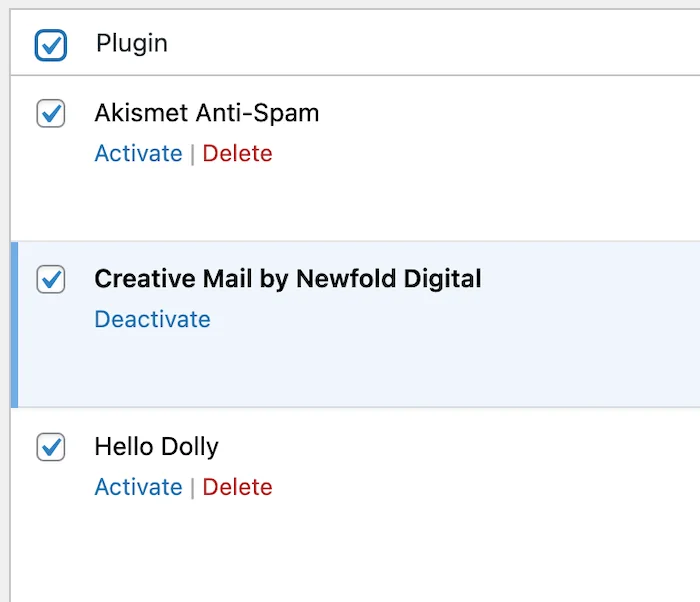
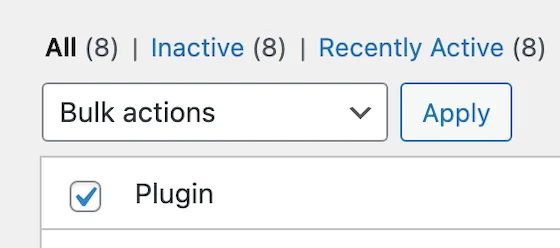
Or, we can check the box in the top left, to select them all.
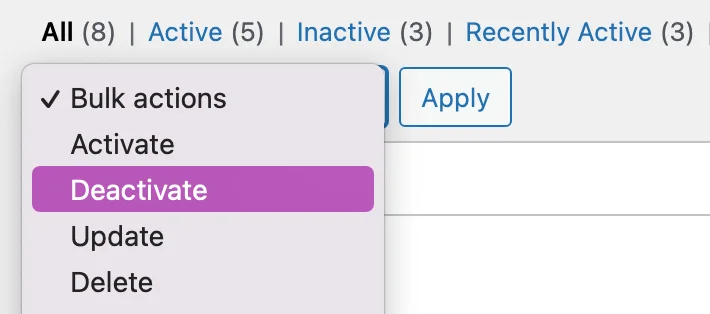
Then, change the drop-down menu, to Deactivate.
And click Apply.
WordPress will now deactivate all of the plugins we selected.

And now, we’re going to delete them.
(in basically the same way)
So, we’re going to check the box in the top left, to select them all again.
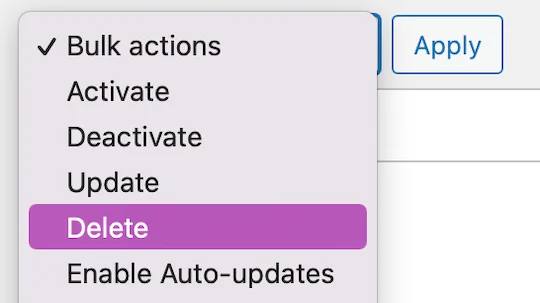
Then, change the drop-down menu to Delete.
And click Apply.
WordPress will ask:
Are you sure you want to delete the selected plugins and their data?
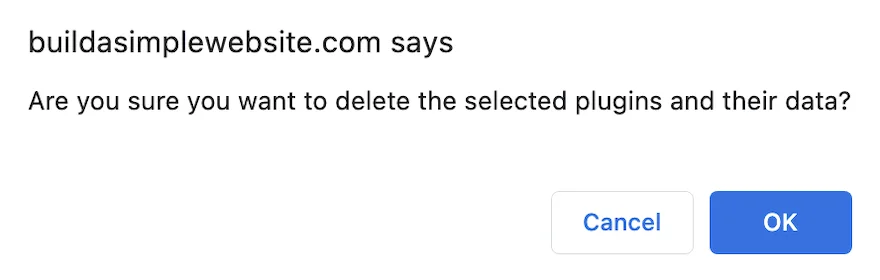
Just click OK to confirm.
And WordPress will delete all of the selected plugins.
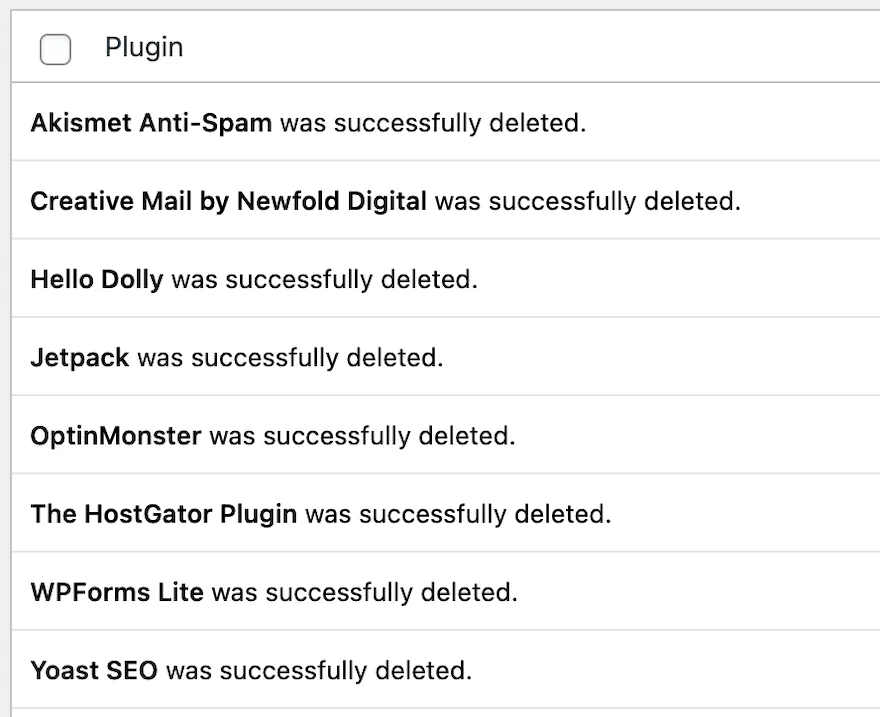
At this point, you might notice that a few of the options have disappeared from our left dashboard menu.
And this is the reason why I wanted to remove the plugins first, as the extra options can be a little confusing when trying to learn the basics.
Getting Started with WordPress (2024)
Now that we’ve installed WordPress.
And removed the demo plugins.
We can start learning the basics of WordPress.
Choosing a WordPress Theme
Themes are used to customize the design of our WordPress website.
They control things like colors, fonts, and layout.

There are thousands of WordPress themes available.
That we can install for free.
Directly from within our WordPress Dashboard.
There are Themes created for all types of websites.
(business, non-profit, online store, etc).
And in all kinds of styles.
(website, blog, portfolio, etc)

Some of the most popular (free) WordPress themes include:
With so many different options available.
It can be a little tricky trying to decide on which theme to use.
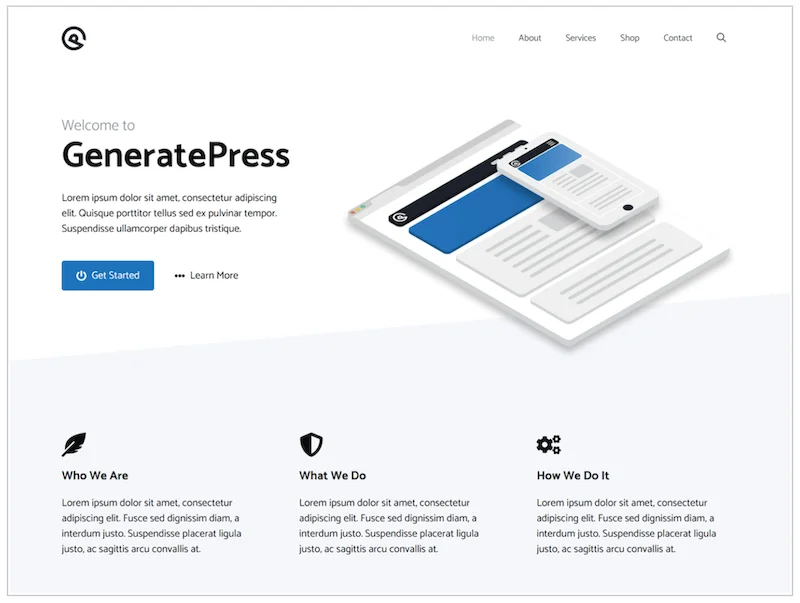
But, personally, I recommend going for the GeneratePress theme:
Why use GeneratePress?
GeneratePress is a perfect theme for getting started with WordPress.
It’s easy to use, and works well for almost any type of website.
(including online stores)
- GeneratePress is currently installed on over 500,000 websites online.
- The creators update the theme regularly (so it’s always up to code).
- It’s a very lightweight theme, built with a focus on speed.
- It’s 100% mobile friendly (looks good on any device).
- There are more than 60 different color controls.
- It’s easy to change the font (typography).
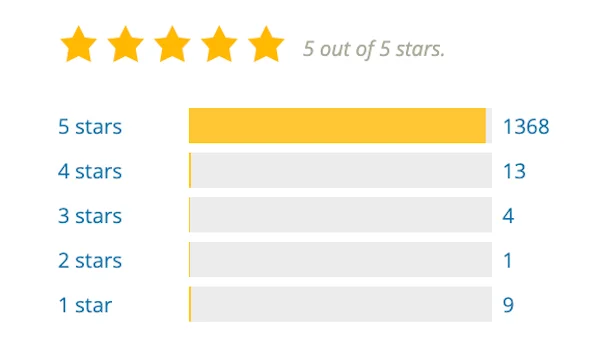
GeneratePress also has a perfect 5 star review score on WordPress.org.
(with over 1,300 reviews)
Helpful tip:
As all themes are unique and have different options.
I recommend using the same theme as me (GeneratePress).
Just while you’re learning the basics of WordPress.
This way all of the steps will be exactly the same.
You can always change the theme again later (if you want to).
Installing a WordPress Theme
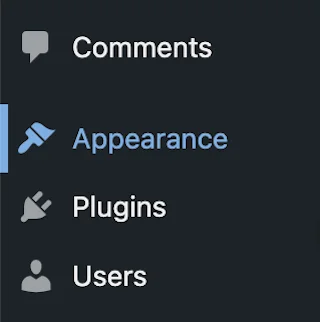
To install a theme on WordPress.
We need to click Appearance, in our left dashboard menu.
This will show us any themes we have installed.
(there will usually be a few pre-installed)
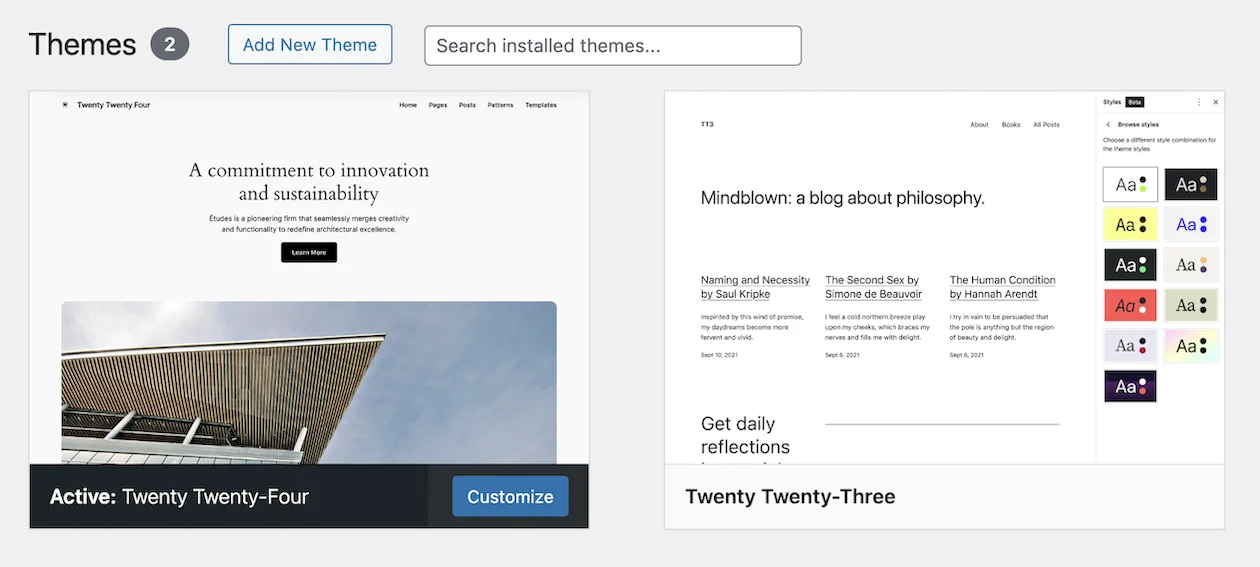
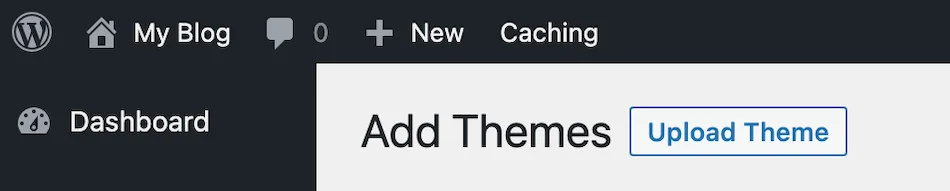
Then, to find a new theme.
We need to click Add New Theme, at the top.

We can browse through these different themes, until we find one we like.
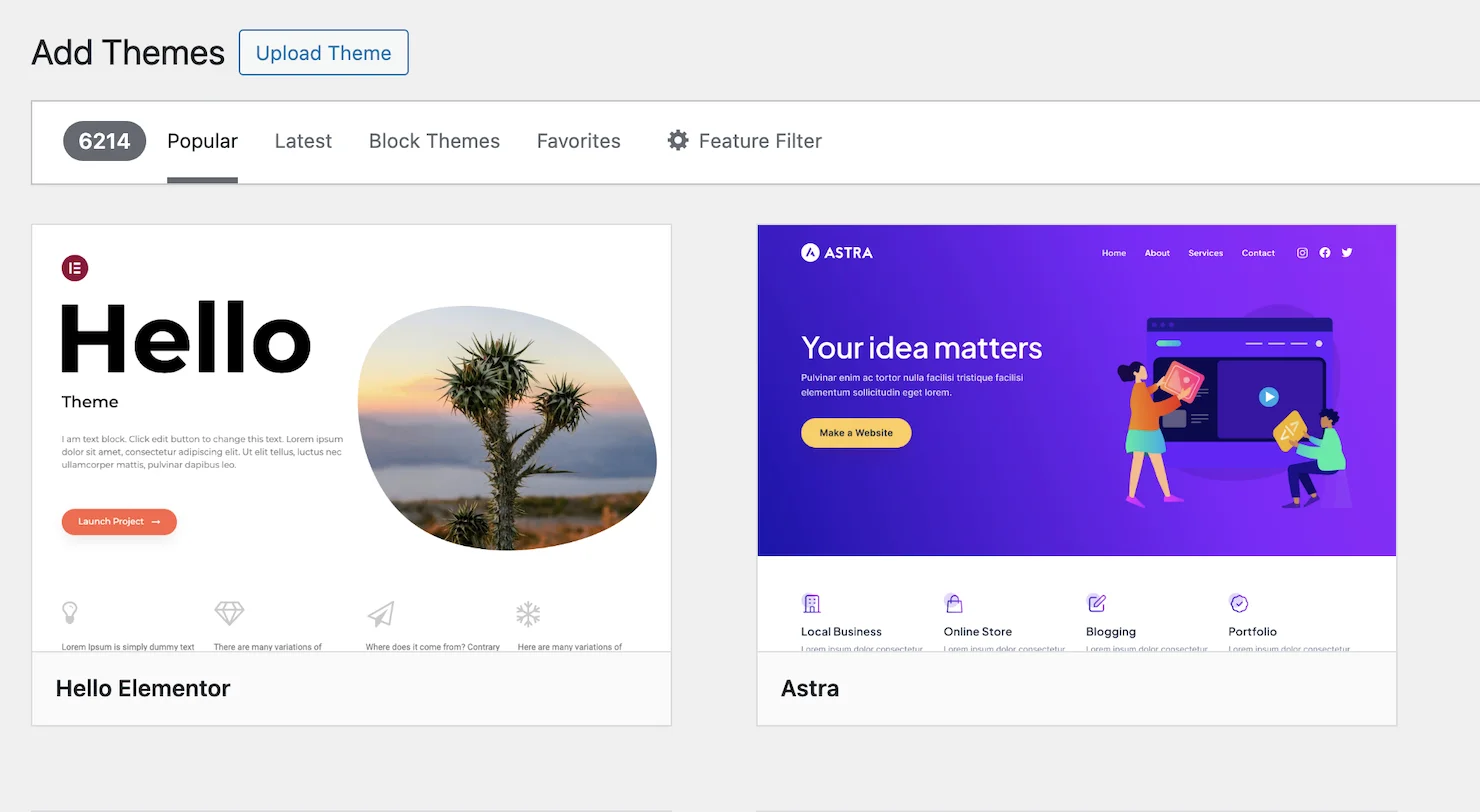
Or, we can search for a specific theme, using the Search bar in the top right.
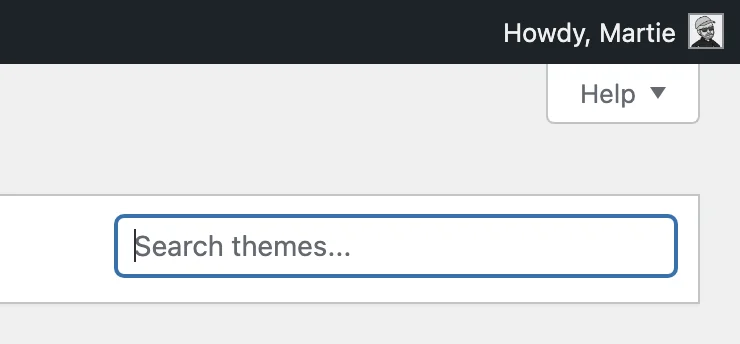
(type GeneratePress in here)
Then, when it shows up.
We need to hover over the theme and click Install.
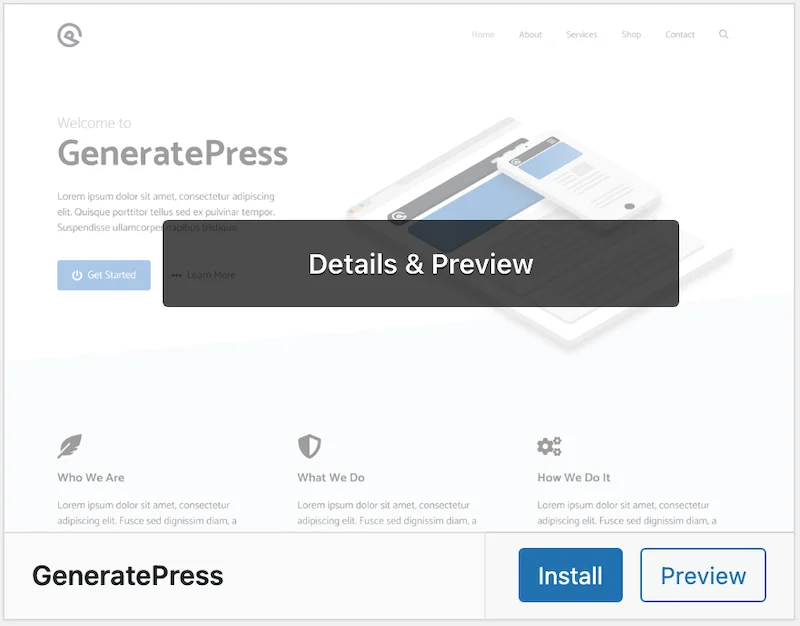
It will only take a few seconds to install the theme.
Then, once it’s finished installing.
We need to click Activate.

Once the new theme is active.

We can visit our website, by clicking our Site Title in the top left.
And we’ll see that it now looks completely different:
This means the theme has been installed successfully.
ENJOYING THE POST SO FAR?
Just enter your details below, and I will send you a quick email the next time I publish a new blog post or WordPress tutorial.
(unsubscribe at anytime)
Customizing our WordPress Theme
Once we’ve installed our new theme.
We can start customizing it.
To do this.
We need to be visiting our website (not the dashboard).
Then, we’re going to click Customize, in the top left.

Which is going to open up the Theme Options.
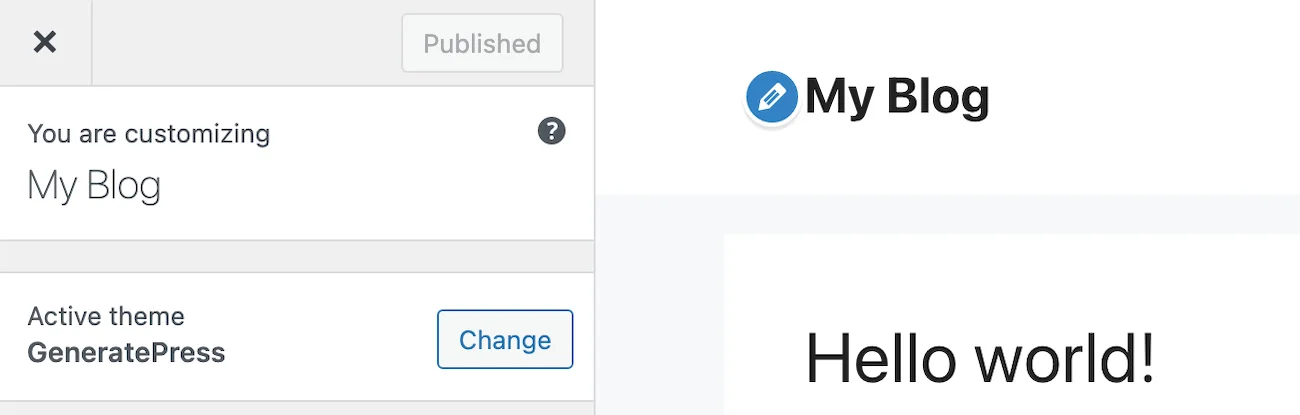
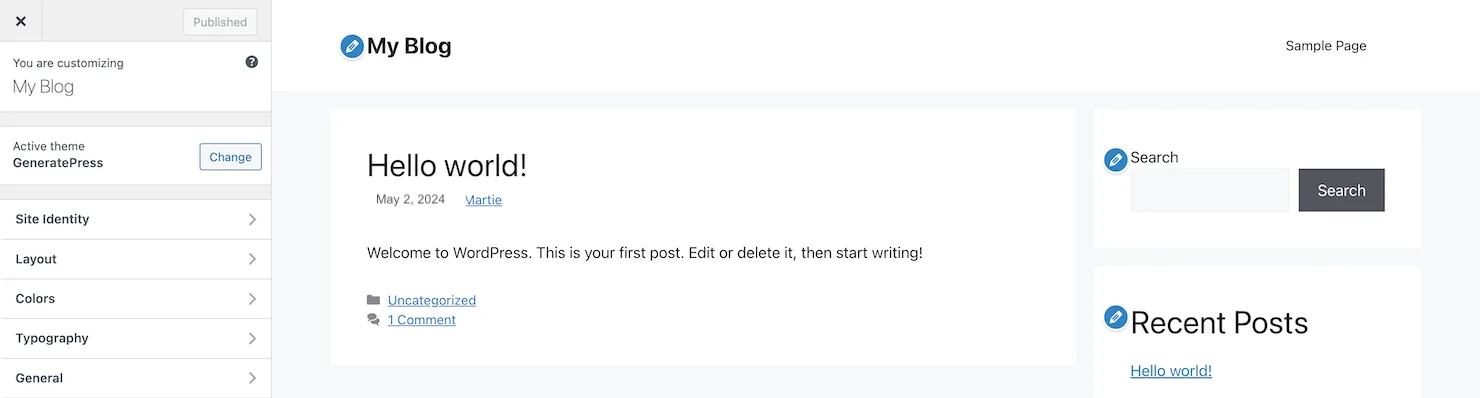
Here, we have a bunch of different options, running down the left hand side.

And then a LIVE preview of our website on the right.
Worth noting:
These options are sometimes very theme specific.
Meaning, if you do decide to change your theme at some point.
The options might be different.
(creating pages and adding content will be done in the same way, on all themes)
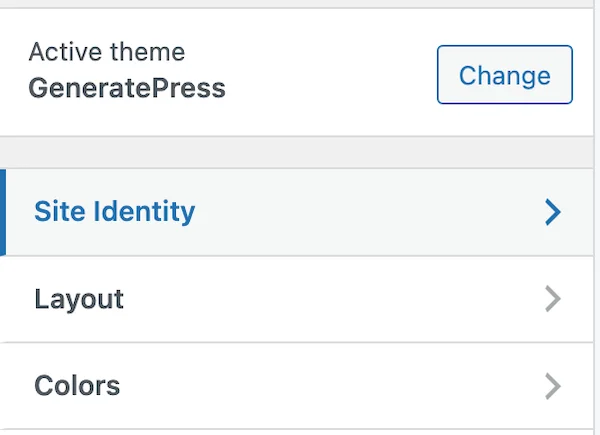
Site Identity (Branding)
First, we’re going to click into Site Identity, on the left.
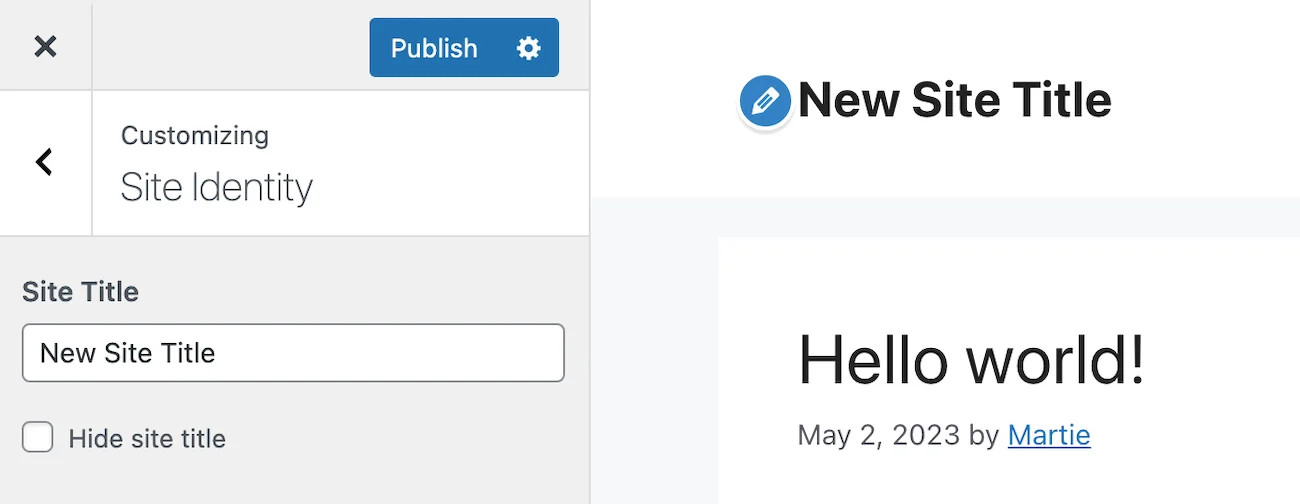
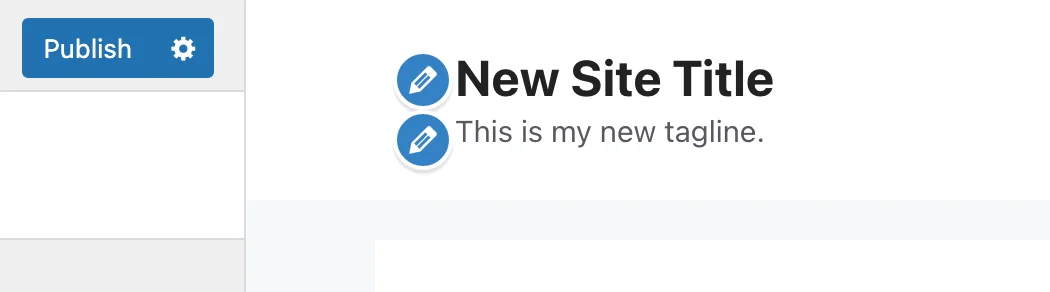
Then, on the left, we can change our Site Title.
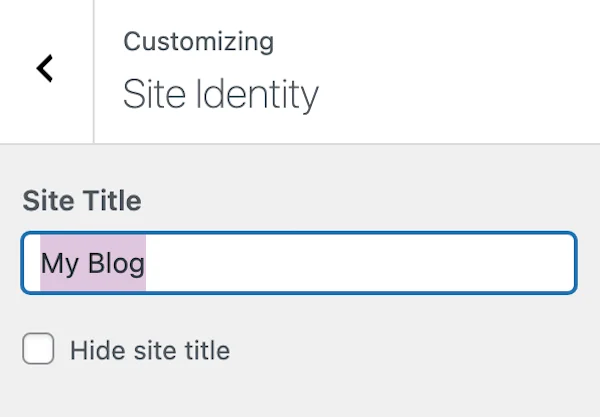
And we’ll see it updates, in the preview on the right.
Under Site Title (on the left).
We also have the option to add a Tagline.
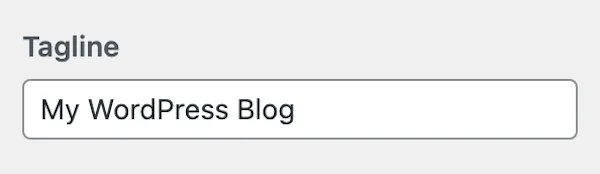
This is hidden by default.
But, we can uncheck the box, labelled Hide site tagline.
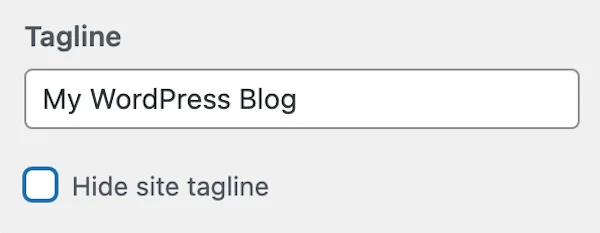
And we’ll see that it appears, in the preview on the right.
(underneath the Site Title)

Now, we simply need to change the text on the left.
And the Tagline will update, on the right.
Add a Logo (Optional)
If we have a logo image we’d like to use for our website.
We just need to click Select Logo on the left.
Then, click Select Files in the middle.

And locate the image on our computer.
Then, we can click on the image to select it.
And click Open.
(we can use either .png or .jpeg format)

Once it’s been uploaded.
We just need to click Select in the bottom right.

Now, we can either Crop our image, if we need to.
Or, click Skip cropping, if we don’t.

At this point, we’ll see our logo now appears in the top left of our site.
(beside our site title and tagline)
Then, if we want to hide the site title and tagline.
We can check the 2 boxes on the left:
- Hide site title
- Hide site tagline


And this will remove them.
Worth noting:
Both the site title and tagline may appear in search engine results.
(when people are searching for our website)
So, it’s best to change both of these.
Even if you’re hiding them.
Don’t worry if you don’t have a logo right now.
You can always add one later (optional).
Or, maybe design a simple one yourself,
using a free tool like canva.com.
Add a Site Icon (Optional)
Then, the last option on the left, is to add a Site Icon.
Site icons are the tiny images that appear beside a website’s name in our browser.
(sometimes referred to as favicons)
They’re basically a way for users to tell what websites are open, in which tab.
WordPress suggest using a square image that is: 512 by 512 pixels.
Don’t have a Site Icon?
If we don’t have an image to use for this.
We can create a site icon, using this free tool.
Or, we can resize an image we already have, using this one.
Then, to add our site icon on WordPress.
We need to click Select site icon, on the left.
This will bring us into the WordPress Media Library.
Where we’ll see any images that we’ve previously uploaded.
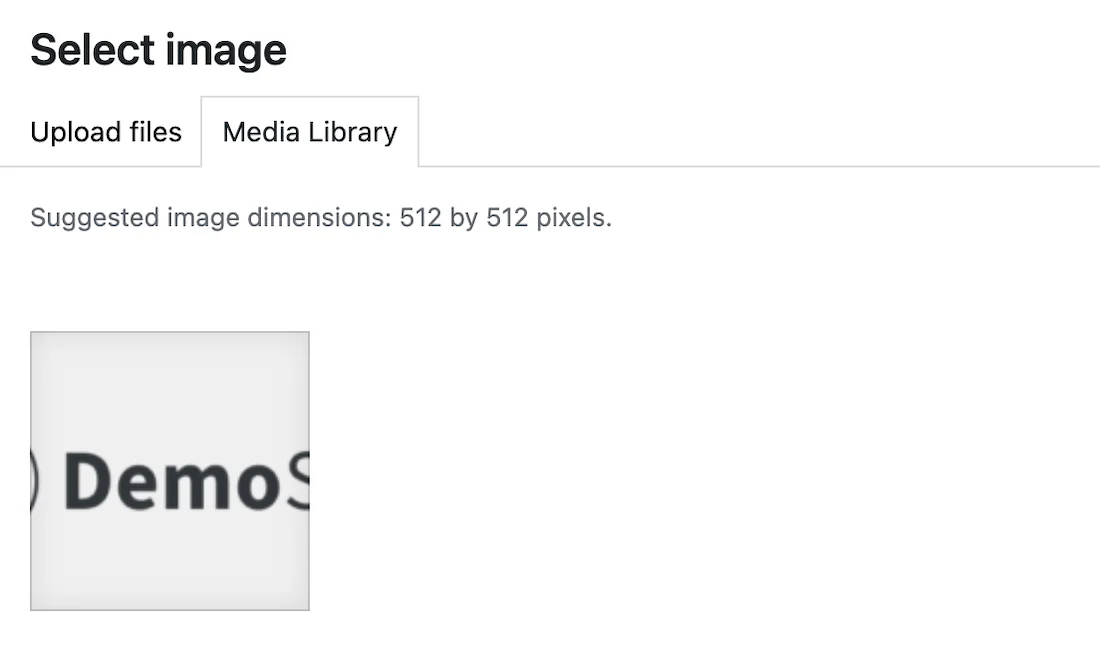
Now, we’re going to click Upload files at the top.

Then, click Select Files in the middle.
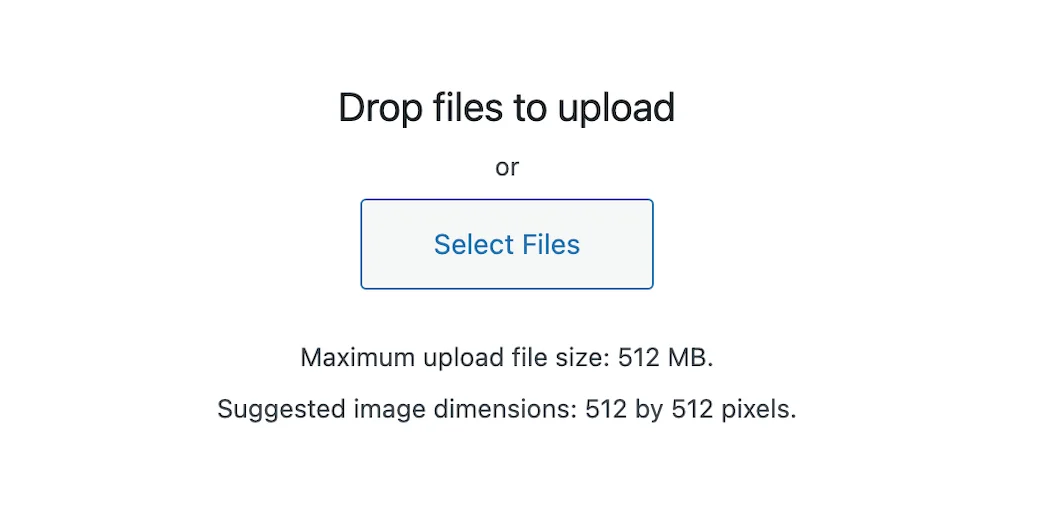
And locate the image we want to use, on our computer.
Then, click on the image to select it, and click Open.
Once the image has been uploaded (a few seconds).
We can click Select in the bottom right.
At this point.
We’ll see that our site icon has been updated.
Then, once we’re happy with these options.
We can click the back pointing arrow, in the top left.
To get back to the main list of theme options:
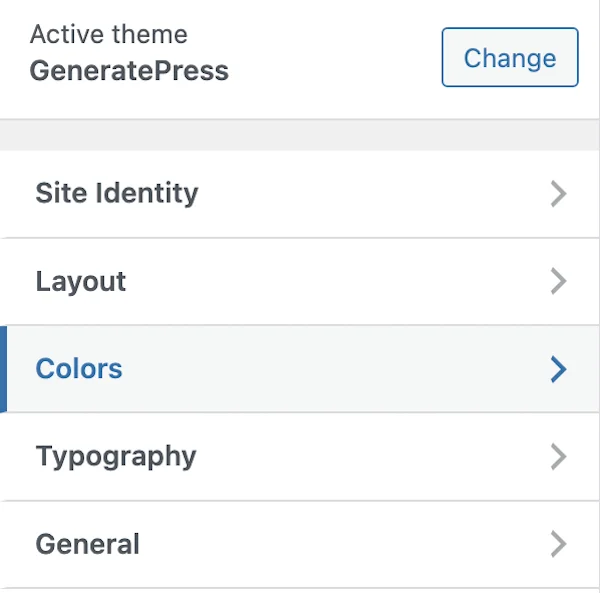
Change Website Colors
Now, we’re going to change the different colors of our website.
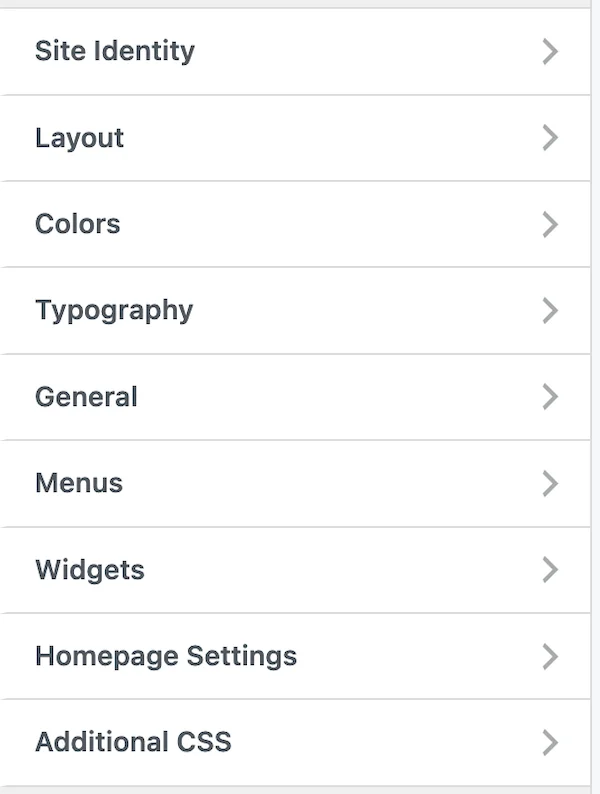
To do this, we need to click into Colors on the left.
Then, on the left, we’ll see all the different colors we can change.
(under Global Colors)
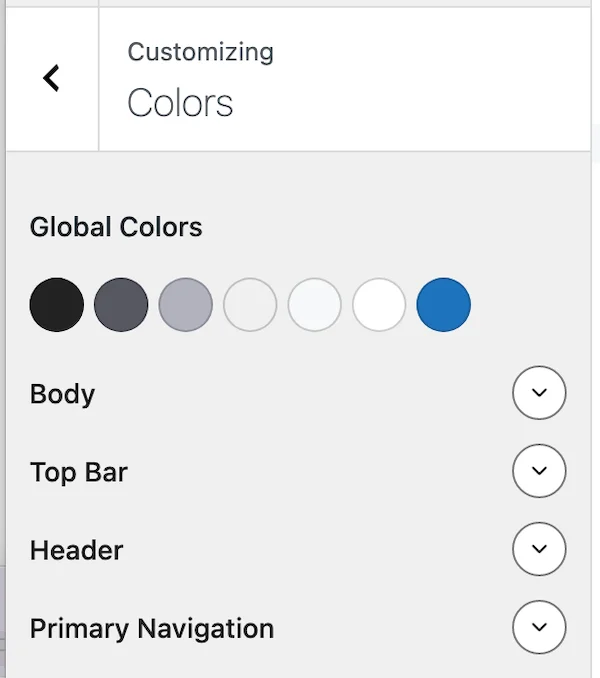
These include things like:
- Body
- Header
- Primary Navigation
- Footer Bar
This post explains what each of these colors are used for (new tab).
Then, to change the colors.
We need to click the down pointing arrow, to the right.
Which is going to show us the different colors, that belong to that specific group.
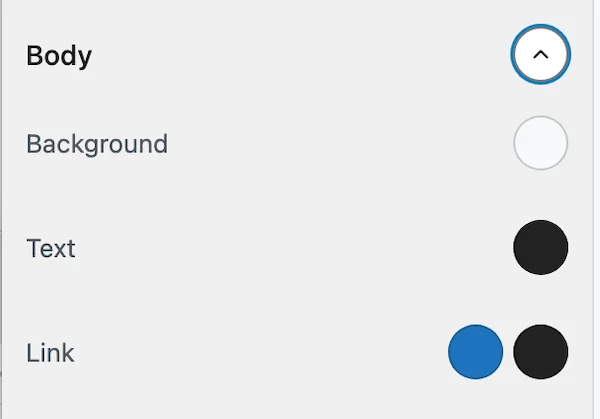
Then, click on the color to the right.
And choose the color we want to use.
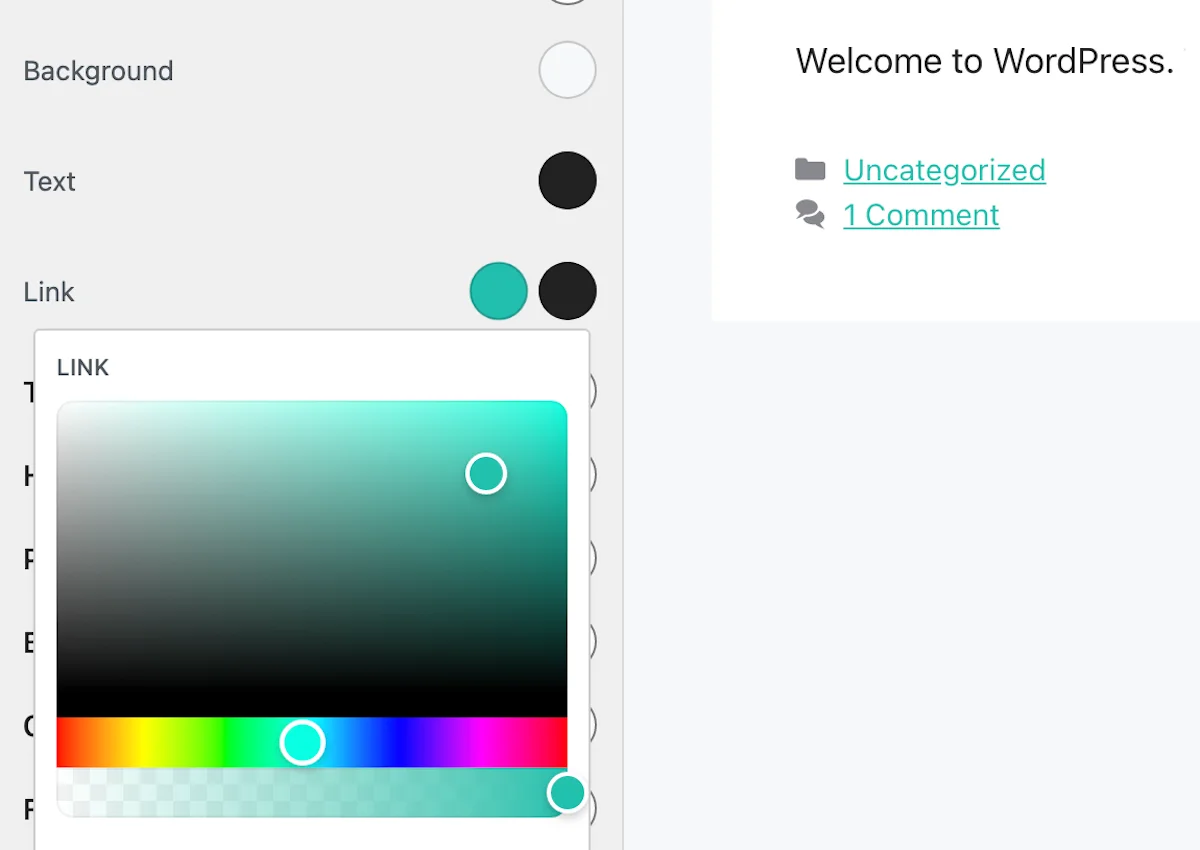
When we do this.
We’ll see that our colors update in real-time.
(in the preview, on the right)
Then, once we’re happy with our colors.
We’re going to click Publish at the top, to save our changes.
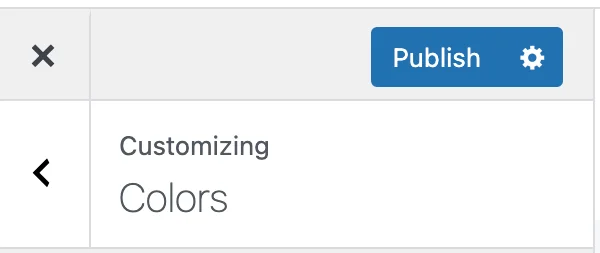
Then, click the X in the top left, to close out of the theme options.
And at this point.
We’ll see that all of the changes are now LIVE on our site.
Creating Pages on WordPress
Now that we’ve finished customizing our theme.
We can start adding some pages to our new website.
To do this, we need to visit the dashboard.
By clicking our site title in the top left.
(which has now been updated, if we changed it)

Then, we can click into Pages on the left.

And this will show us any pages we have on our site.
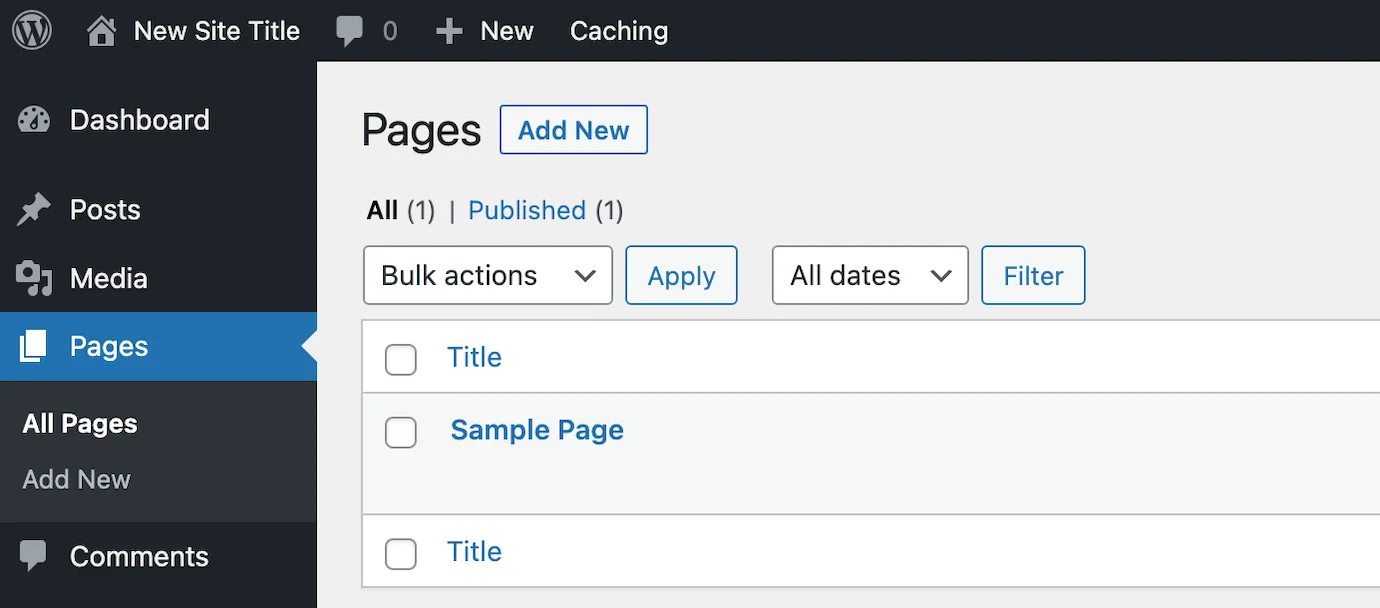
At this point, we can delete the demo page.
By hovering over the page name, and clicking Trash.
(we don’t need it)

Then, to add a new page, we need to click Add New at the top.

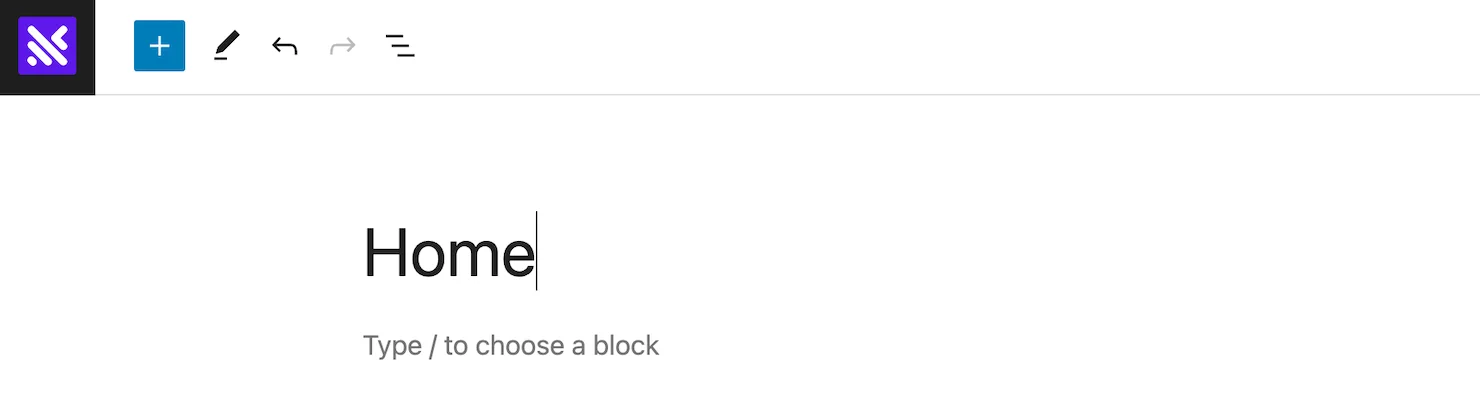
This is going to open up the WordPress page editor.
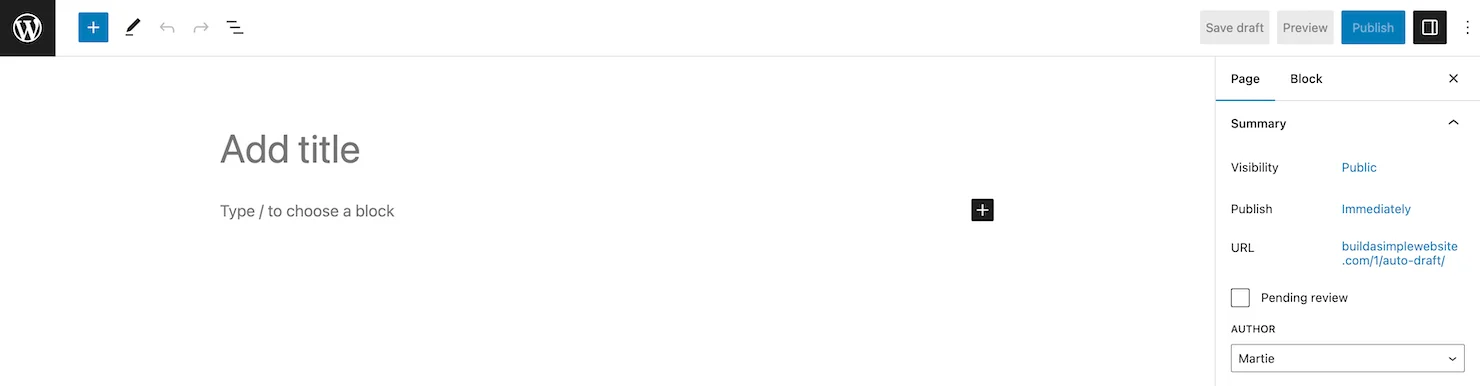
First, we can give our page a title, at the top.
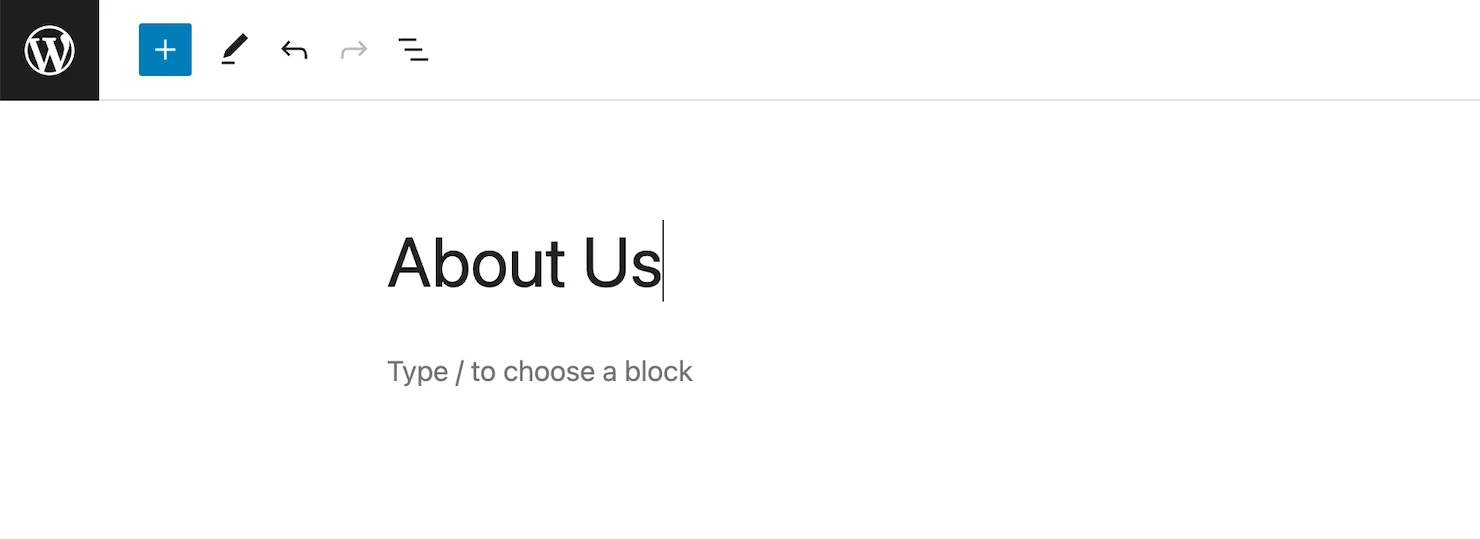
Then, under this.
We can type any text (or paste) we want to appear on our page.
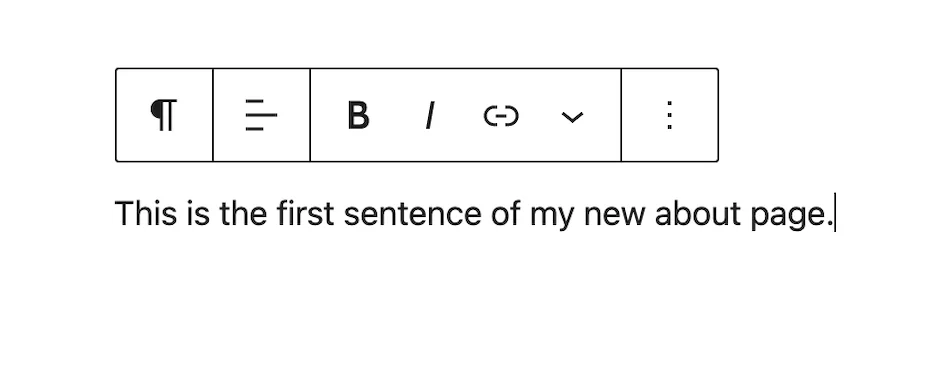
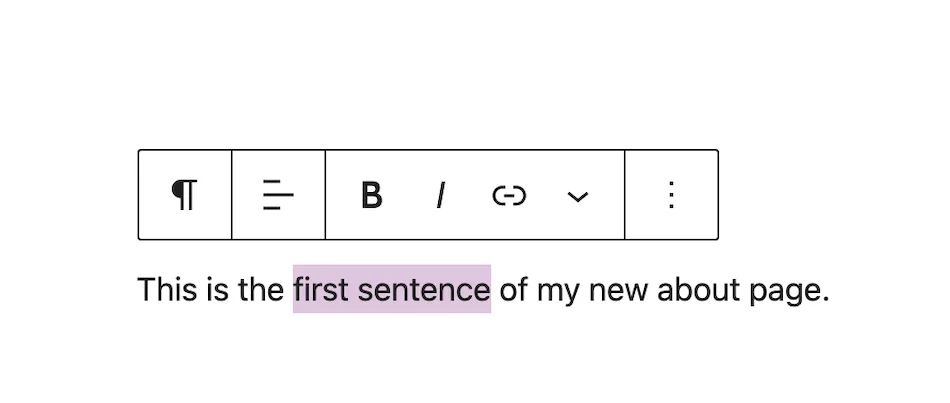
If we want to make any of our text bold.
We just need to highlight the text.
And click the B icon in the menu above it.
Add Text Headings
If we want to add a text heading to our page.
We just need to take a new line, where we want to add it.
And type the text we want to use.
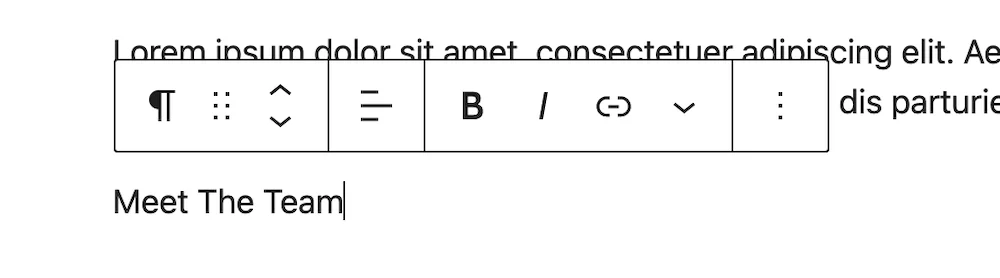
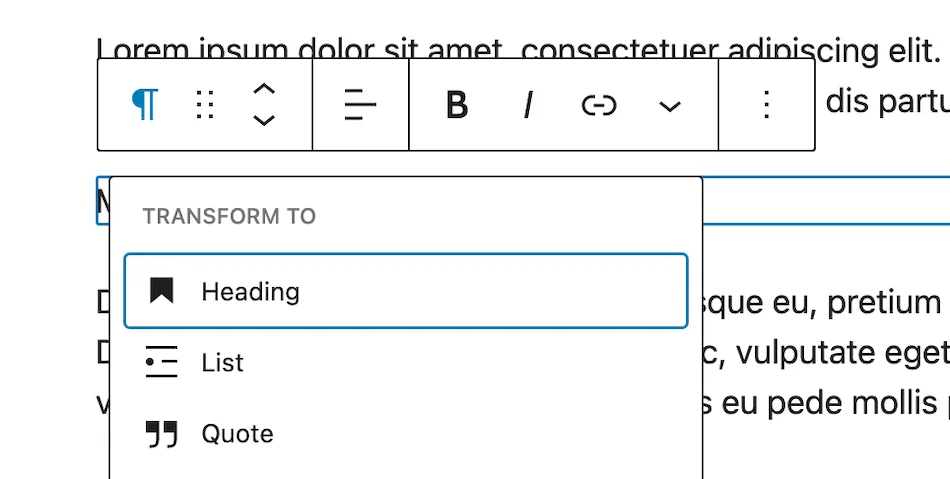
Now, we’re going to click the backwards letter P, in the menu above it.
And choose Heading.
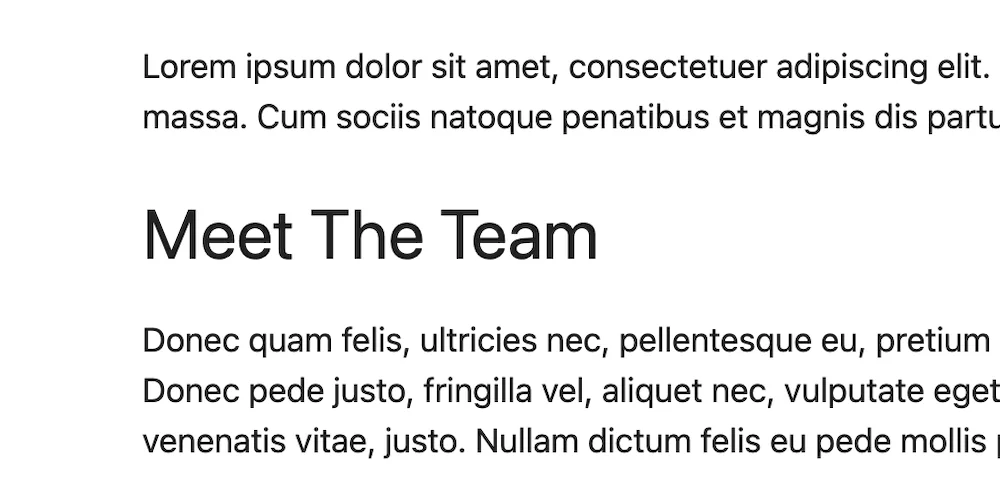
We’ll see it updates in the editor.
We can also change to different heading sizes as well, by clicking on the text heading in the editor.
Then, click H2 in the menu that appears above it.
And choose a different heading size.
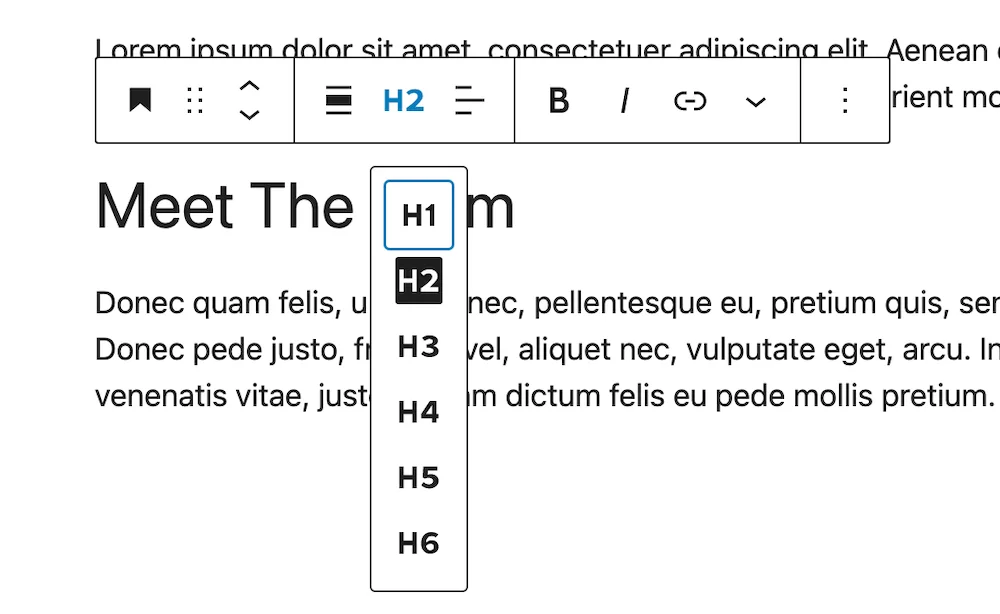
Quick tip:
It’s not recommended to use size H1, within the page text.
As it’s already used for the page title.
(H2 & H3 are best / most common)
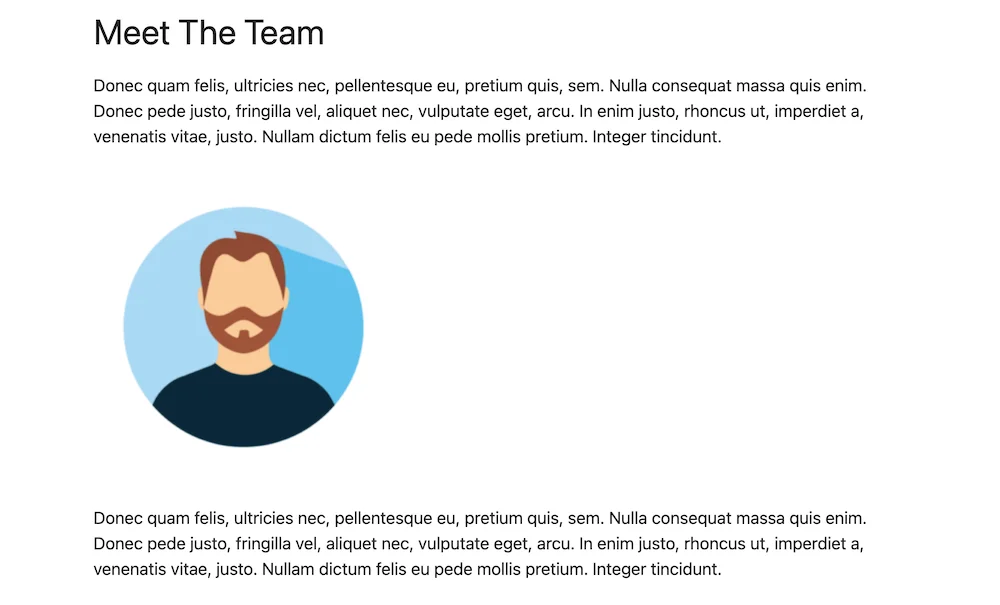
Add Images
We can add some images to it as well.
To do this.
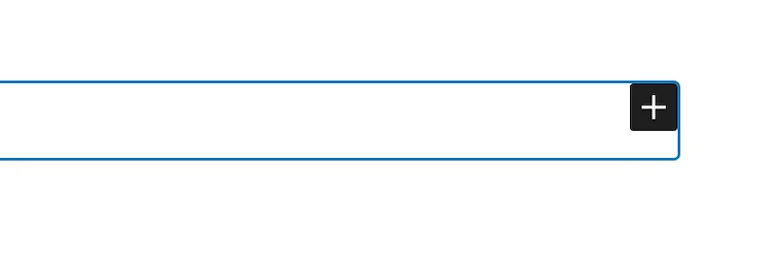
We just need to take a new line, wherever we want to add our image.
And click the plus symbol [+] to the right.
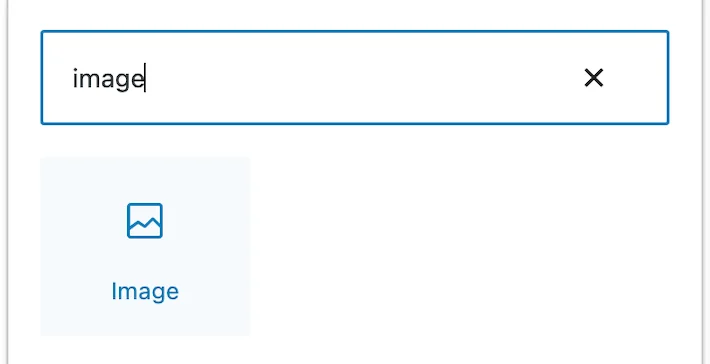
Then, type the word image into the search bar.
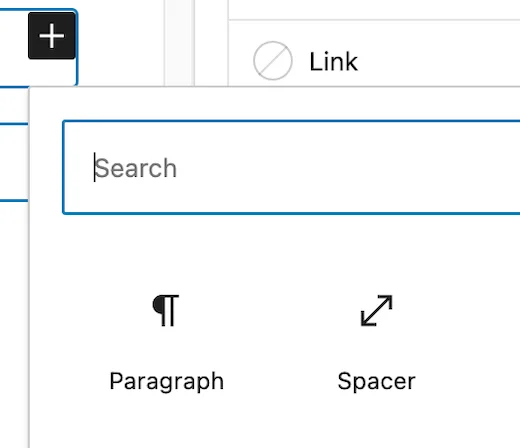
And click on the Image block, to add it to our page.
Now, we can click Upload.
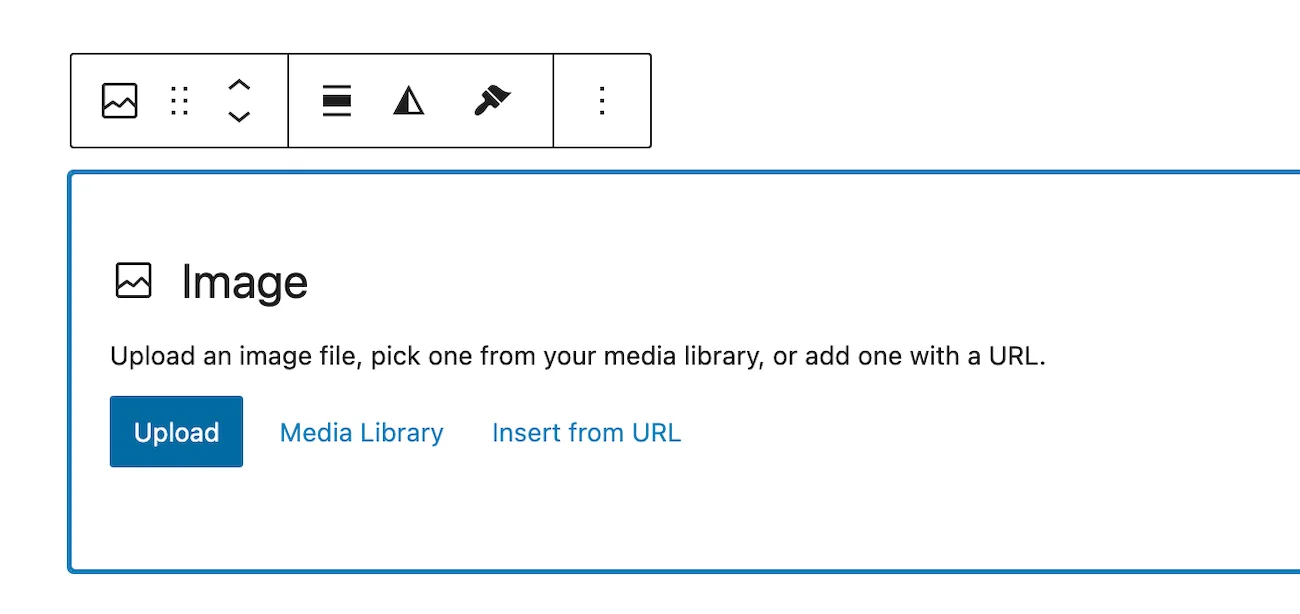
Then, find the image on our computer
Click on it and click Open.
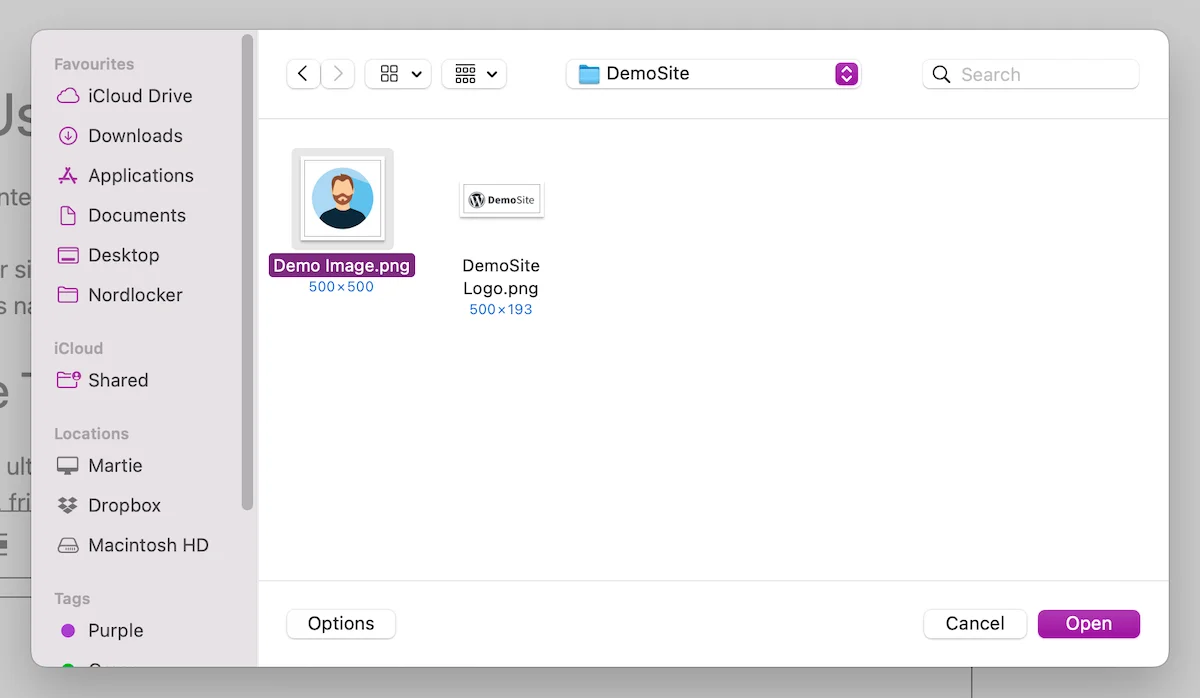
At this point, we’ll see that the image has now been added to our page.
And now, if we look over to the right.
We can change the image size (if we need to).
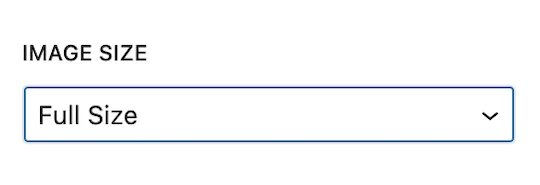
- Thumbnail = 150 x 150 px
- Medium = 300 x 300 px
- Large = 1024 x 1024 px
- Full Size = Full sized image
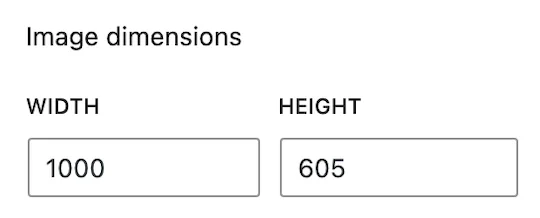
Or, we can set the specific image dimensions (underneath).
And now that we know how it’s done.
We can repeat the process above, to add as many images as we like.
Quick tip:
If we ever want to get back to an images size options.
We just need to click on the image.
And make sure we’re in the Block tab (in the top right).

Don’t have any images?
Here are a few websites to get free images:
- https://kaboompics.com/
- https://isorepublic.com/
- https://libreshot.com/
- https://negativespace.co/
- https://startupstockphotos.com/
Or, we can use a free tool like Canva to create our own.
Preview Pages
If we want to preview our page.
(to see how it’s looking so far)
We just need to click Preview, in the top-right of the editor.

Then, click Preview in new tab.
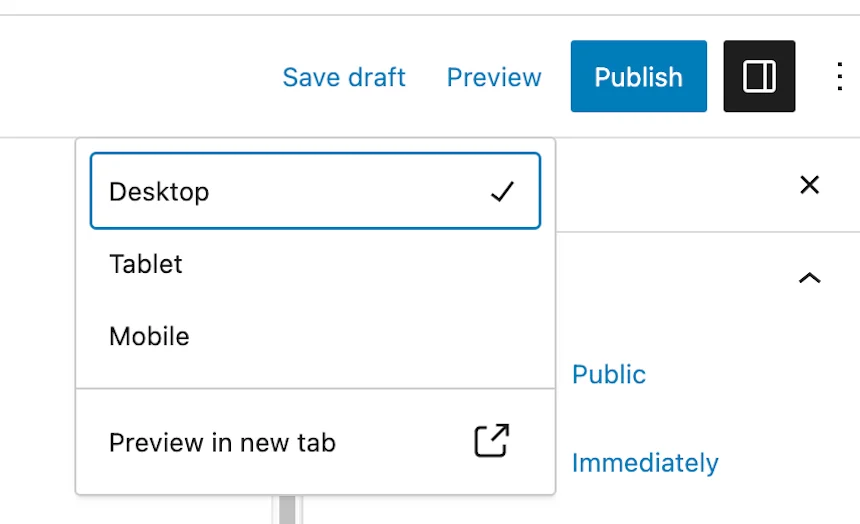
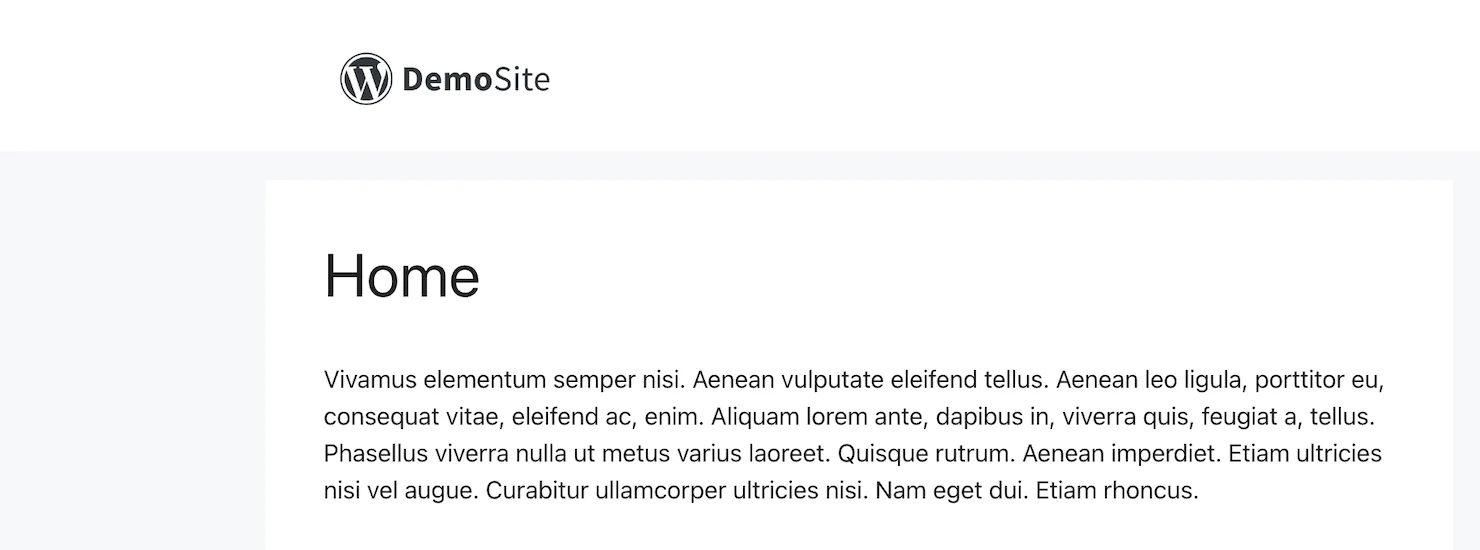
This will open up a preview of our page in a new tab:

Then, once we’re done previewing the page.
We can close out of the new tab.
And make any changes to the content on our page (if we need to).
Publishing Pages
Once we’re finished adding content to our page.
We can publish it (make it LIVE online).
To do this.
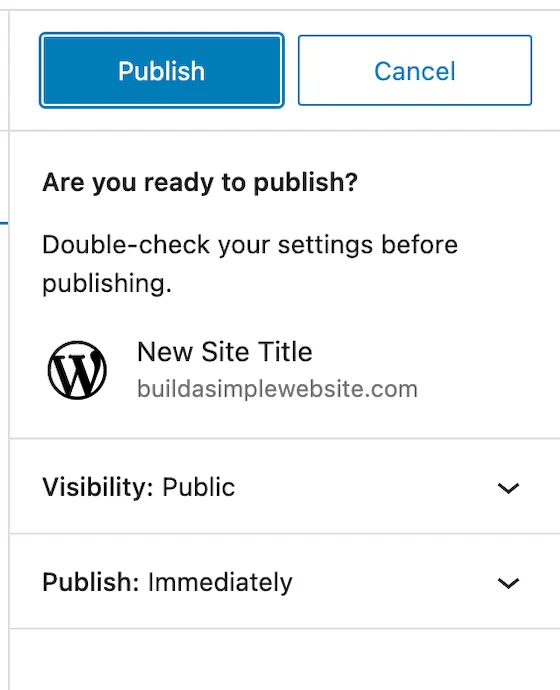
We just need to click Publish in the top right.
Then, click Publish again (to confirm).
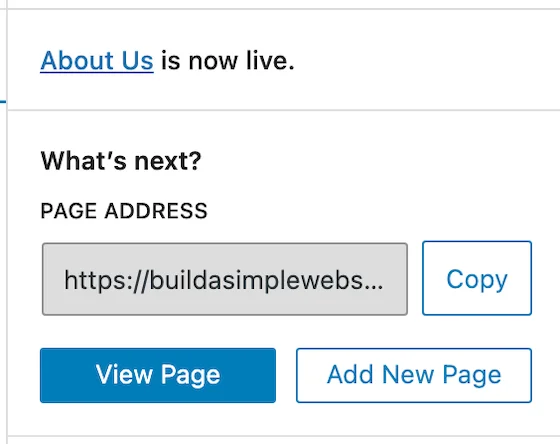
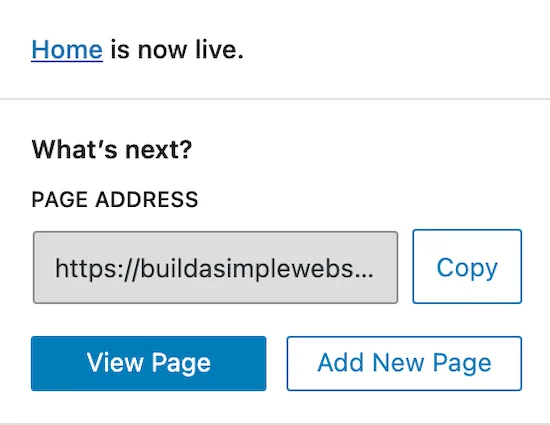
At this point.
We’ll get a message saying our page is now live.
And we can click View Page to visit it.
And now that we know how to add pages.
We can create as many of them as we need.
If you’re not sure what page to start with.
I’d recommend an About page.
This is a page that tells users who we are,
and what they can expect from our website.
Setting a Custom Home Page
WordPress was originally set up as a blogging platform.
And that’s why we have a blog on the home page.
But, for a website.
We’re going to want a “static page” as the home page instead.
Static page = a standard page.
To do this.
We first need to create the page we want to use.
With the title Home, or something similar.
(following the steps above)
Then, once we’ve published our new page.
We can assign it as our home page.
To do this.
We need to open up our Theme Options again.
So, we’re going to click our site title, in the top left.
(to visit our website)

And click Customize at the top.

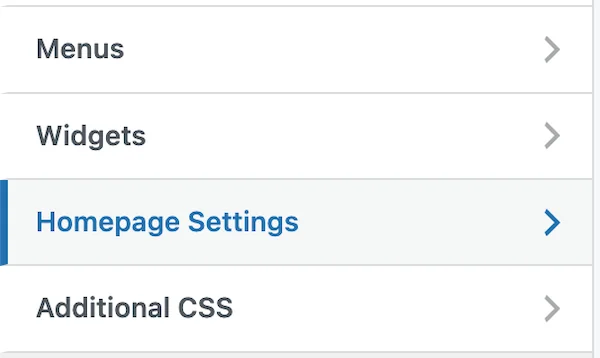
Then, we’re going to click into Homepage Settings on the left.
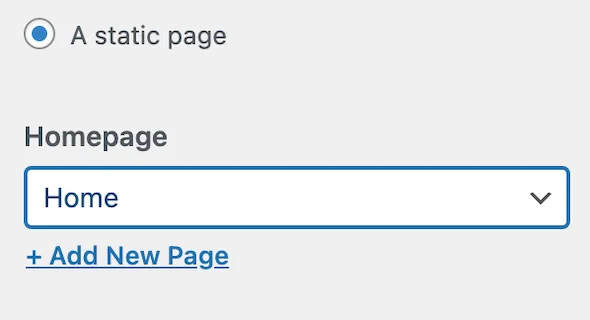
And change this option to A static page.

Then, under Homepage, we can select the page we want to use.
(mine is called Home)
Now, we can click Publish at the top, to save our changes.
And then, click the X in the top left, to close back out of the theme options.

At this point, we’ll see that our home page has been updated.
And it’s now showing our new page, instead of a blog.
So, that’s us now at the end of this WordPress guide for beginners.
I really hope you have found it helpful.
But, more importantly.
I hope you managed to get started with WordPress without any problems.
(let me know how you got on in the comments below)
What to do Next?
#1. Subscribe to Let’s Build WP.
If you subscribe to my newsletter.
I'll send you a quick email anytime I publish a new piece of content (no spam).
#2. Leave a comment.
Please let me know what you though of this post in the comments below.
Is there anything you think I should change, or any improvements I should make?
I'd love to hear what you thought.
#3. Share this post with friends.
If you know anyone else that would like to get started with WordPress?
Please share this post with them:
https://letsbuildwp.com/get-started-with-wordpress/
(I would really appreciate it!)
#4. Keep learning WordPress.
If you’re in the mood to learn more?
You can find more WordPress tutorials here.
And over on my YouTube channel.
Until next time,
Martie.