
In this post, we’re going to be covering how to install WordPress on Bluehost web hosting in 2024.
I’m going to guide you through every step of the process, in a way that anyone should be able to understand.
(zero previous experience required)
Why use Bluehost?
Here are just a few reasons to consider using Bluehost:
- Bluehost are very popular (they currently host over 2 million websites).
- We can install WordPress on Bluehost in about 30 seconds.
- Affordable pricing and great discounts (up to 50% off).
- Free domain name (worth $12.99).
- Free SSL security certificate.
- 24/7 live chat and email support.
- 30 day money back guarantee (no risk).
WordPress.org also recommend using Bluehost.
It’s actually their number one choice for hosting!
How to Install WordPress on Bluehost
If you prefer written instructions, you can find them below.
📓 Video Transcript – Click to Open/Close
Installing WordPress on Bluehost – Tutorial Transcript
Hi guys, it’s Martie here from ysl.srb.temporary.site/website_c366d4a5.
And in this video, we’re going to be covering how to install WordPress on Bluehost web hosting.
And for anyone who doesn’t know already.
Bluehost are one of the most popular hosting companies for WordPress.
They include a free domain name with all of their hosting packages.
And they’re even recommended by WordPress.org themselves, as their top choice for hosting.
If you already have a Bluehost account, and just want to know how to install WordPress, you can skip ahead to the time on screen now.
Visit Bluehost
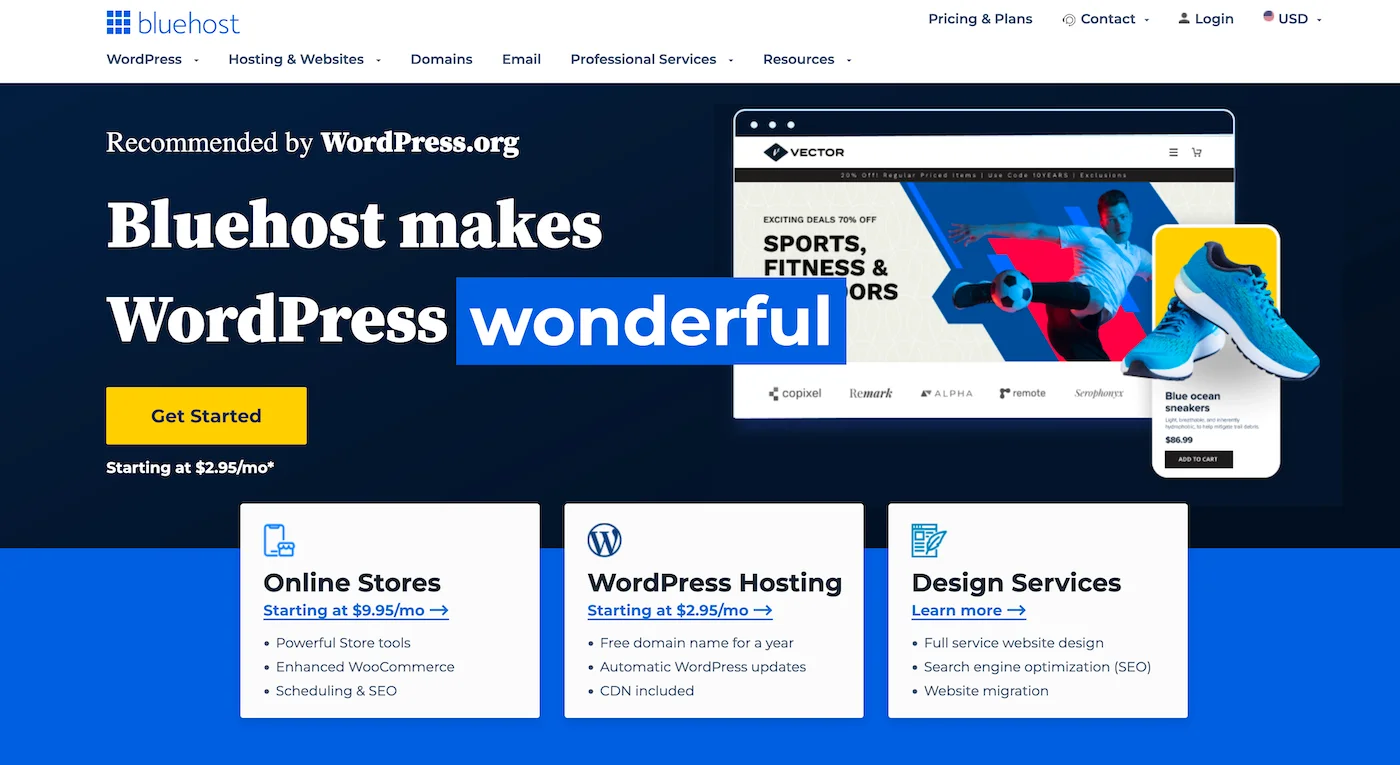
Then, for everyone else, we’re going to open up our internet browser, and go to bluehost.com.
Or, if you want to support this channel and get a discount on your order, at the same time. You can use my affiliate link in the video description.
I’ll earn a small commission if you do this, and you’ll also get a great discount.
Register Domain Name & Hosting (Bluehost)
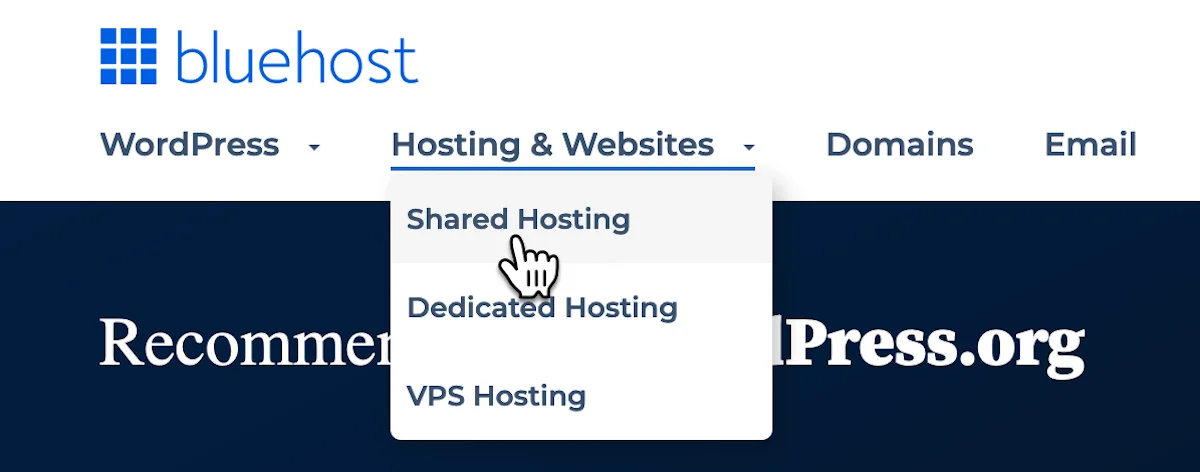
Then, once we get here, we’re going to hover over “Hosting & Websites” at the top.
And click “Shared Hosting”.
Then, if we scroll down, we’ll see the different hosting plans that Bluehost offer.
If you’re just getting started with WordPress.
I’d recommend going for the “Basic plan”.
This allows us to create 1 single website.
And it comes with a free domain name for a year.
Or, if you’re wanting to build more than 1 website, you could go for the “Choice Plus” plan, but this is really up to you.
Then, once we’ve decided on our plan, we just need to click “Select”.
That's going to bring us to this page, and this is where we’re going to register the domain name for our new WordPress website.
So, we just need to type whatever we’re wanting to register as our domain name, into this box on the left.
And for my example, I'm going to type “martieswebsite”.
Then, on the right, we can choose our domain extension.
And I’m going to choose .com.
So, the domain name I’m registering here, is martieswebsite.com.
Then, we’re going to click “Next”.
And when we do, we’ll hopefully get a message at the top of the screen, telling us the domain is available.
But, if it comes up and says the domain is not available, we will need to choose something else.
Then, as long as it’s available.
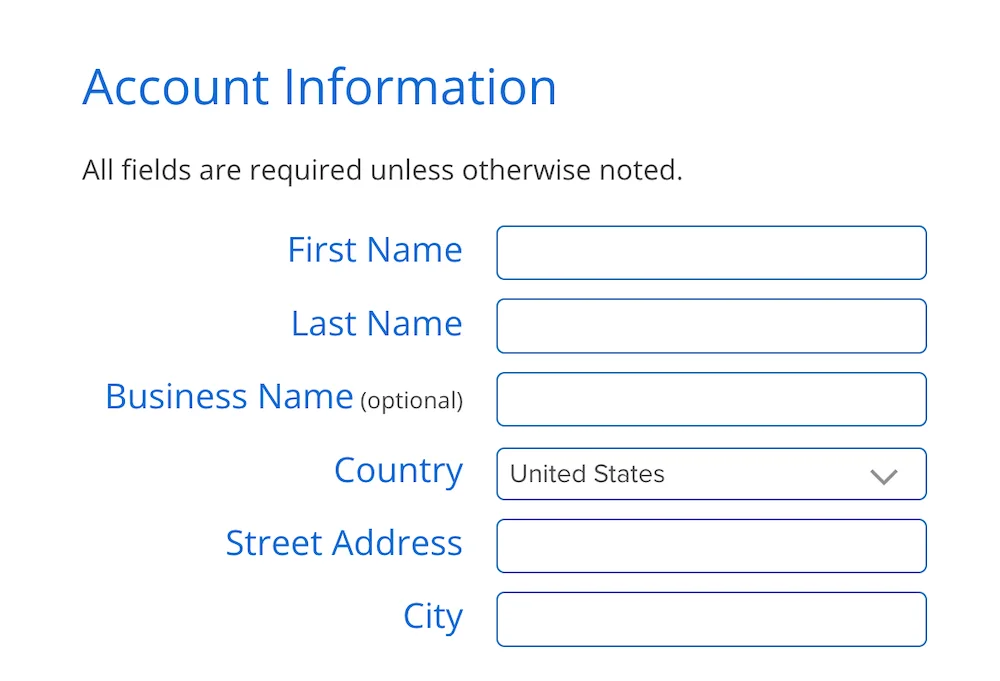
Underneath, we can enter our account information.
So, things like our name and address.
Then, under this, it says “Package Information”.
And here, we’ll see that it’s only going to cost me $35.40, for 12 months of hosting.
Which works out at around $2.95 per month.
And we also get our domain for free.
Then, below this, it says “Package Extras”.
And these are just some added extras that Bluehost offer.
Personally, I don’t want any of these, so I’m just going to uncheck the boxes.
But, you can have a read through them yourself and check the box beside any you want.
Then, under this, we can enter our payment details.
Or, we can choose PayPal.
Then, finally, down at the bottom, we just need to click “Submit”.
At this point, we’ll either see a payment processing screen, or we’ll be redirected to PayPal to login and pay for our order.
Create Bluehost Password
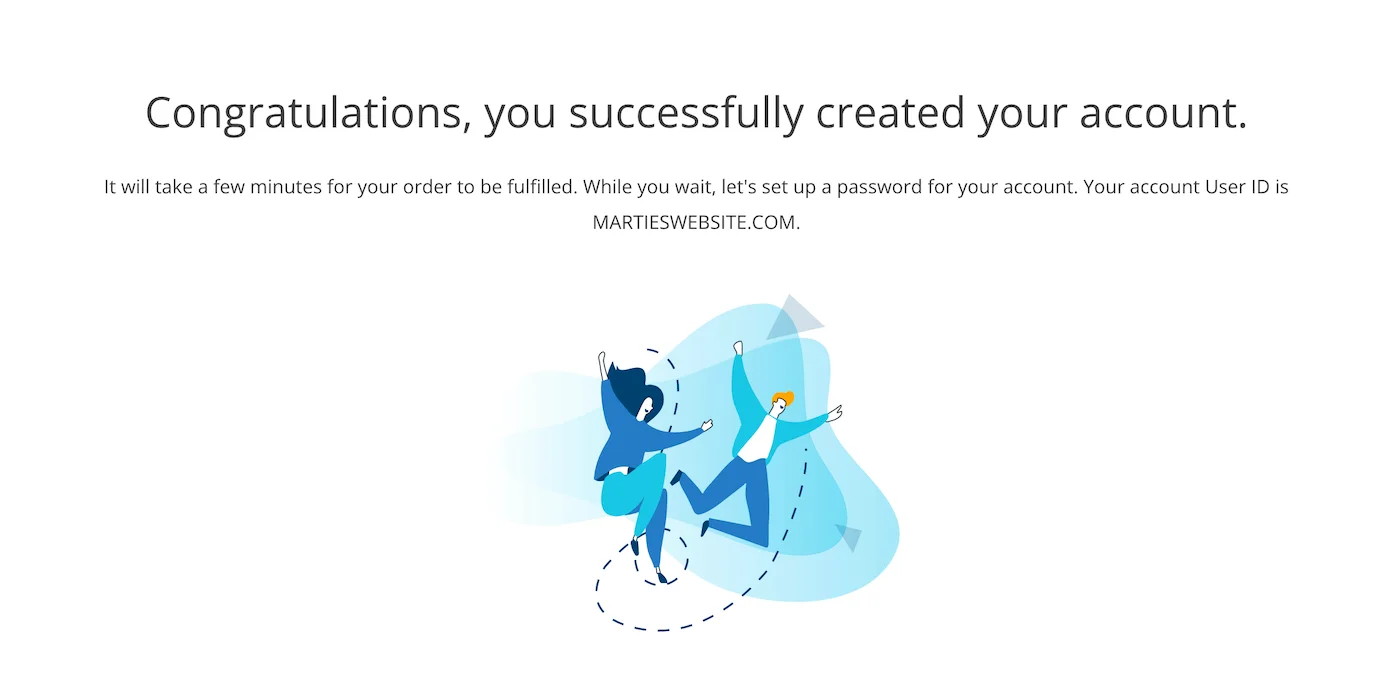
Then, after paying for our order, we’re going to get a message saying: “Congratulations, you successfully created your account”.
Now, we’re going to click “Create password”.
Enter the password we want to use for logging into our Bluehost account.
And click “CREATE PASSWORD”.
Then, we need to type in the new password.
And then click “NEXT” to log in.
Install WordPress on Bluehost (2024)
When we first create our Bluehost account, it’ll automatically bring us through the WordPress installation process.
But, if we’ve already done this before.
We just need to click into “WordPress Hosting”, on the left.
Then, click “Add Site”, over to the right.
Make sure “Install WordPress” is selected on this screen.
And then click “CONTINUE” on the right.
And this will bring us back to the screen we started on.
Now, we can enter our “Site Title”.
And don’t worry too much about this for now, as we can always change it again later.
Then, click “CONTINUE” on the right.
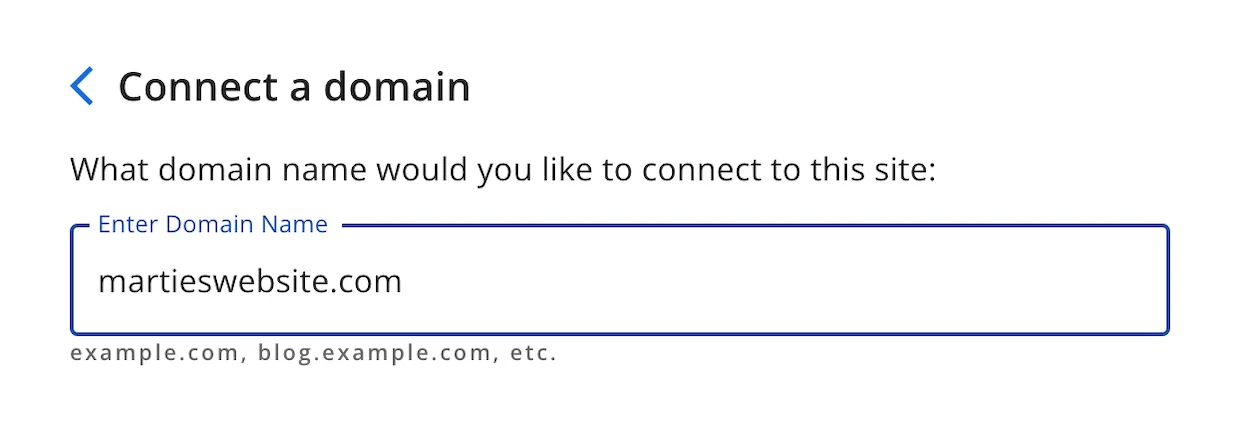
Now, we need to enter the domain name we’re wanting to use for our WordPress site.
So, for me, this is going to be martieswebsite.com.
Then, if we click “CONTINUE”.
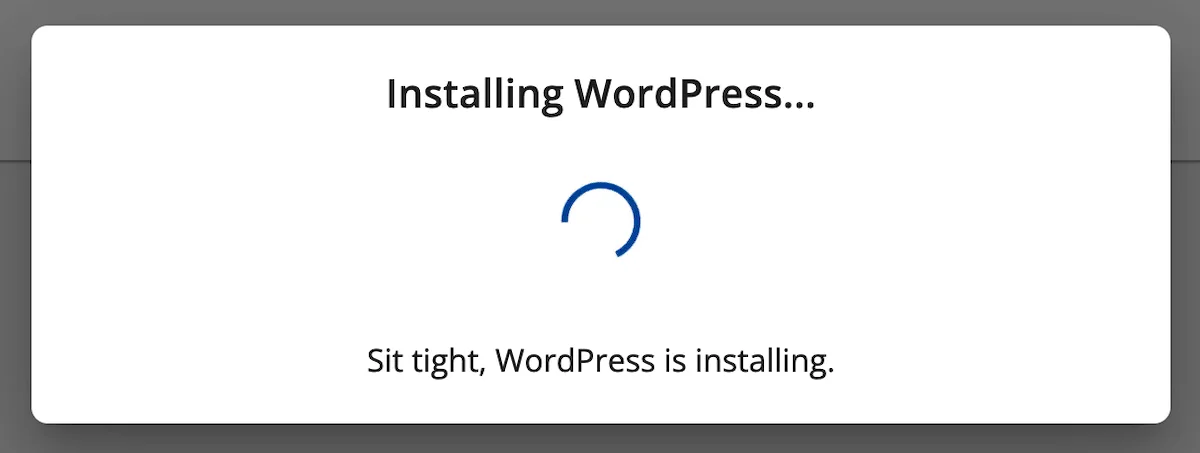
Bluehost is going start installing WordPress, right away.
This will usually only take about 30 seconds or so to complete.
But, sometimes it can take a little longer.
Then, once WordPress has been installed.
We just need to click the 3 dots, to the right.
And click “LOG IN”.
At this point, we might get a message saying the following:
“This site is using a temporary URL until your domain is pointed at Bluehost. If this is a new domain name, it might take a few hours to finish setting up”.
But, once our new domain name is ready, it’ll replace the temporary one right away, without us needing to do anything.
Now, we just need to click “LOG INTO WORDPRESS”, on the right.
And this’ll open up our WordPress website, in a new tab.
Bluehost / WordPress Onboarding Process
When we first install WordPress on Bluehost, we’ll be prompted to use their “WordPress Onboarding” process.
If we want to use this, we just need to click “Start Setup”.
And Bluehost will guide us through a few different customization options for our new website.
But, personally, I feel like it’s better to start with a fresh WordPress installation.
And then making any changes ourselves.
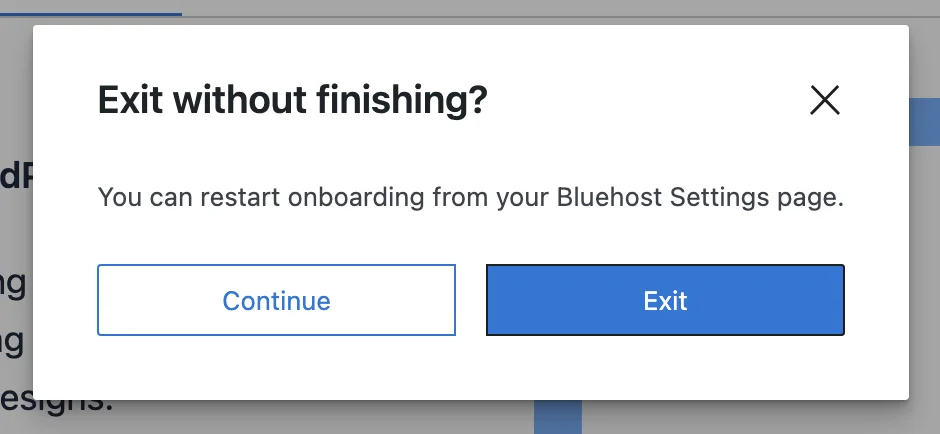
So, if we want to to skip the onboarding process and head straight to our site.
We just need to click “Exit to WordPress”, in the top left.
Then, click “Exit”, in the middle.
Register Domain Name & Hosting (Bluehost)
And this will bring us into the “WordPress Dashboard”.
Which is where we can start adding content, and customising our WordPress website.
Then, to visit our site, we need to click our “Site Title”, in the top left.
And this will show us what WordPress looks like, when we first install it.
And don’t worry if yours looks different than mine, as sometimes they change up the default theme.
Either way, it’s just going to have some demo content on it for now.
But, it’s ready for us to start customizing, and adding content to.
Then, to get back to the Dashboard, we just need to click our site title again, in the top left.
Domain Names (Final Note)
Then, finally, if you registered your domain name from somewhere else, or using a different Bluehost account.
You will need to point the domain name to your new website, before it will update.
I’ll link to a tutorial in the description, that’ll show you how this is done.
But, for everyone else, our domain name will automatically change to the one we just registered, as soon as Bluehost have finished setting it up.
Outro
So, that’s us now at the end, and that was how to install WordPress on Bluehost.
I really hope you found this video helpful.
And if you did, please give it a like here on YouTube, to show your support.
And consider subscribing to the channel for more WordPress tutorials in future.
Then, if you have any questions about installing WordPress.
Feel free to ask them in the comments, and I’ll try my best to help out when I can.
Once again, my name’s Martie from ysl.srb.temporary.site/website_c366d4a5 and thank you for watching my video.
[End of Transcript]
🔗 Related:
After installing WordPress, you can find more WordPress tutorials here.
Or, you can check out my latest website tutorial, that will show you how to build a complete WordPress website (using the Astra theme).
How to Install WordPress on Bluehost
(Written Steps)
Here is a list of everything that is covered below:
- Registering Hosting & Domain
- Logging into Bluehost Account
- Installing WordPress on Bluehost
- Bluehost / WordPress Onboarding
- Removing Demo Plugins (Optional)
- Creating WordPress Admin Account
- Logging into WordPress
So, let's get started.

#1 – Register Hosting & Domain Name
Before we can start installing WordPress on Bluehost, we first need to set up our Bluehost account and register a domain name.
So, first we need to visit bluehost.com.
Click here to use my affiliate link.
(includes free domain name and great discounts!)
If you already have a Bluehost account, and just want to know how to install WordPress, click here to skip ahead.
Then, we’re going to hover over Hosting & Websites, at the top.
And click on Shared Hosting.
Now, if we scroll down.
We’ll see the different hosting plans that Bluehost offer.
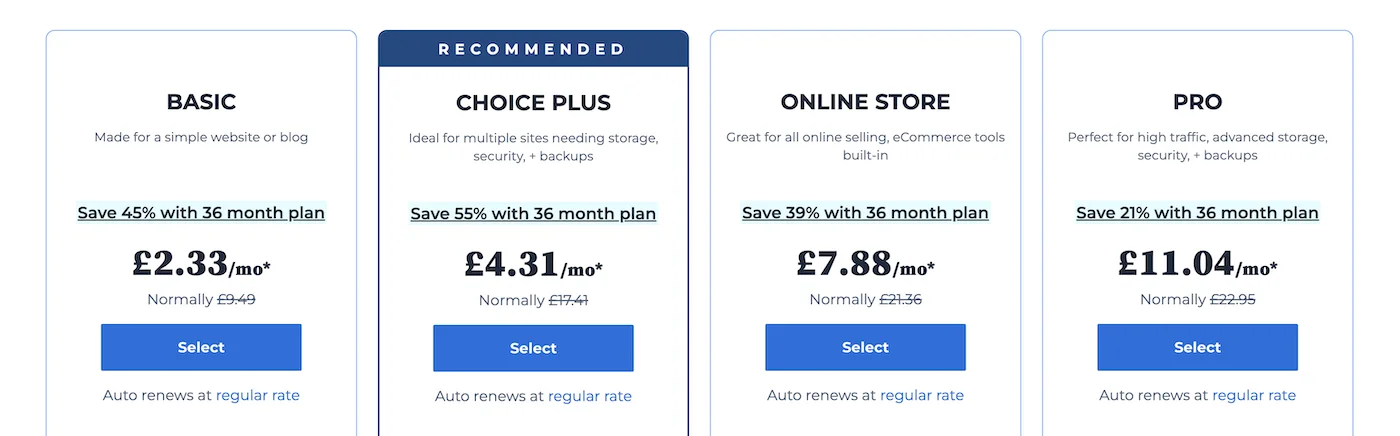
- Basic – Allows 1 single website.
- Choice Plus – Allows up to 3 websites.
- Online Store – Allows up to 3 websites.
- Pro – Allows up to 5 websites.
If you’re new to WordPress, I’d recommend going for the Basic plan.
You can always upgrade to another plan later, if needs be.
Also, it's worth noting that the “Online Store” plan is not required to create an online store, it's just a plan they have created specifically for them.
(we can create online stores on any plan)
Then, once we’ve chosen the plan we want, we just need to click Select.

On the next page, we’re going to register the domain name for our new website.
So, we need to type the domain name we want to register, on the left.
And choose the domain extension, on the right.
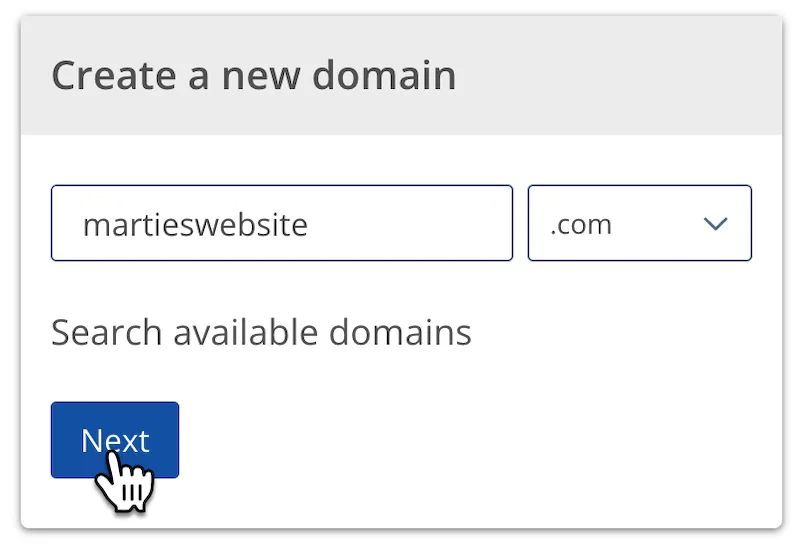
Then, click Next.

Once it’s finished loading, we’ll hopefully get a message at the top of the screen, telling us the domain is available.
But, if it says the domain name is unavailable, this means someone else has already registered it and we’ll need to choose something else.

Then, under this, we can enter our Account Information.
(things like our name and address).
Then, under Package Information.
We can see, it’s only going to cost $35.40 for 12 months of hosting, in my example (these prices may change).
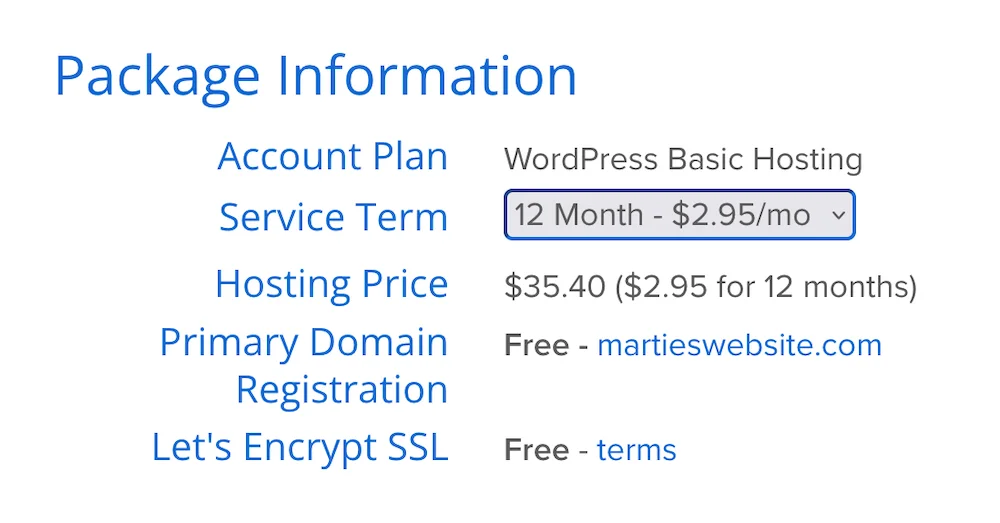
Also included with all Bluehost plans:
- A free domain name (worth $12.99)
- A free SSL certificate (helps with website security)
Then, under this, we have Package Extras.
And these are just a few extra services that Bluehost offer.
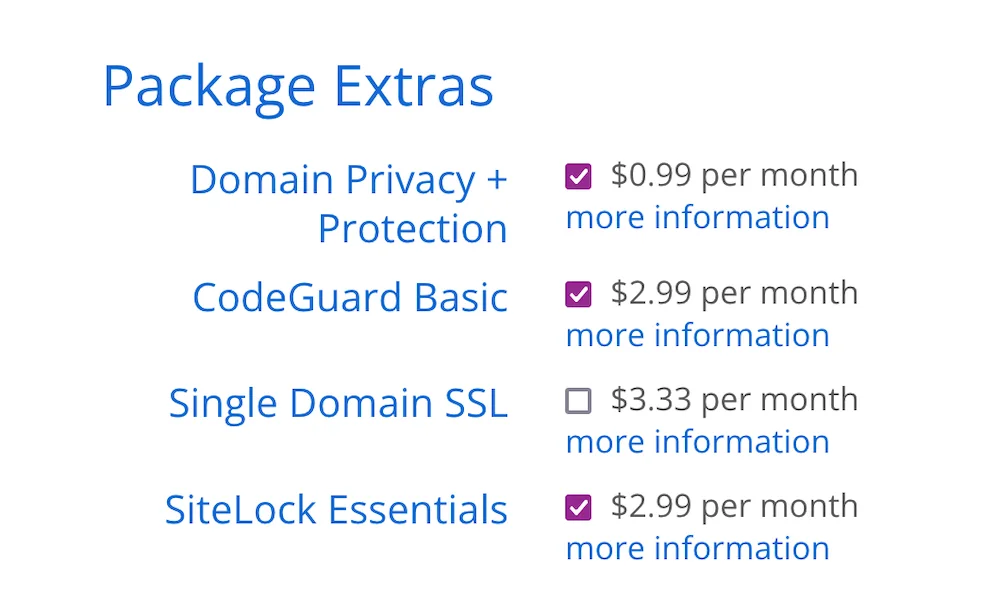
I normally uncheck these boxes myself.
But, you can have a read through them and make up your own mind.
(they’re totally optional, we don’t need any of them to install WordPress).
Then, under this, we can enter our payment details.
(we can choose credit/debit card, or PayPal).
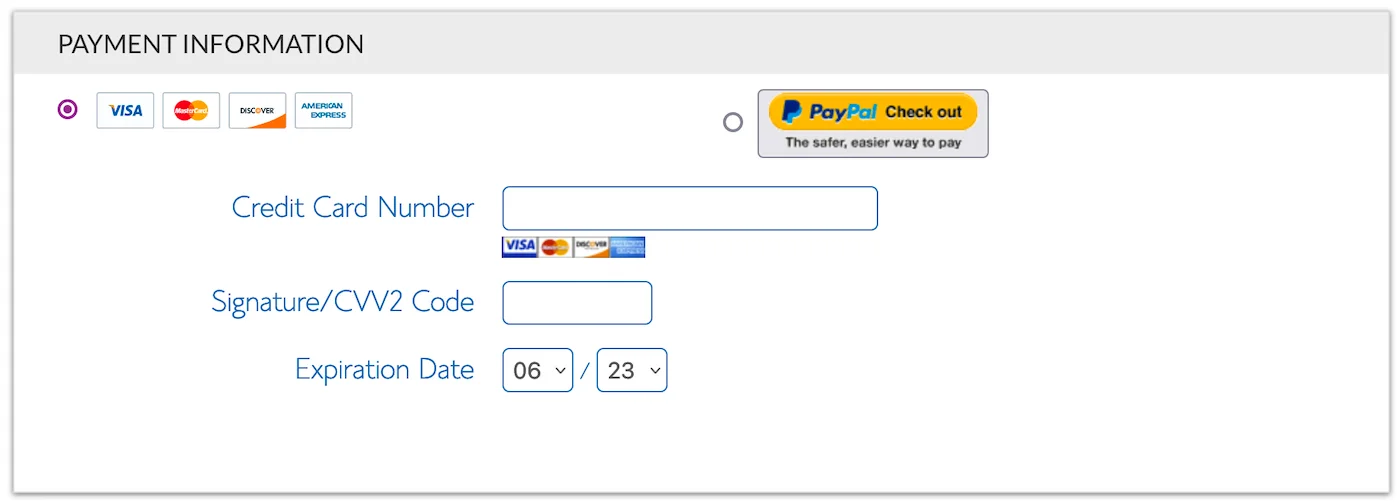
Then, down at the bottom, we just need to click Submit.

At this point, we’ll either be brought to a card payment screen.
Or, we’ll be redirected to PayPal to login and pay for our order.
After paying for our order, we’re going to get a message saying:
Congratulations, you successfully created your account.
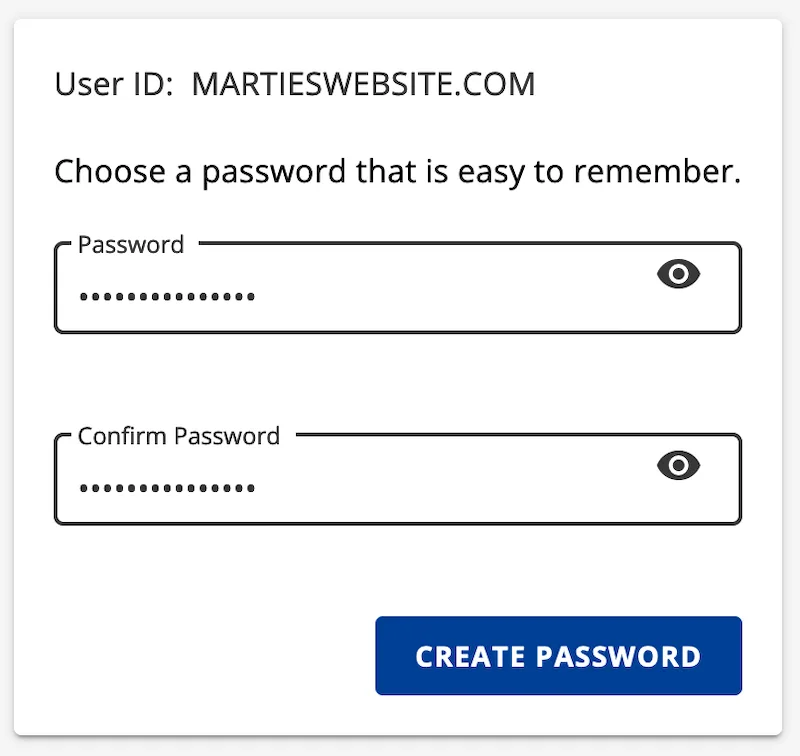
Now, we’re going to click “Create password”.

Then, enter the password we want to use for logging into Bluehost.
And click CREATE PASSWORD.
#2 – Log into Bluehost Account
Now, we need to enter our User ID and Password.
And then, click NEXT.

- User ID = our domain name.
- Password = the one we just created.
We can log into our Bluehost account in future, by going to bluehost.com/login and entering these details.
#3 – Install WordPress on Bluehost
When we first create our Bluehost account, it will automatically bring us through the WordPress installation process.

But, if we’ve already done this before.
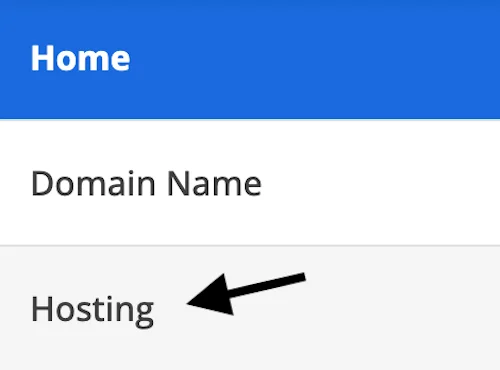
We just need to click Hosting, on the left.
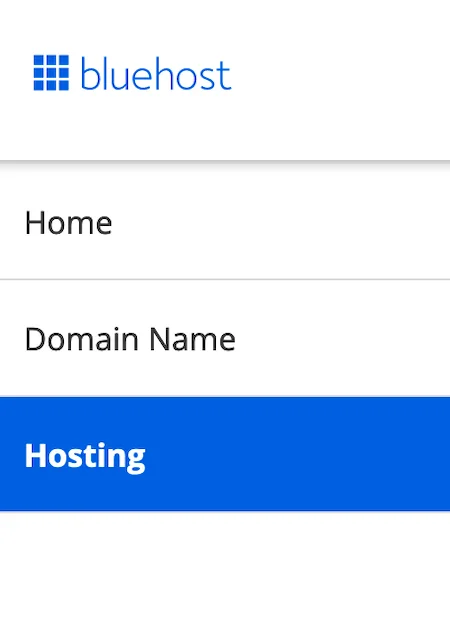
And then click Add Site on the right.

Please Note: If you registered your domain name from somewhere else, or using a different Bluehost account. You will need to point your domain name to this account before installing WordPress. This post will explain how it’s done (opens in new tab).
Now, we can enter our Site Title.
(don’t worry, we can change this at any time).
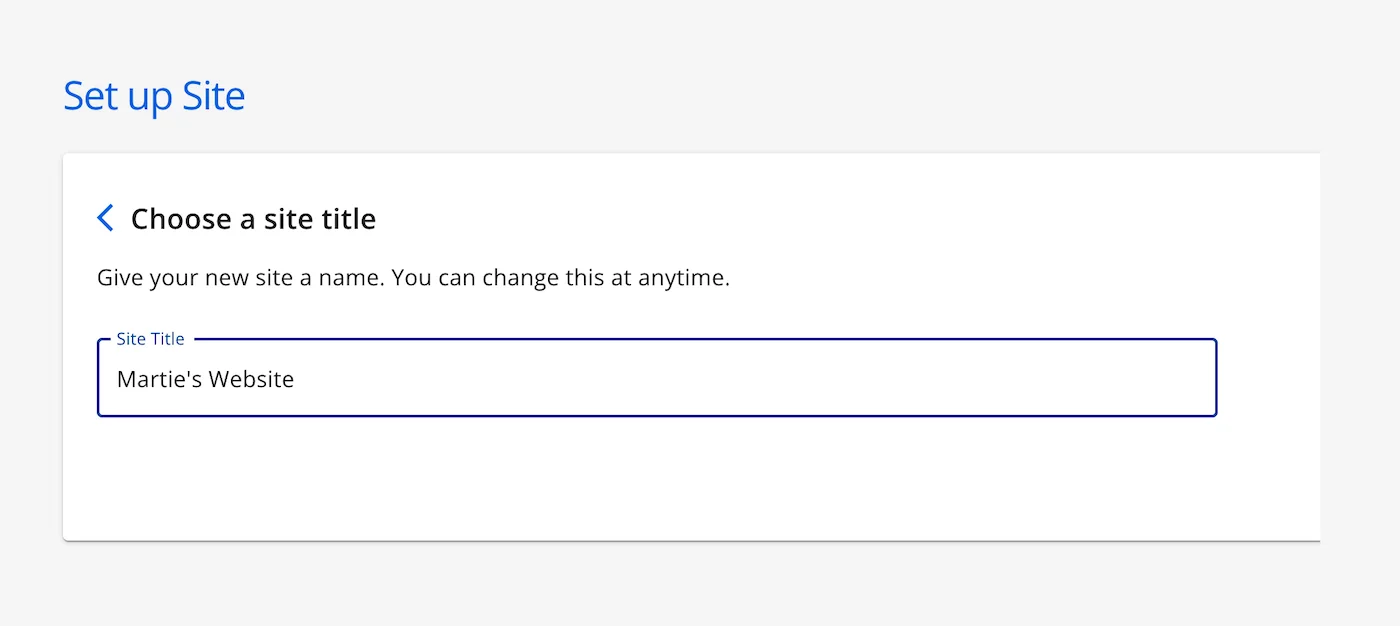
And then, click CONTINUE on the right.

Then, we need to enter the domain name we’re wanting to use.
(including the domain extension).
Example: martieswebsite.com
Please Note: If you just created your Bluehost account, it might not ask you to enter the domain name, it will automatically use the new one.
Then, click CONTINUE.

Bluehost will now start installing WordPress for us, right away.
Usually, this will only take around 30-60 seconds to complete, but sometimes it can take a little longer (no more than 5 mins).

Then, once WordPress has been installed.
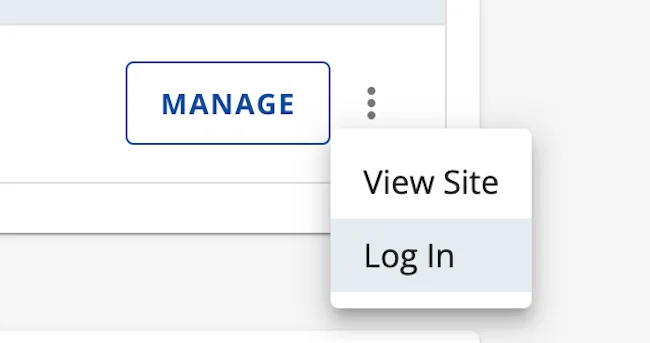
We just need to click the 3 dots, to the right.
And click Log In.

We might get a message saying:
This site is using a temporary URL until http://yourdomain.com is pointed at Bluehost. If this is a new domain name, it might take a few hours to finish setting up.
(this is because of something called domain propagation)
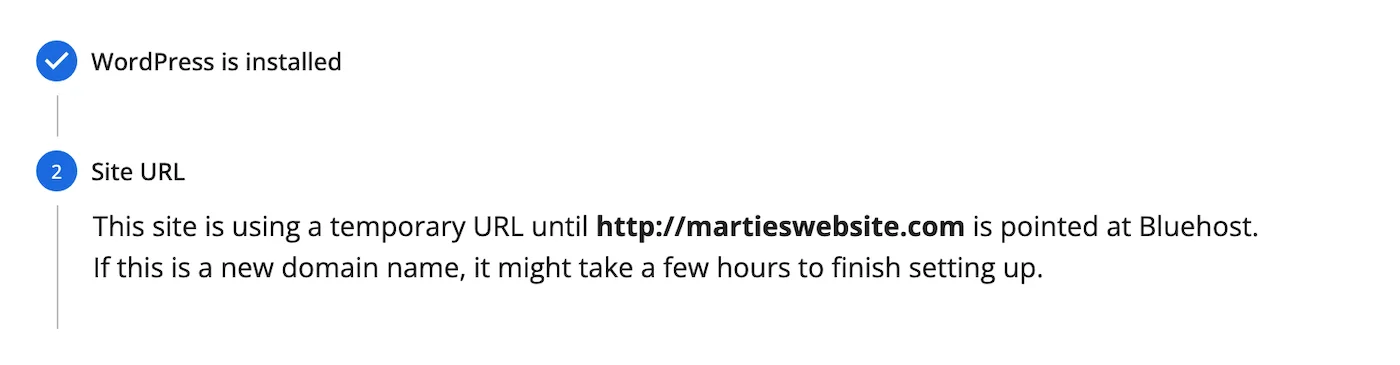
But, once our new domain name is ready, it will replace the temporary one right away, without us needing to do anything.
Now, we just need to click LOG INTO WORDPRESS, on the right.
Which will open up our WordPress website, in a new tab.

#4 – Bluehost / WordPress Onboarding
When we first install WordPress on Bluehost, we’ll be prompted to use their WordPress Onboarding process.
If we want to use this, we just need to click Start Setup.
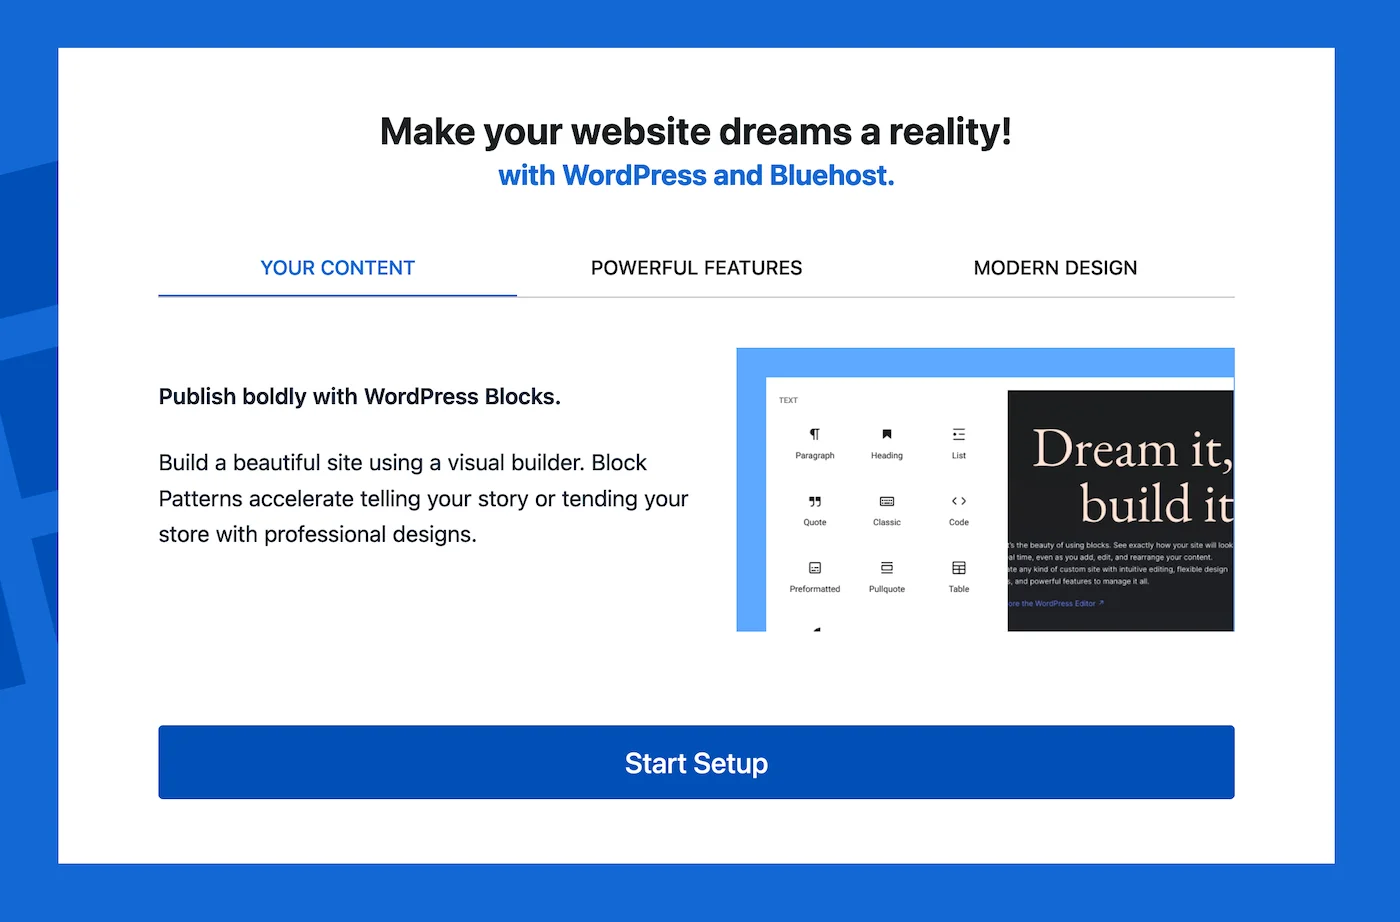
Bluehost will then guide us through a few different steps.
Things like installing a theme, configuring basic site settings, creating pages, and installing recommended plugins.
Personally, I feel like it’s better to start with a FRESH WordPress installation, and make any changes ourselves. (but, this is totally up to you!)
If we want to skip the onboarding process.
We just need to click Exit to WordPress, in the top left.

Then, click Exit in the middle.
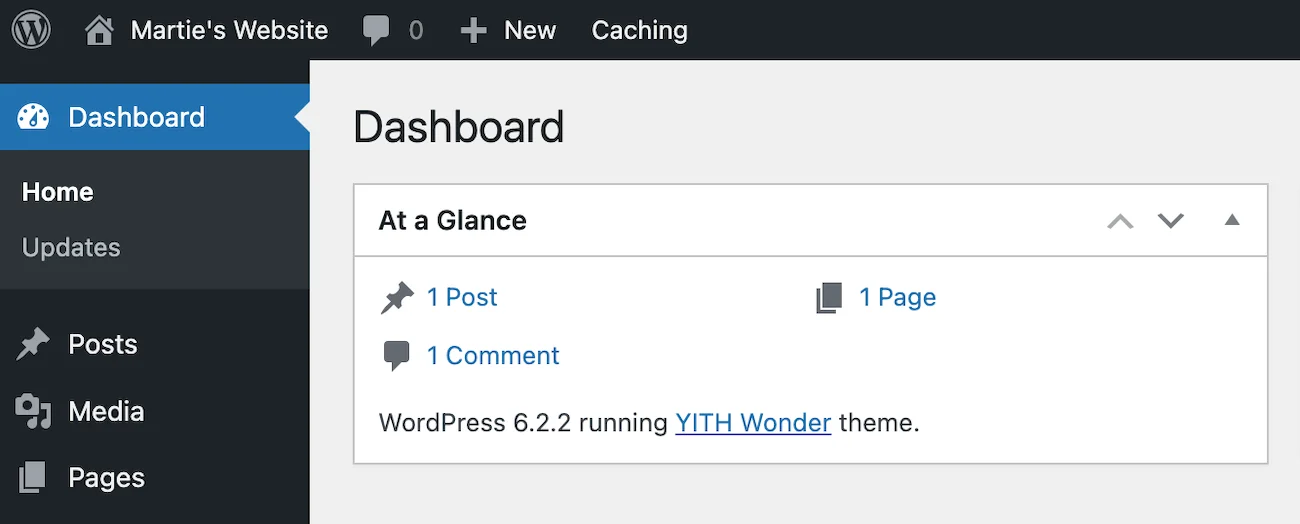
This will bring us into the WordPress Dashboard.
(where we can add content and make any changes to our website).
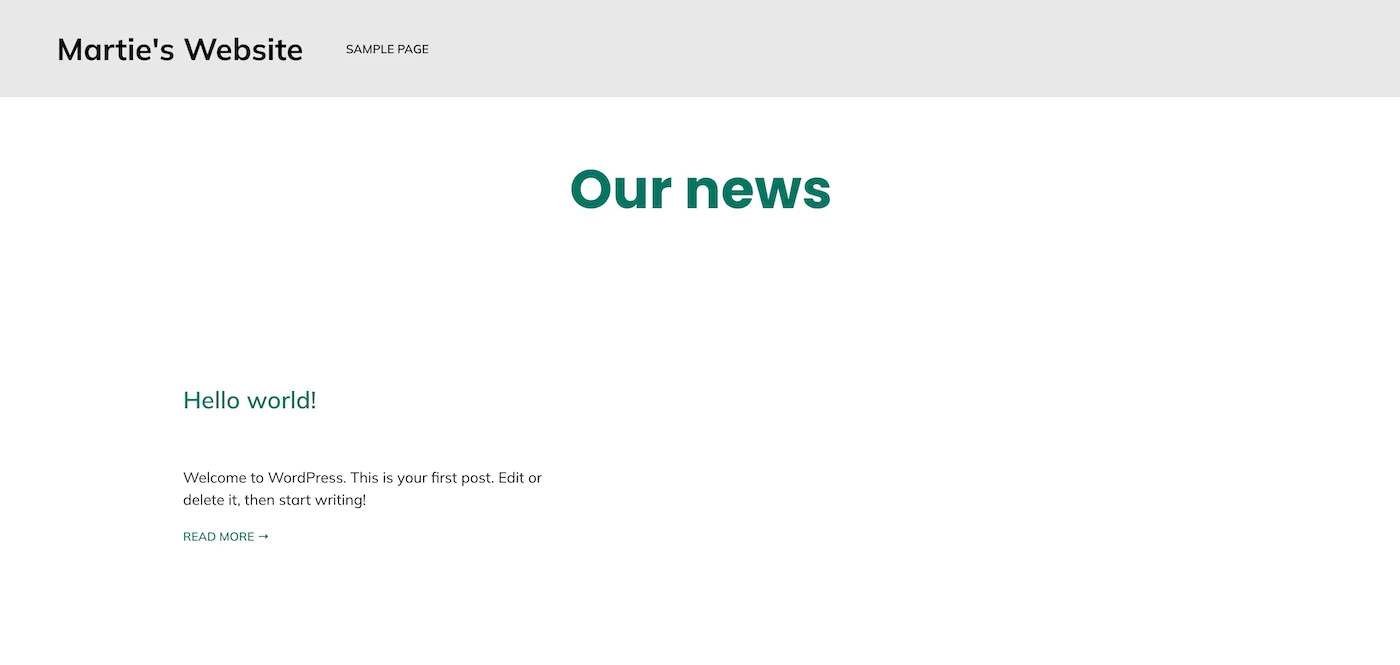
Then, to visit our website, we need to click our Site Title in the top left.

And this will show us what WordPress looks like, when we first install it.
Then, to get back to the Dashboard.
We just need to click our site title again, in the top left.

Note: the black bar running along the top of our site, is only visible to us when we’re logged in, our visitors will not be able to see it.

#5 – Remove Demo WordPress Plugins (Optional)
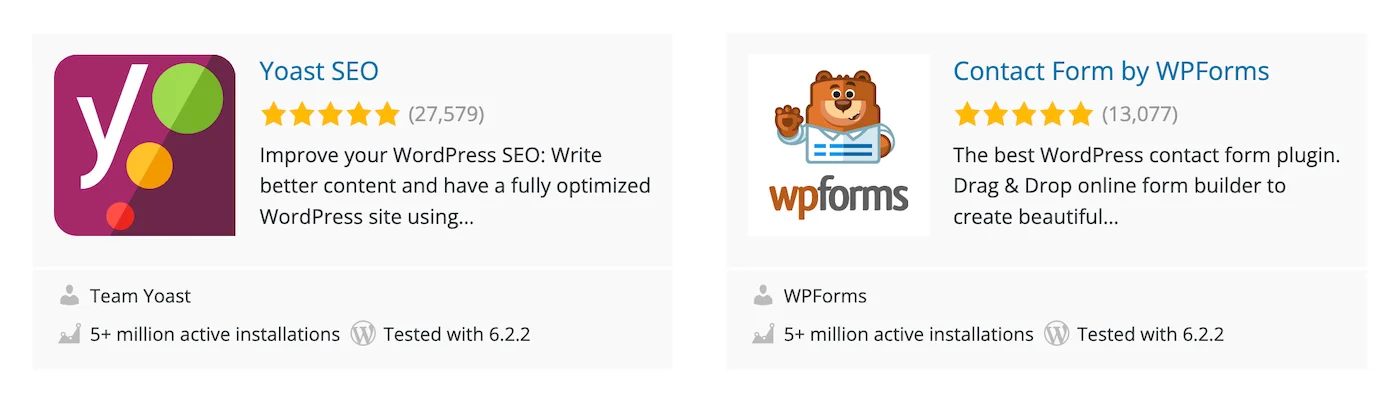
When we first install WordPress, it comes with a few Plugins pre-installed.
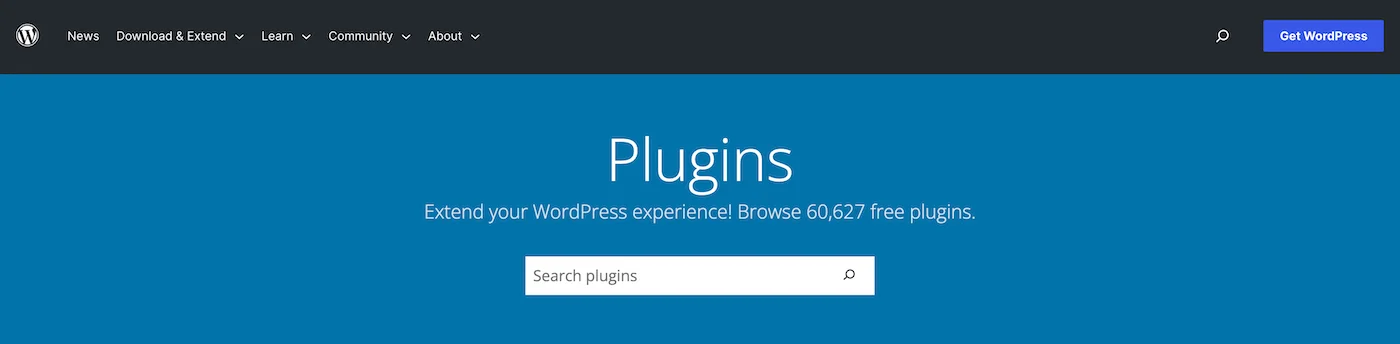
Plugins are basically like apps for WordPress.
Which we can use to add extra features to our website.
(shopping carts, contact forms, etc)
We can always install a few plugins after building our website.
But, for now… I recommend removing them.
(this way, we can start with a fresh WordPress installation).
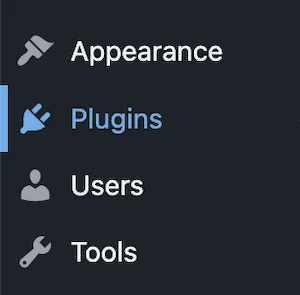
To remove these plugins, we just need to click into Plugins, on the left.
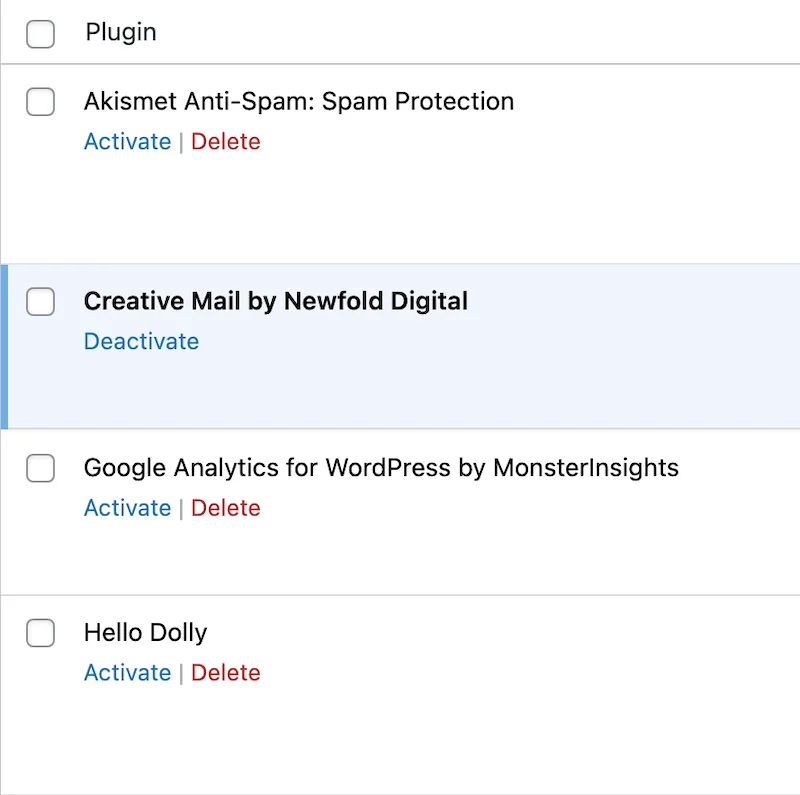
This will show us any plugins we have installed on our site.
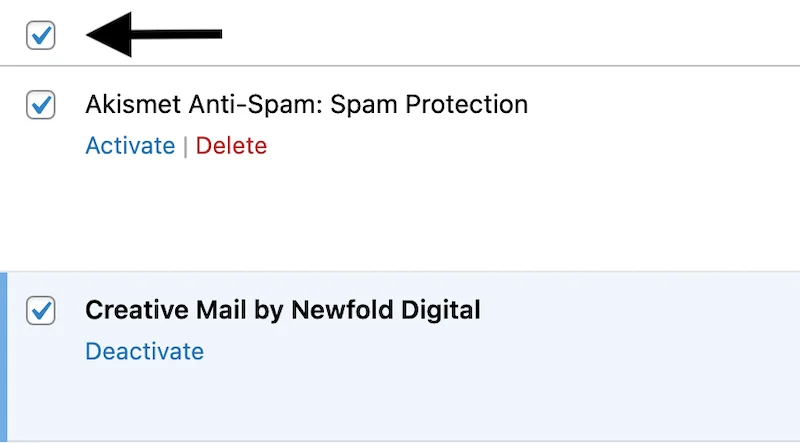
Now, we’re going to check the box, in the top left.
(to select all of the plugins in this list).
Then, we need to change the drop-down menu, to Deactivate.
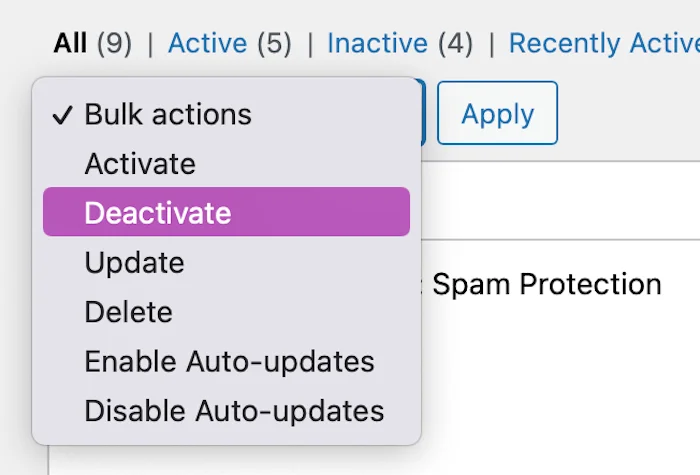
And click Apply.

WordPress will now deactivate the selected plugins.
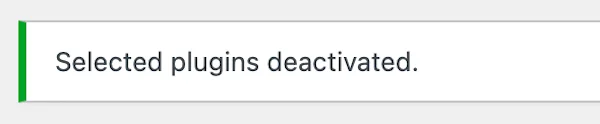
At this point, we might notice that our Dashboard has less options than before. This is because those options were created by the plugins we just deactivated.
Now, we can DELETE the plugins in basically the same way.
So, we just need to check the box, in the top left.
(to select all of the plugins, again).
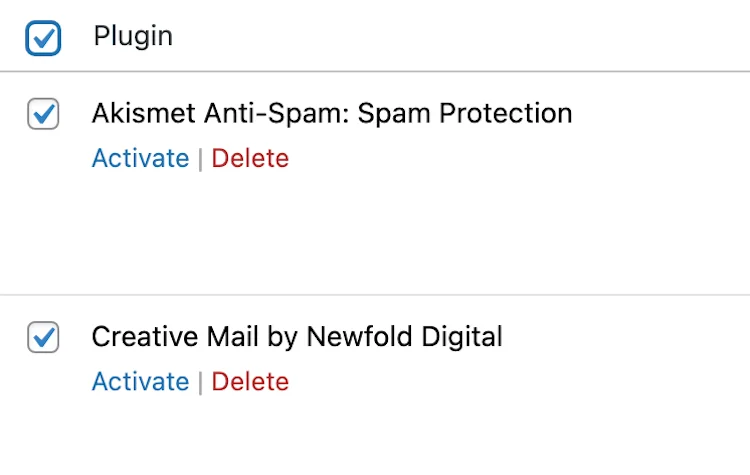
Then, change the drop-down menu to Delete and click Apply.

And click OK to confirm.

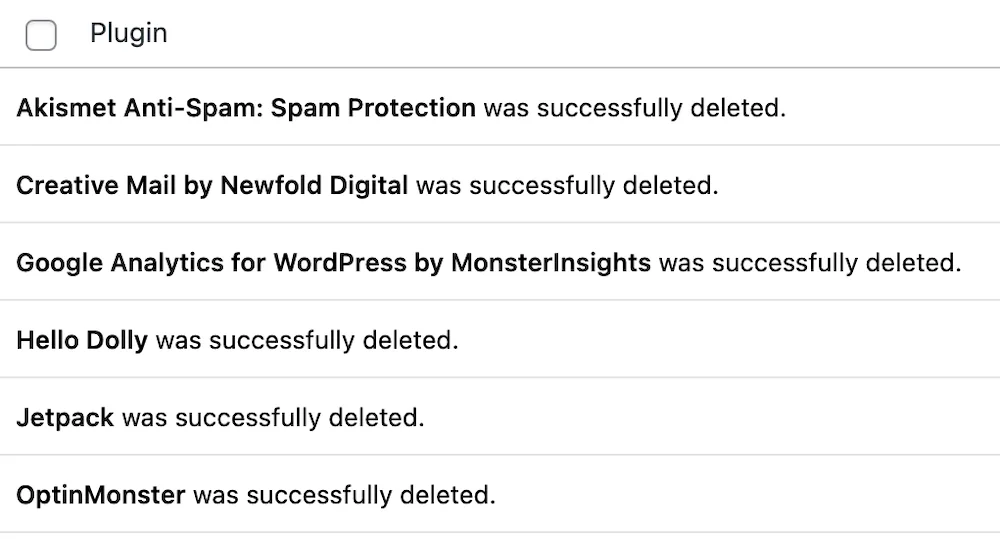
WordPress will now delete all of the selected plugins:
Then, we can click where it says Dashboard, in the top left.
And this will bring us back to the Dashboard home screen.

#6 – Create WordPress Admin User Account
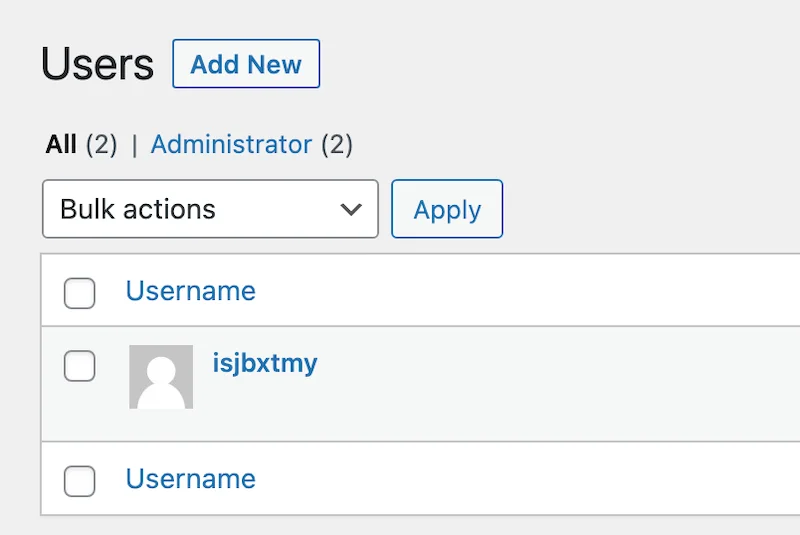
So, when we first install WordPress on Bluehost, a user account will be created for us, using a randomly generated username.
(isjbxtmy in my example)

As it’s not possible to change our username on WordPress, we’re going to create a new user account, using our preferred username.
To do this, we just need to click Users on the left.

This will show us any users we have on our site.
Then, click Add New, at the top.

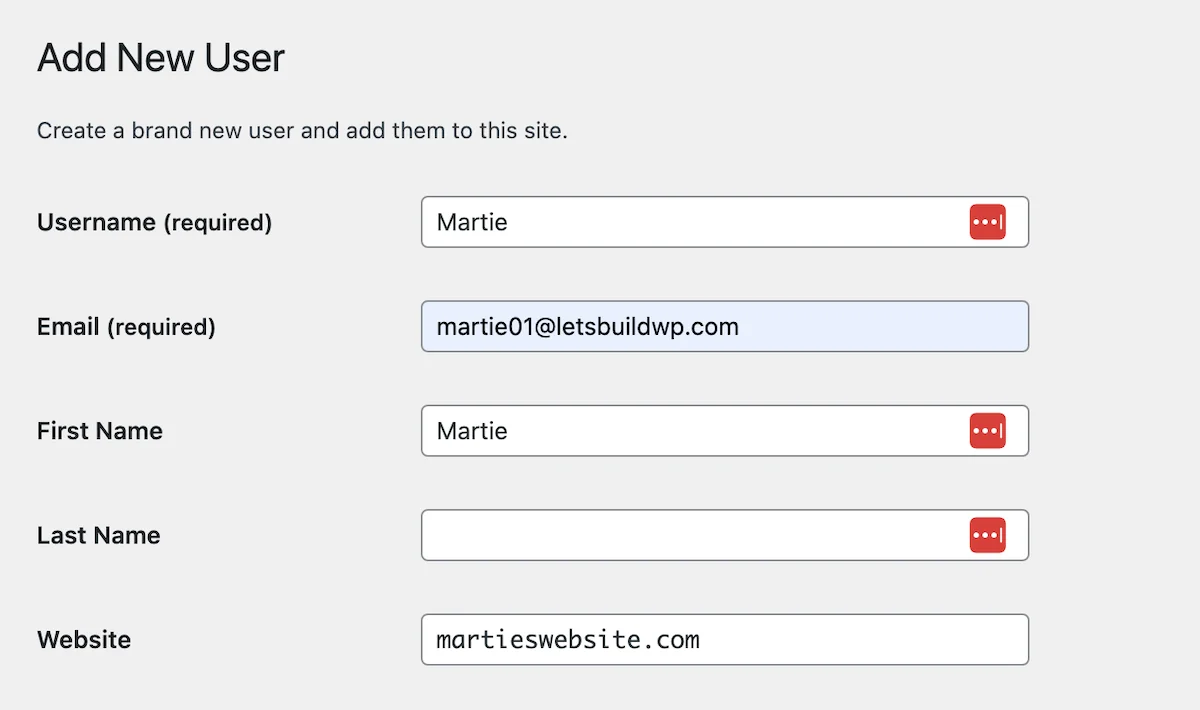
Here we just need to enter some basic account information:
- Username (required)
- Email (required)
- First/Last Name (optional)
- Website (optional)
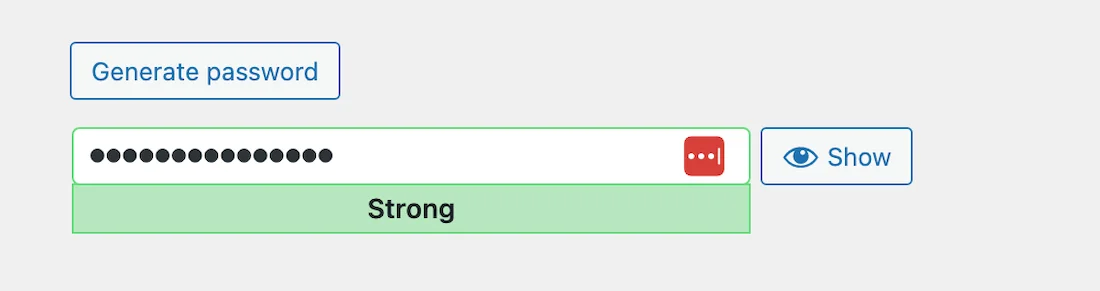
Then, underneath, we need to click Generate password.
We can either use the randomly generated password, or enter our own.
(be sure to make a note of it, either way!)
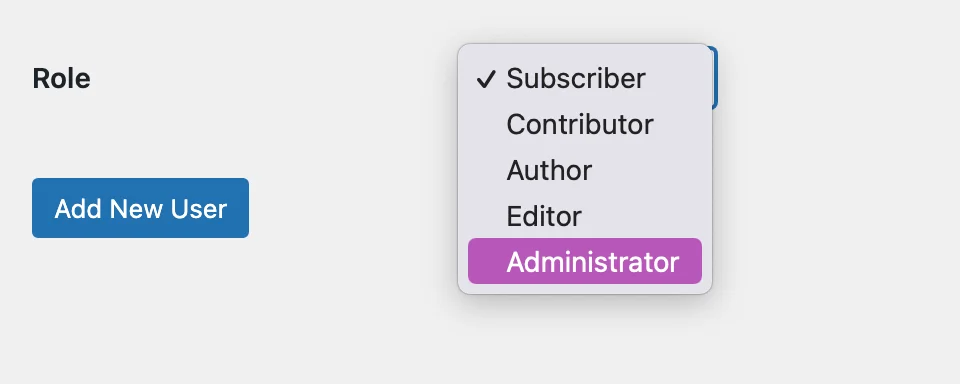
Then, under this, we’re going to set the Role to Administrator (site owner).
And click Add New User.
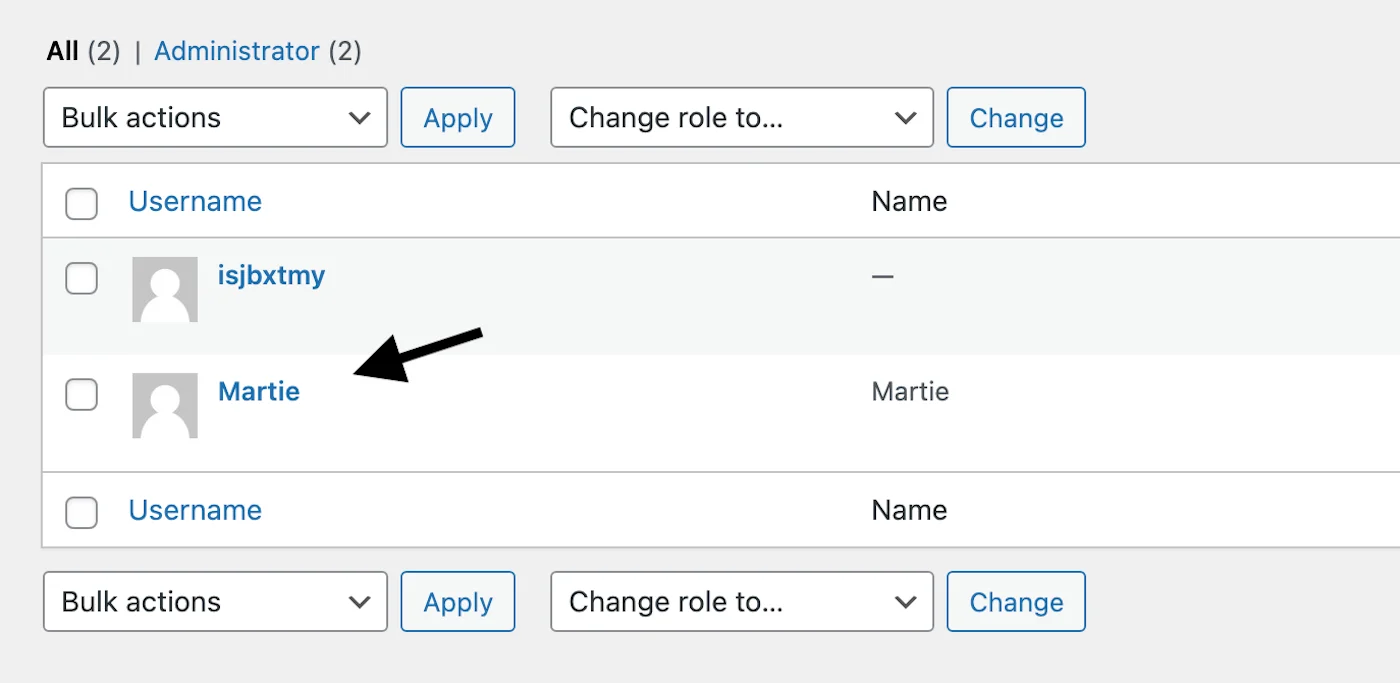
Now, we’ll see our new user account has been added to the list of users.
Now, we need to log out and log back in again, using the new details.
(as we’re still logged in using the default username).
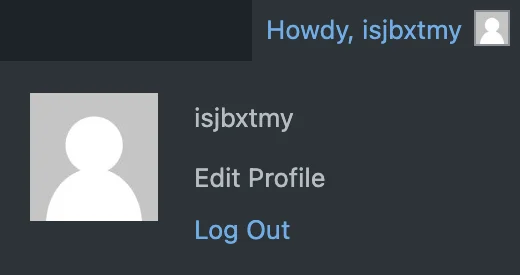
To log out, we just need to hover over our username, in the top right.
And click Log Out.
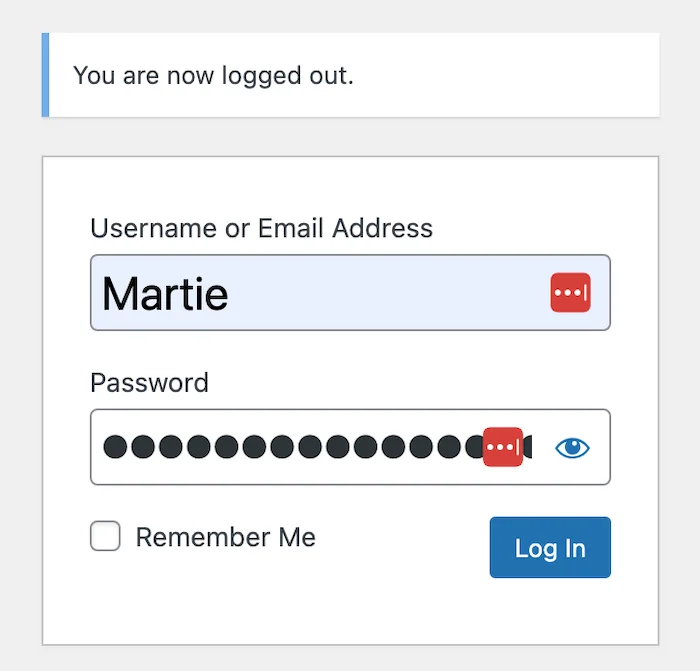
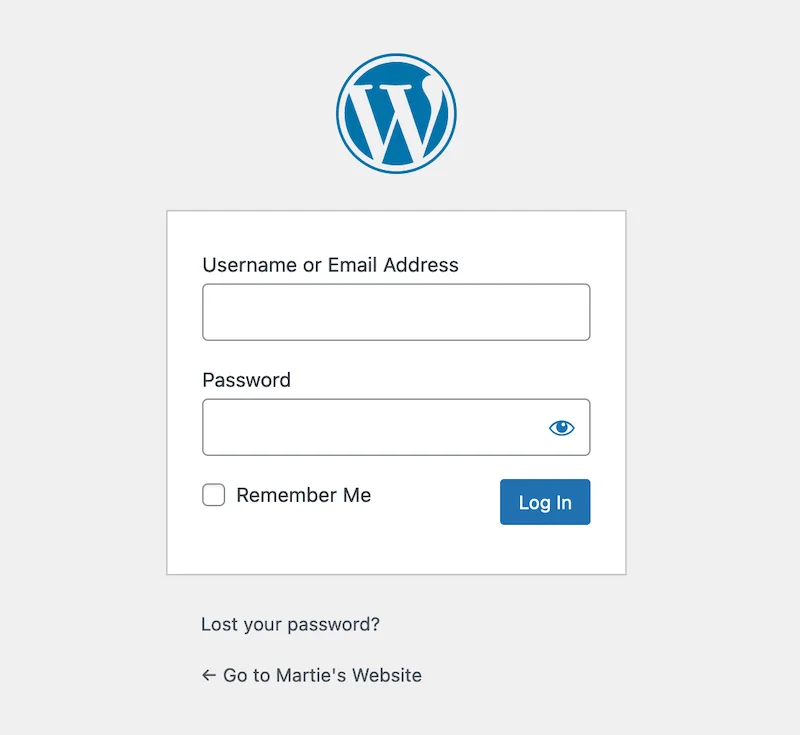
This will bring us to the WordPress login page.
And now we can log back in, using the new details we just created.
Then, once we’re logged back in, we can delete the original user account.
(this is recommended for security reasons).
To do this, we just need to click into Users, on the left.
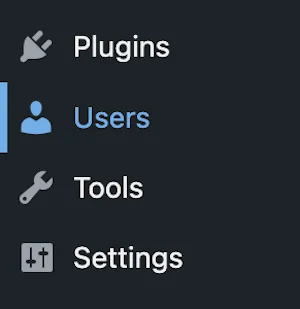
Then, hover over the original username and click Delete.
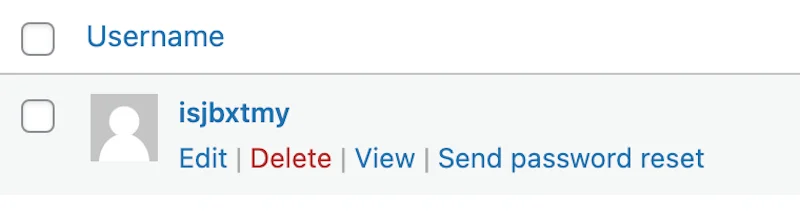
WordPress will now delete this user account from our site.

#7 – Log into WordPress
To visit the WordPress login screen in future, we can type our domain name into our internet browser.

Then, type /wp-admin after the domain extension.
And visit the page.
Example: martieswebsite.com/wp-admin

Then, we can log in, using the details we just created (above).
If we’re already logged in, we’ll be brought straight into the WordPress Dashboard, instead of the login page.
We can also still log into WordPress through our Bluehost account.
(like we did the first time)
After logging into Bluehost.
We just need to click Hosting, on the left.
Then, click the 3 dots, to the right.
And click Log In.
(this will bring us into the WordPress Dashboard).
So that’s us now at the end of this tutorial.
I hope you found it helpful.
But, more importantly – I hope you managed to get WordPress installed onto your Bluehost account, without any problems!
After installing WordPress
Here are a few more simple tutorials of mine, to help you get started with your new WordPress website:
- Getting Started with WordPress (Complete Guide)
- How to Install WordPress Plugins
- How to Change WordPress Usernames
- How to Add Clickable Links on WordPress
- How to Remove WordPress Blog Page
- 9 Awesome Free WordPress Plugins for Beginners
Also, be sure to leave a comment underneath and let me know what you thought of this guide. I’d love to hear from you. ❤️
Until next time,
Martie.