In this quick tutorial, we’re going to be covering how to use Google Fonts in WordPress, without needing to manually code them in.
And for anyone who doesn’t know already.
Google Fonts is a library of well over 1,000 different fonts, that we can use on our WordPress website (for free).
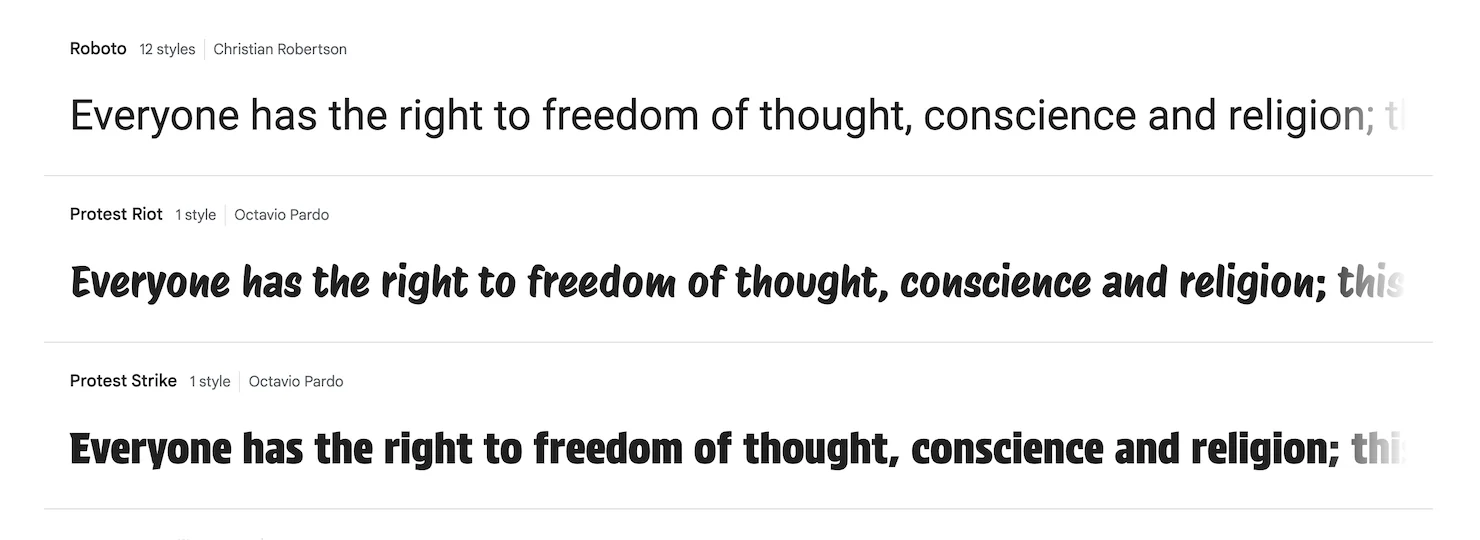
So, if you’re not happy with the fonts included in your WordPress theme.
Or, if you just want to mix things up a bit, with some new fonts…
This is how to do it.
How to use Google Fonts in WordPress
There are a few different ways to add Google Fonts to WordPress.
But, the easiest way, is by installing a free plugin called Easy Google Fonts.
Using this plugin will save us the headache of having to manually add the fonts to our WordPress code (which can be confusing if you’re new).
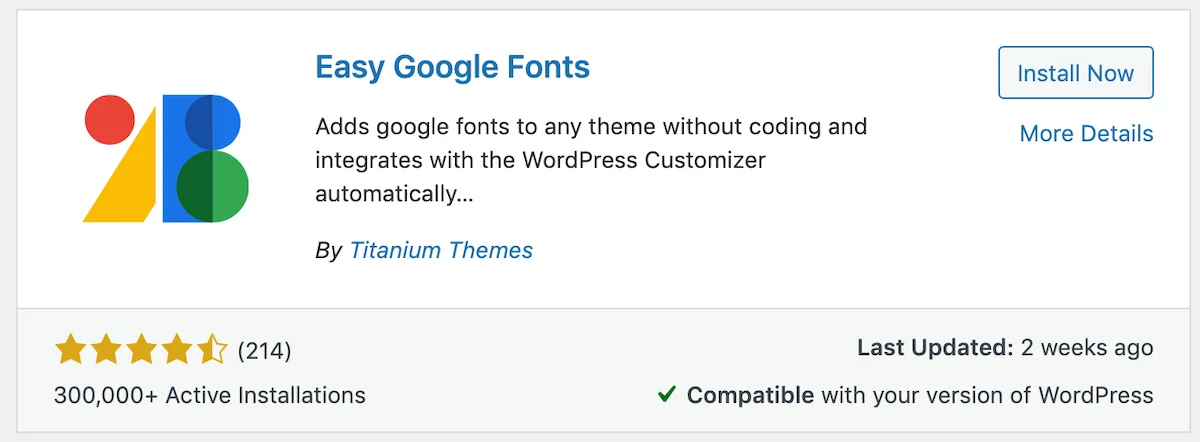
Not sure how to install WordPress plugins?
Check out this step by step guide (new tab)
Once the “Easy Google Fonts” plugin is active on our site.
We need to visit our website and click Customize at the top.
(to open up the theme options).

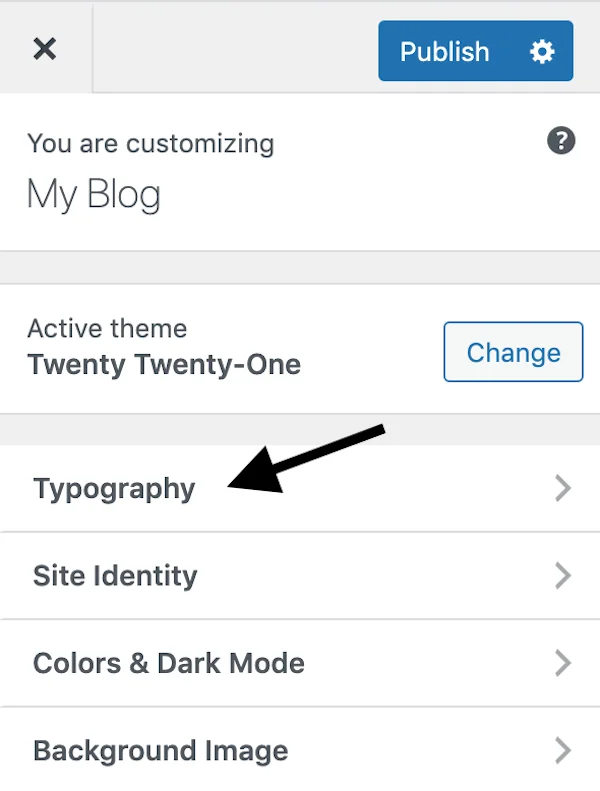
Then, on the left, we’re going to click into Typography.
Then, click into Default Typography (also on the left).
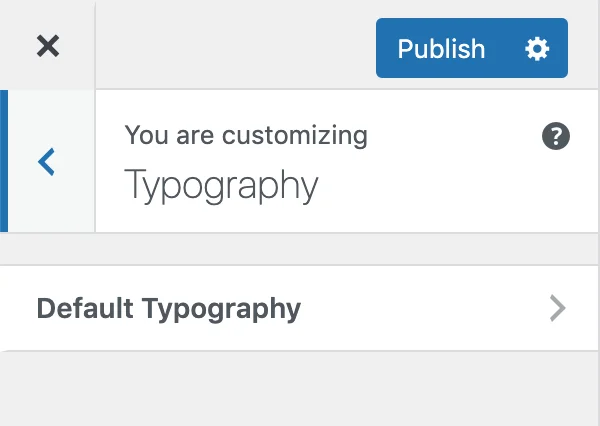
And this is where we can assign our new WordPress fonts.
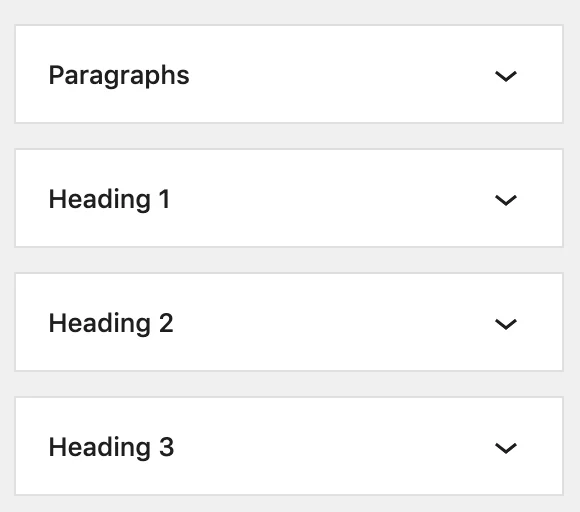
- Paragraphs = Our main body font.
- Headings (1-6) = Our different heading sizes.
So, we just need to click into the font we want to change.
(I’m changing the body font in this example)
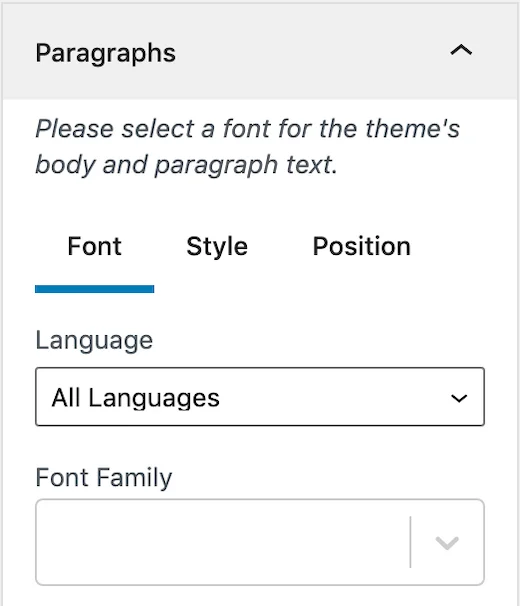
We can leave Language on “All Languages”.
And then choose the actual font, under “Font Family”.
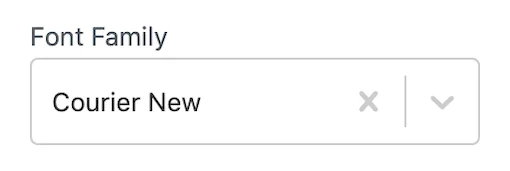
When we change our font.
We’ll see it updates in the live preview on the right.

Then, once we’ve chosen our “Font Family”.
We have a few more options underneath.
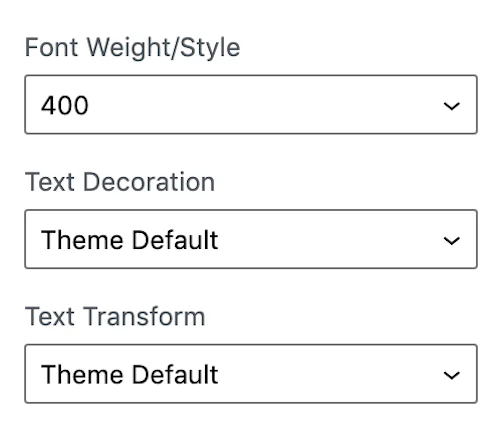
Font Weight/Style
This is referring to the “weight” of our font.
We can choose:
- 400 (normal)
- 400 italic (normal italic)
- 700 (bold)
- 700 italic (bold italic)
Note: Some fonts might have different sizes available.
Text Decoration
We can choose:
- None
- Underline
- Line-through
- Overline
Text Transform
We can choose:
- None
- Uppercase (ALL CAPS)
- Lowercase (all lowercase)
- Capitalise (First Letter Capitalised)
Then, once we’re happy with these options.
We can click into the Style tab, at the top.
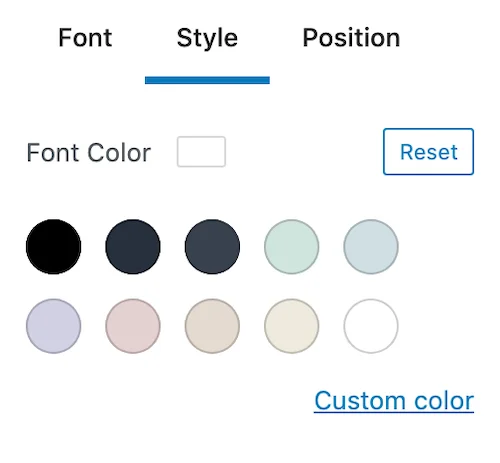
And this is where we can change our font colours (if we want).
Then, once we’re happy with our colours.
We can click into the Position tab at the top.
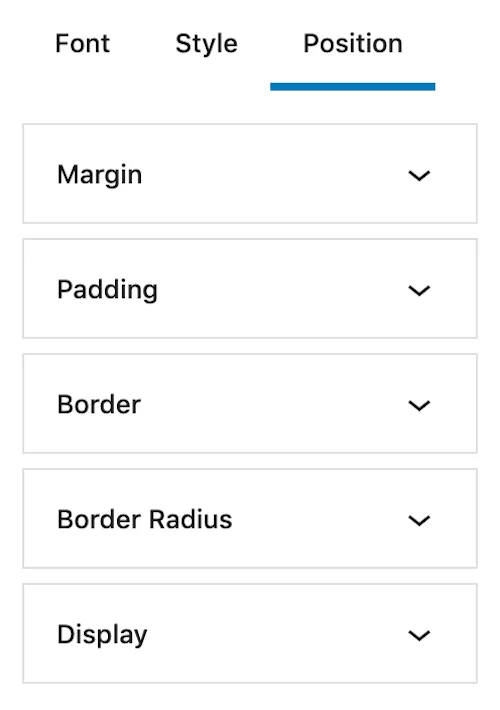
Now, these are totally optional.
But, we can change the following:
- Margin = The spacing around our content.
- Padding = The padding around the font.
- Border = A coloured border around our text.
- Border Radius = Changes the radius of our border.
- Display = Can show our text in “inline blocks”.
Then, once we’re done here.
We can move onto the next font we want to change.
Or, if we’re finished.
We just need to click Publish at the top, to save our changes.

Then, click the X in the top left, to close out of the theme options.
And at this point, we’ll see that our fonts have now been updated.
So, that’s us now at the end.
And that was how to use Google Fonts in WordPress.
(using the Easy Google Fonts plugin)
Until next time,
Martie.
P.S.
Here are a few more posts you might like:


