In this post, we’re going to be covering how to install WordPress plugins.
And, if you don’t know already…
WordPress plugins are AMAZING.
Plugins allow us to add extra features to our site.
(that WordPress doesn’t come with by default)
Things like:
Plugins can even help us to improve our site’s speed, SEO and security.
But, before we can benefit from these plugins.
We need to learn how to install them.
There are 3 different methods for installing WordPress plugins:
- Installing WordPress plugins (dashboard)
- Uploading WordPress plugins (zipped file)
- Manually installing WordPress plugins (via cPanel)
And we’re going to cover all 3 in this post.
So, let’s get started.
How to Install WordPress Plugins
(Through Dashboard)
The easiest way to install a plugin on WordPress, is by doing it from within the WordPress dashboard.
To do this.
We just need to click Plugins, in our left dashboard menu.

This will show us any plugins we have installed on our site.
Then, we can click Add New Plugin at the top.
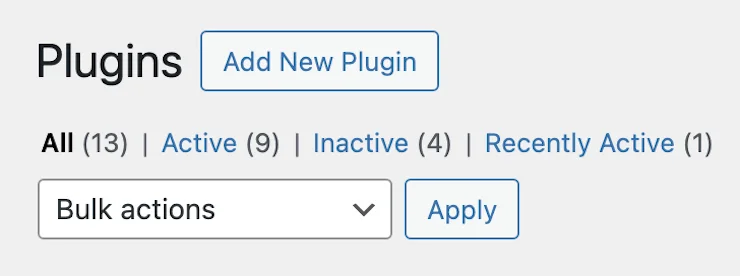
This will show us all of the different (free) plugins available for us to install.
We can sort them at the top, by featured, popular, or recommended.

Now, we just need to find a plugin we want to use.
Or, if we know the name of a particular plugin we’re wanting to install.
We can type it into the Search Box in the top-right.

Then, once we find the plugin we want.
We need to click Install Now.
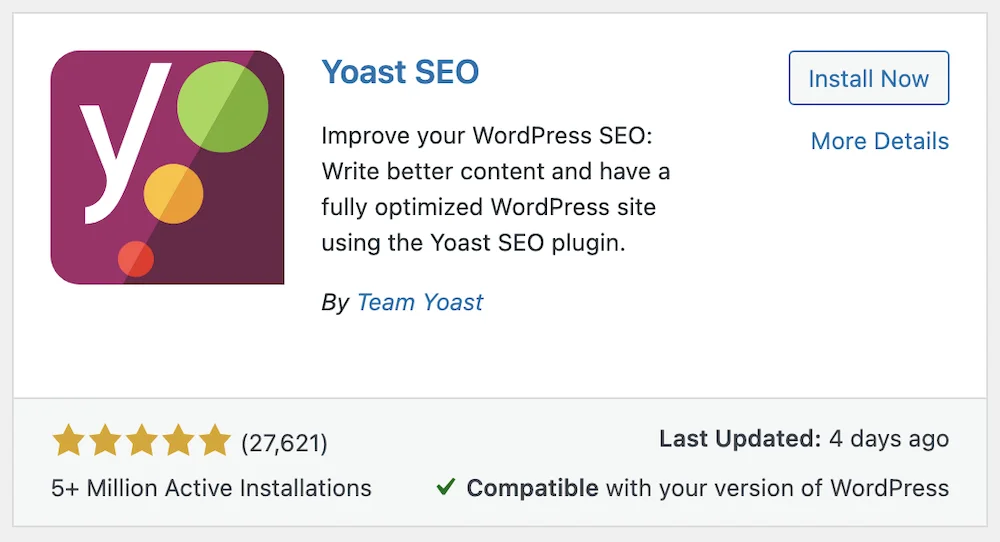
It will only take a few seconds to install.
Once it’s done, we can click Activate.

And now the plugin will be ready for us to use.
It’s that easy!
Do you want to know what my favourite plugins are?
Click here to see my top picks (for beginners).
How to Upload WordPress Plugins
(Zipped Files)
If we download a WordPress plugin from somewhere.
We need to upload it to our WordPress site, in order to use the plugin.
(the plugin should be in a .zip file)
To do this.
We need to click Plugins in our left dashboard menu.

Then, we’re going to click Add New Plugin at the top.

And then click Upload Plugin.
(also at the top)

Next, we need to click Choose File in the middle.
And then find the plugin file on our computer.

Once we find it.
We need to click on it, and click Open.
Then, click Install Now.
And WordPress will unpack, and install the plugin for us.
(within a few seconds)
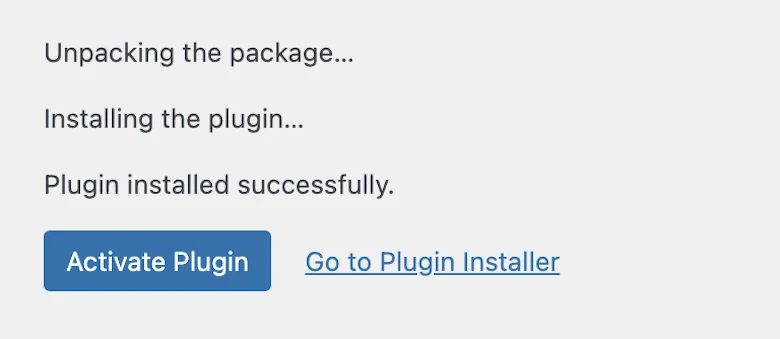
Once it’s done installing, we need to click Activate.
And the plugin will now be active on our site.
Manually Installing WordPress Plugins
(Using cPanel)
Then, the last way to install WordPress plugins, is installing them manually.
And this is done from within our hosting control panel (cPanel).
Usually, there is no real reason to do it this way.
(the other 2 methods are much easier!)
But, it is a valid way to install plugins, so I wanted to make sure I included it!
There are 3 steps to this method:
So, let’s get started.

1. Access the cPanel
The first thing we need to do is access the “cPanel” for our WordPress website.
If we already know the login details for our cPanel account, we can usually access the cPanel by going to: domain.com/cpanel
(be sure to replace domain.com with your actual domain)
Then, we just need to log in.
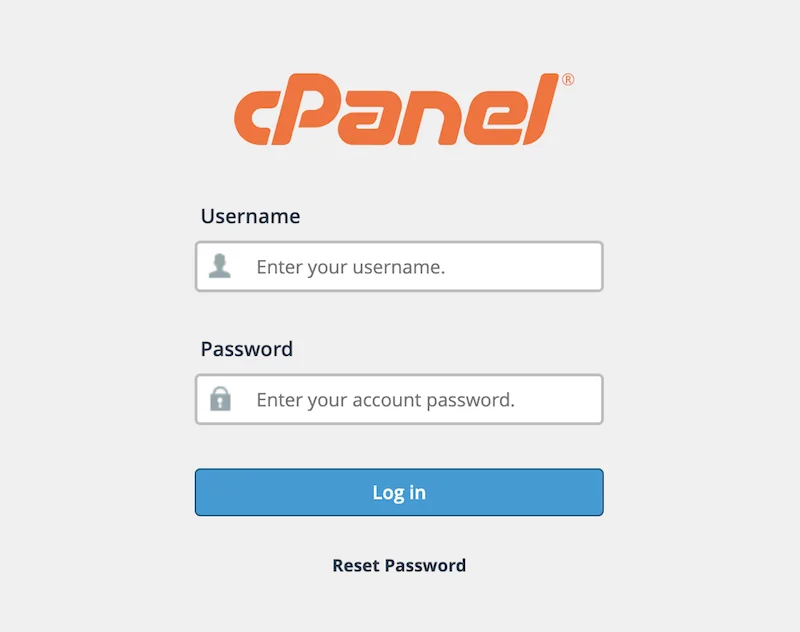
If we don't know the login details for our cPanel account, we'll need to access it though our hosting account instead.
But, don't worry, this is easy.
HostGator:
- Visit hostgator.com/billing.
- Log into your HostGator account.
- Click into “Hosting” on the left.
- Then, scroll down and click into “CPANEL”.
(it's on the right, under “Quick Links”)
This will bring us to the cPanel, in a new tab.
Bluehost:
- Visit bluehost.com.
- Click “Login” in the top right.
- Log into your Bluehost account.
- Click into “Hosting” on the left.
- Then, scroll down and click into “CPANEL”.
(it's on the right, under “Quick Links”)
This will bring us to the cPanel, in a new tab.
Other Hosts:
If you're using a different hosting company, you will need to figure out how to access the cPanel.
Usually this will be pretty easy to find.
But, if it's not.
You can always Google it, or contact your hosting provider and ask them to help you.
2. Upload the Plugin
Then, once we’ve logged into our cPanel account.
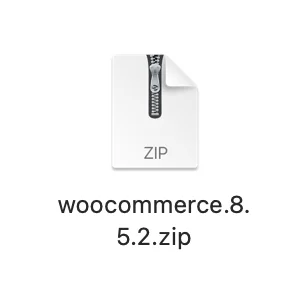
And we’ve got the plugin’s .zip file on our computer.
We can upload the plugin to our WordPress site.
To do this.
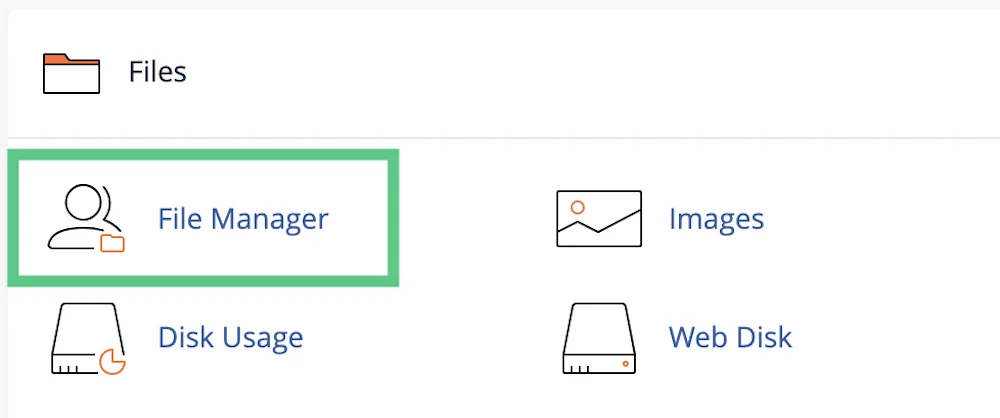
We just need to head over to our cPanel.
And then click into the File Manager.
(under the “Files” heading, near the top)
Now, if we have more than one website, we will need to find the correct folder first.
This folder will be using our domain name as the file name.

Or, if we only have one website, we're already going to be in the correct folder.
Then, from here.
We need to double-click into the public html folder:

Then, double-click into the wp-content folder:

And then finally, double-click into the plugins folder:

Now, we’re going to click Upload at the top.

And then click Select Files in the middle.

Now, we just need to find the Plugin’s .zip file on our computer, click on it, and click Open.
cPanel will then upload the plugin (within a few seconds).

Once the plugin’s been uploaded.
We can close out of the upload window.

And now, if we refresh the page.
We’ll see the new plugin file appears in this list.

3. Extract the Plugin Files
Now that we’ve uploaded the plugin file.
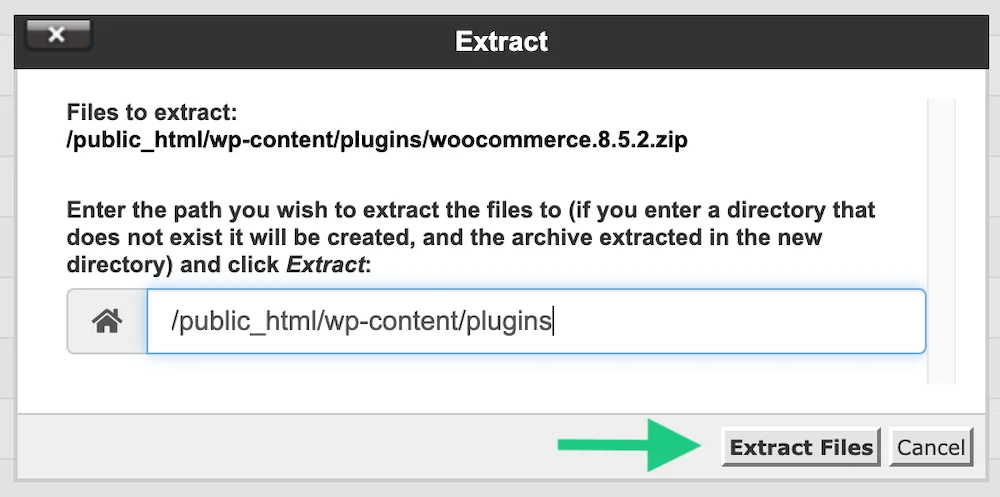
We need to EXTRACT it.
To do this, we need to right-click on the new plugin.
Then click Extract.

And then click Extract Files.
Once the files have been extracted.
We can close out of the cPanel, and open up our WordPress dashboard.
Then, if we click Plugins on the left.

We’ll see the new plugin appears in our list of installed plugins.
Now, we just need to click Activate, to activate the plugin.

And we’re done.
The plugin will now have been successfully installed!
So, that’s us now at the end.
And that was how to install WordPress plugins.
I really hope you found this post helpful.
And if you did, please consider subscribing to my email newsletter.
Until next time,
Martie.
P.S.
If you want to know some of my favourite plugins for beginners, click here.


